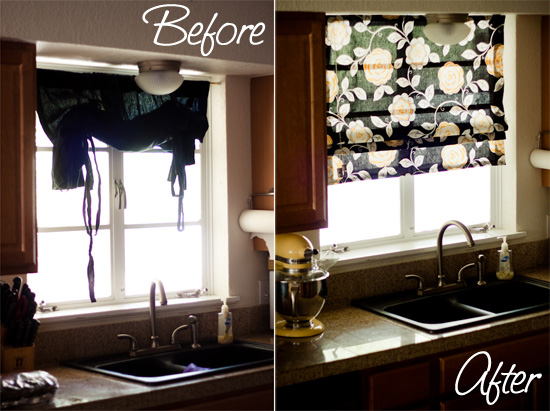
Step 1. Let out your blinds all the way and place them on a nice flat surface.
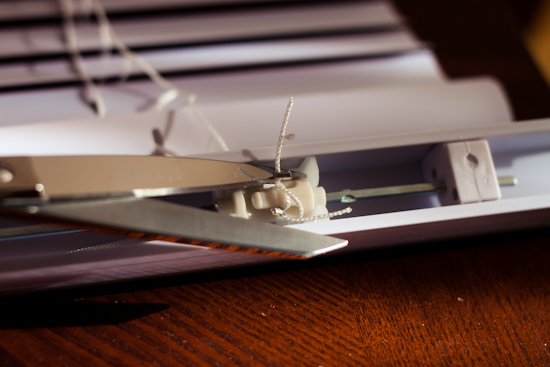
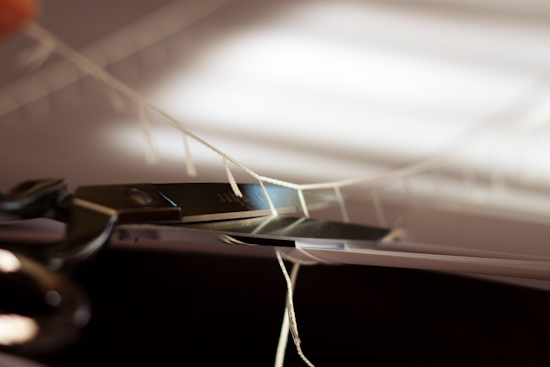
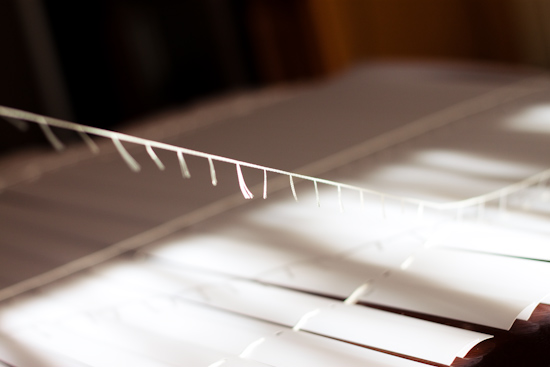
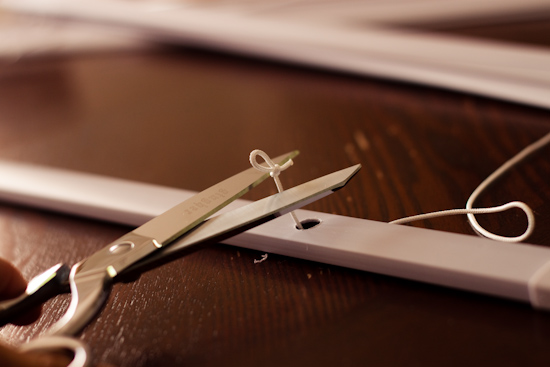
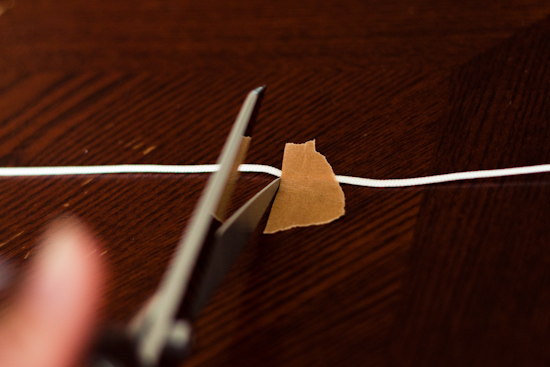
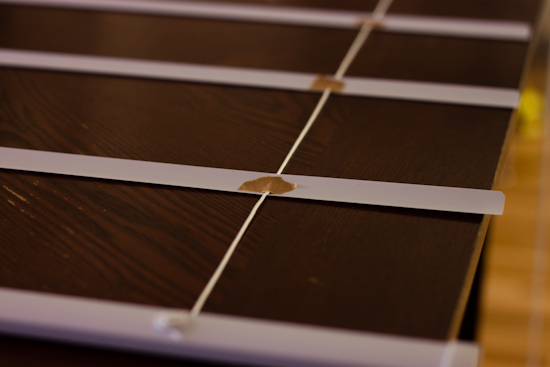
Step 2. Cut the smaller tilt strings off on each side of your blinds (see picture below). Make sure you DO NOT cut the larger pull string! You can glide your scissors all the way down your blinds cutting as you go.
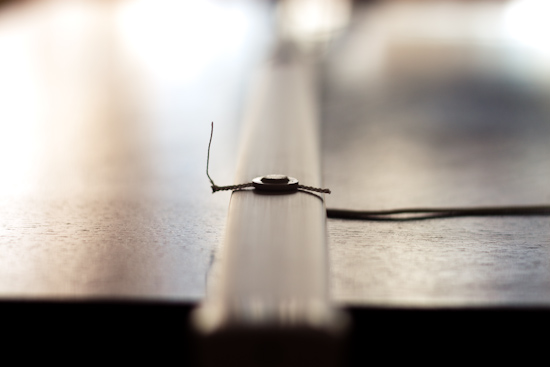
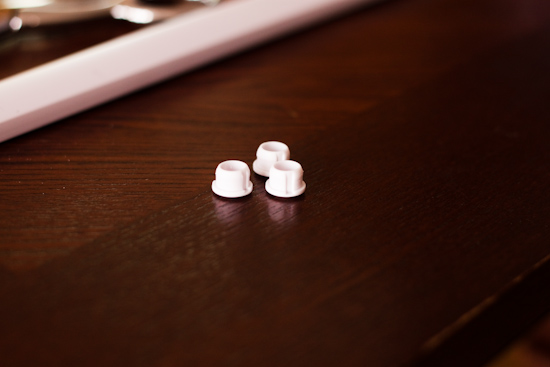
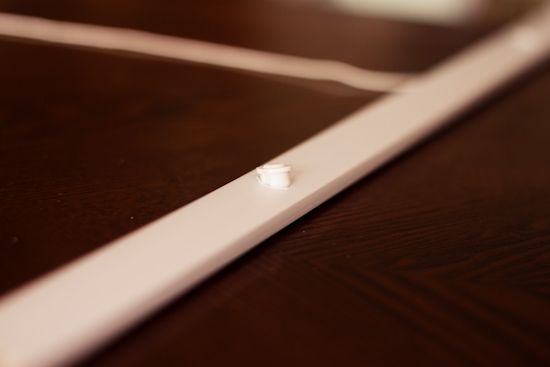
Step 3. Remove the plugs located at the bottom of your blinds. Then remove the entire bottom bar by cutting the tie in the string and set the bar and plugs aside.
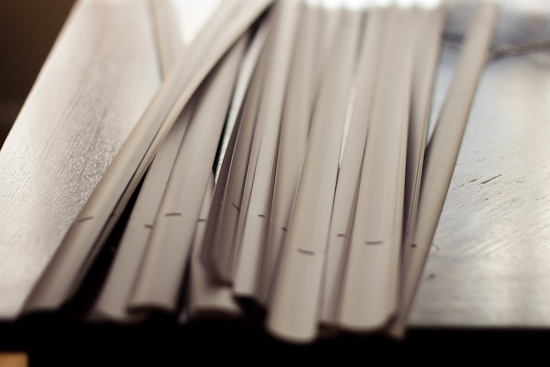
Step 4. Do a little math and figure out how many pleats you would like to have in your shade. My shade has a pleat about every 7 inches so I needed to keep 4 of the blind slats. Set the leftover slats aside, and if you can come up with a project to use them with let me know!
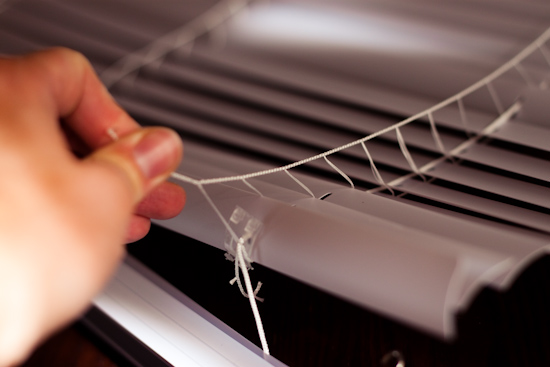
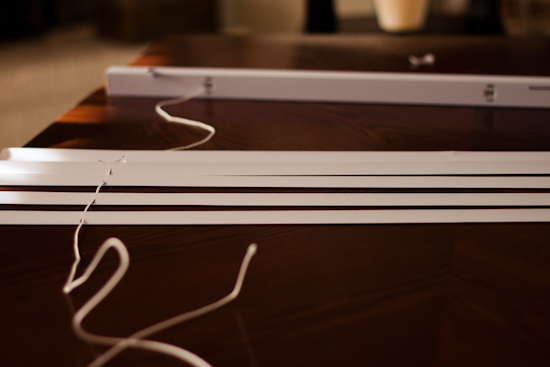
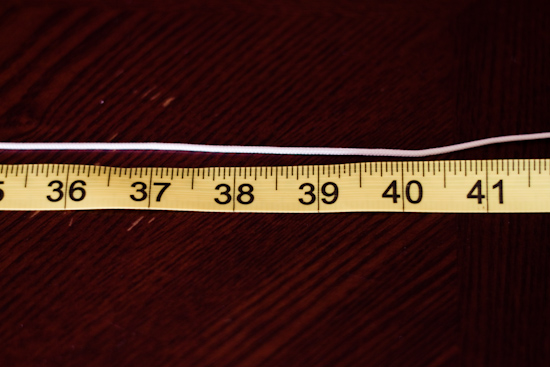
Step 5. Before reinstalling the bottom bar, measure the length of your shade and make sure it is about the same length as your window (you may have to cut the lift strings if they are too long). When I did my measurements, I marked the length of the strings with a piece of tape so I would know exactly where to make my cut.
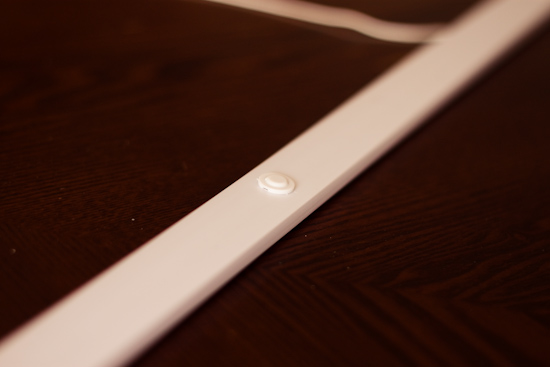
Step 6. Thread the strings back through the bottom bar and tie them off. Then re-insert the plugs.
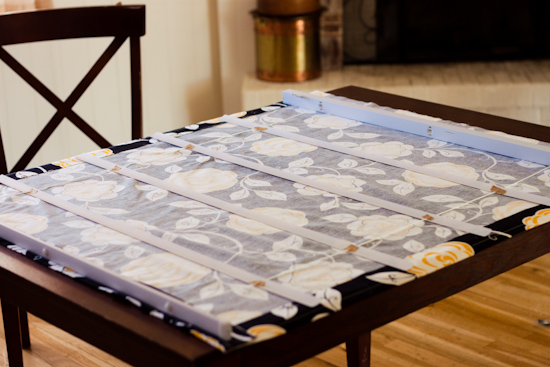
Your Blinds should now look something like this...
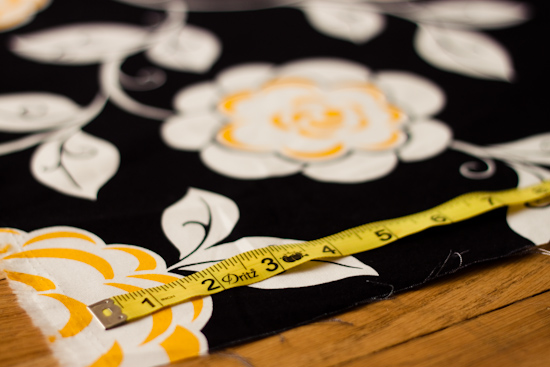
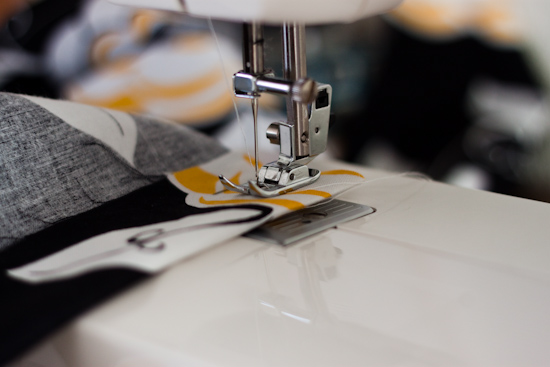
Step 7. Time to sew the shade! If needed, cut your fabric to the appropriate length (remember to add a couple of inches to each side of your fabric for the hem).
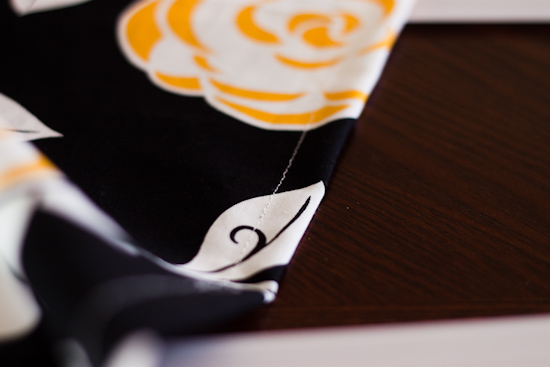
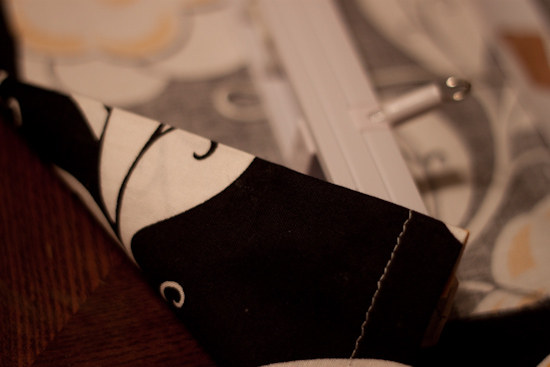
Step 8. Sew a 1" to 2" hem on each side of your fabric. I didn't worry about sewing the top hem, I just glued it down later, which I will show you.
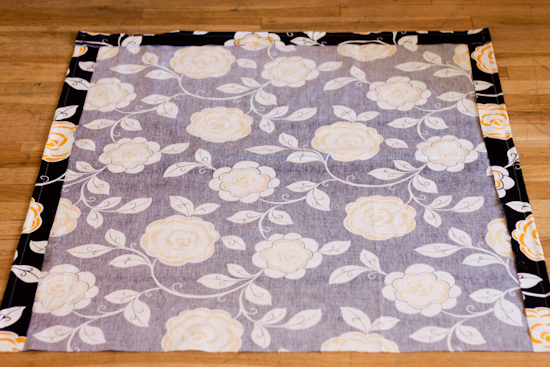
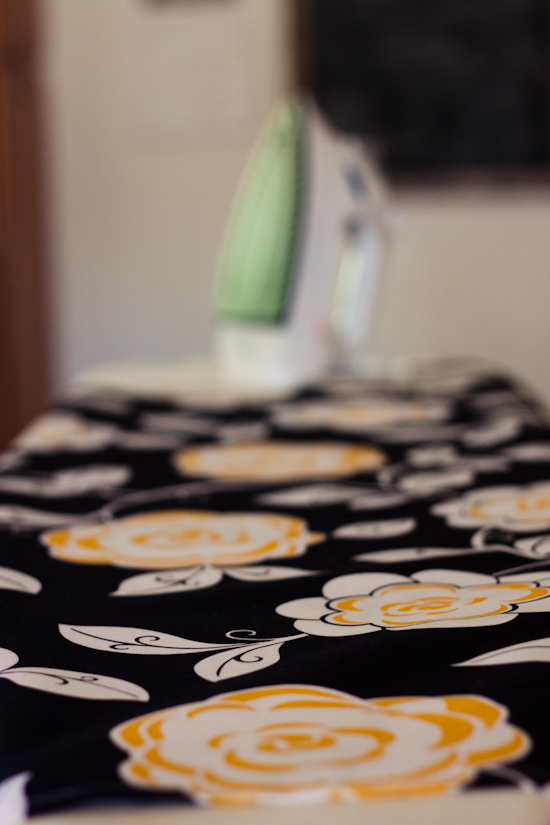
Step 9. Iron out all the wrinkles and edges of your fabric so it looks nice and clean!
Step 10. Measure where you want each slat to go, mine are approximately 7" apart. I didn't have anyone to help me hold the slats while I glued them down, so I taped them in place until I was ready to glue.
If you did what I did, and somehow measured your blind length wrong, you can adjust the strings at the top to fix it!
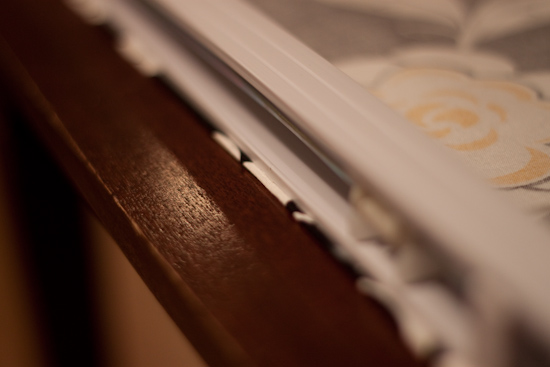
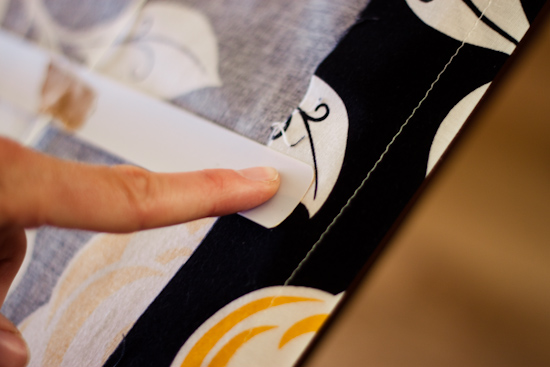
Step 11. Fold over the top of your fabric making about a 2" hem and glue it to the top of the casing. Don't glue the fabric all the way to the edge of the casing, or you wont be able to insert it into the wall mounts.
Step 12. Glue the slats to the fabric using fabric glue (Not hot glue!) with the rounded convex side facing down toward the fabric. After I applied the glue I smoothed it out with my finger to make sure you couldn't see any bulging glue lines through the front of the shade. Press the slats down gently and wait for them to dry.
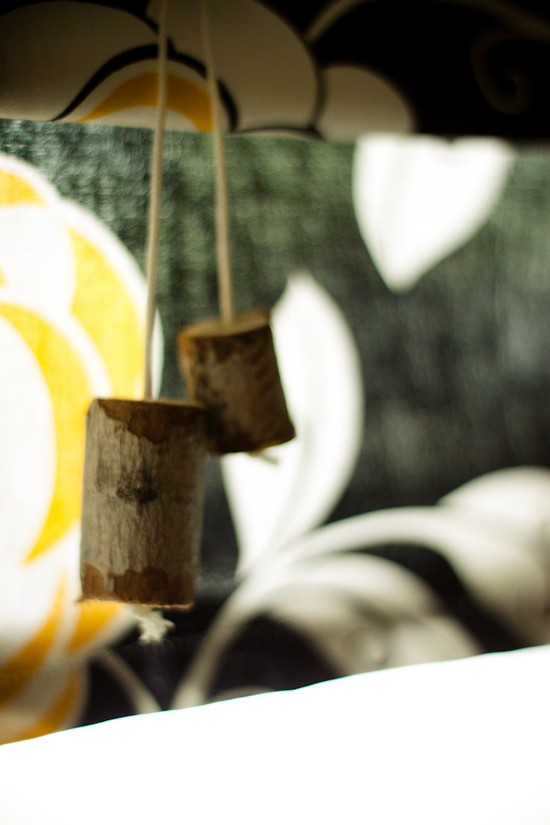
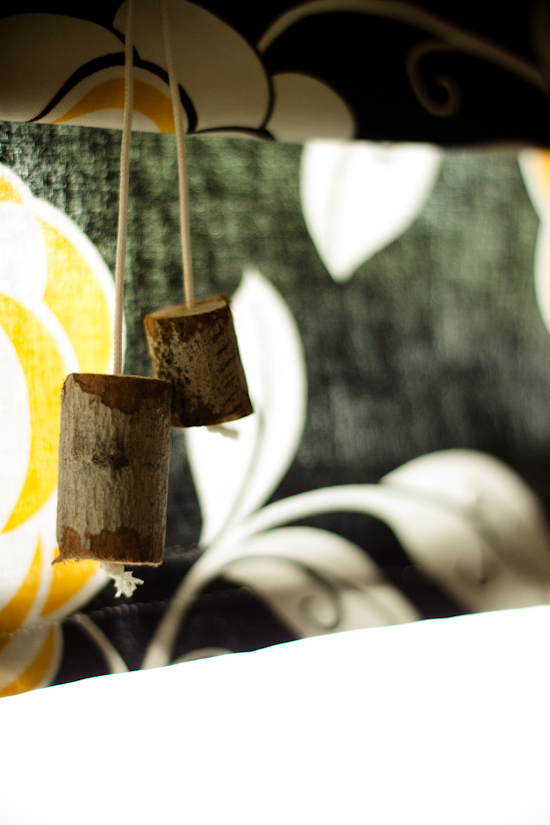
Step 13. After everything has dried, install your shade according to the package directions of your vinyl blinds. Then have your husband creative a couple of groovy wooden pull cords instead of the plastic ones they come with. All he did was cut a couple of pieces of wood from a branch in our backyard, then drilled some holes down the center, and sanded the edges down.
Note: I cut a small hole at the top of fabric to run my pull cords through so they would hang over the shade. If you would rather the cords be out of site, leave them where they are. You will just have to reach back behind the shade to pull it up or down.