I’m calling this a ‘tutorial’ rather than a pattern as I’m not re-inventing the wheel. Although I didn’t work from a pre-existing pattern when making my blanket I know there are many ‘circle in a square’ patterns out there. One from Little Tin Bird that is very similar to what I had done, so I would hate anyone to think that I’m claiming their pattern as my own.
So! Here goes...
Abbreviations:
US crochet terms
SS- Slip stitch
SC- Single crochet
HDC- Half-double crochet
DC- Double crochet
TC- Treble crochet
Ch- Chain
Select the hook that works well with the yarn you have. I used a 4.5mm hook and dk weight yarn, I crochet quite tight so would probably choose a 4mm with dk if you don’t.
Note: Rounds 2-4 worked entirely in the BACK LOOP ONLY.
Round 1: Start with a magic circle and chain 3 (counts as first DC), 11 more DC into the circle, tighten circle. Join with a SS into the 3rd chain in your original chain 3. Remember to join only in the back loop (12 DC)
Alternatively, if you’re not sure how to do a magic circle you can chain 4, join to make a ring. Ch3, 11 DC into ring. (This will just leave a little hole in the middle of your first round.)
Round 2: Chain 3, DC into same loop. Two DC in EACH of the following back loops until end of round. Join with SS in chain 3 (24 DC)
Round 3: Chain 3, DC into same stitch. *DC in back loop. 2 DC in next back loop. Repeat from * around. End with DC in last back loop and join with SS in chain 3 (36 DC)
Round 4: Chain 3, DC into same loop. * DC in the next two back loops, 2 DC in next. Repeat from * around. End with DC in last two back loops and join with SS in chain 3 (48 DC)
Fasten off if you want to join a new colour for the ‘square’
Join new colour.
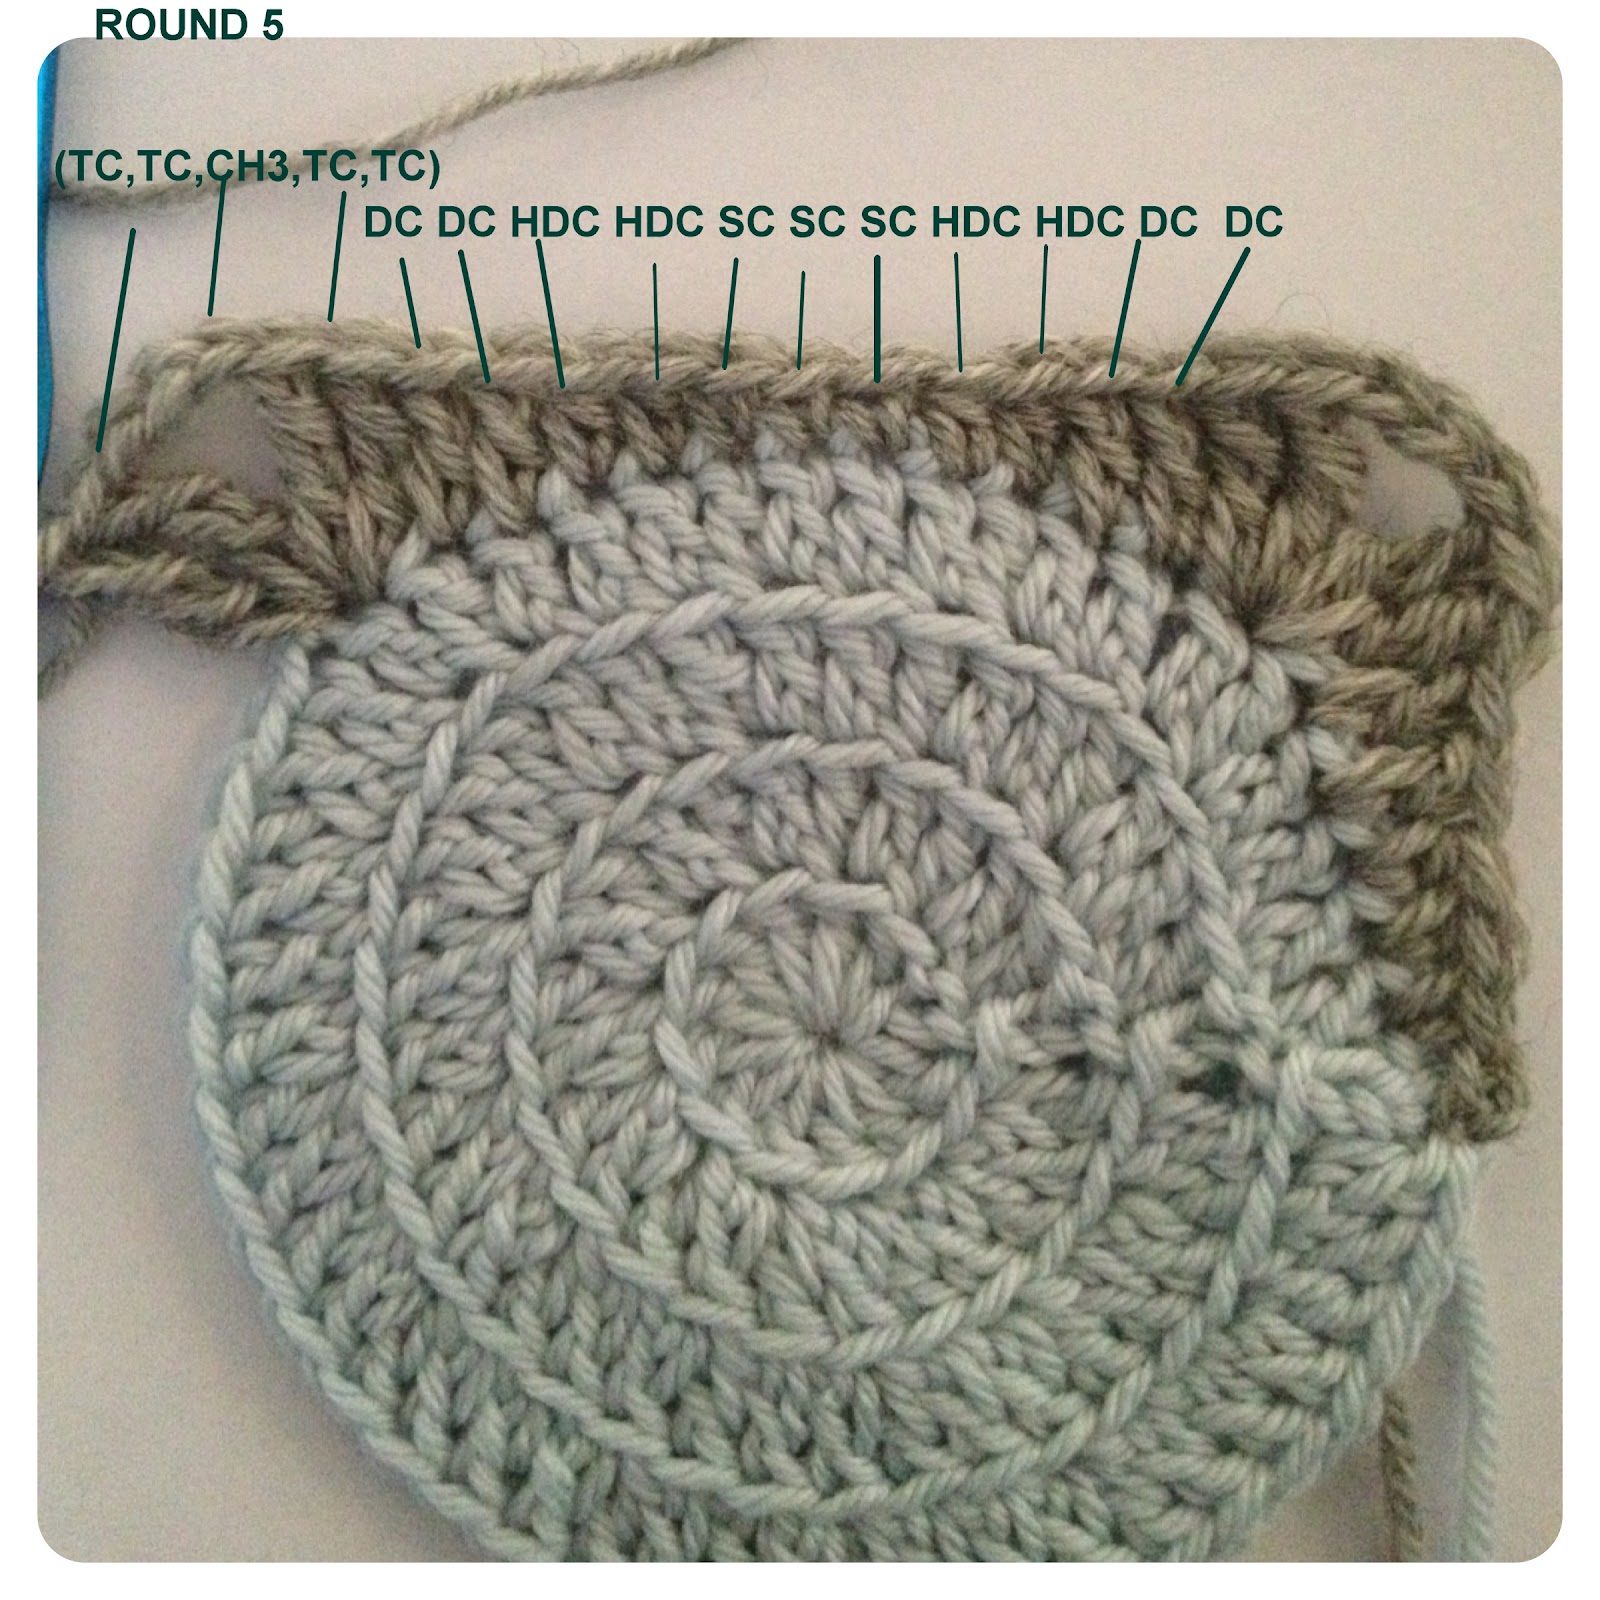
You’re now starting on the square border around the circle. For this round you will be working through BOTH loops.
Round 5: Chain 1, SC in next two, HDC in next two, DC in next two (TC, TC, chain 3, TC, TC) all in next stitch (this is your first corner), *DC, DC, HDC, HDC, SC, SC, SC, HDC, HDC, DC, DC, (TC,TC, ch3, TC, TC) in next. Repeat from *2 more times. DC, DC, HDC, HDC join to chain 1 with SS. Fasten off.
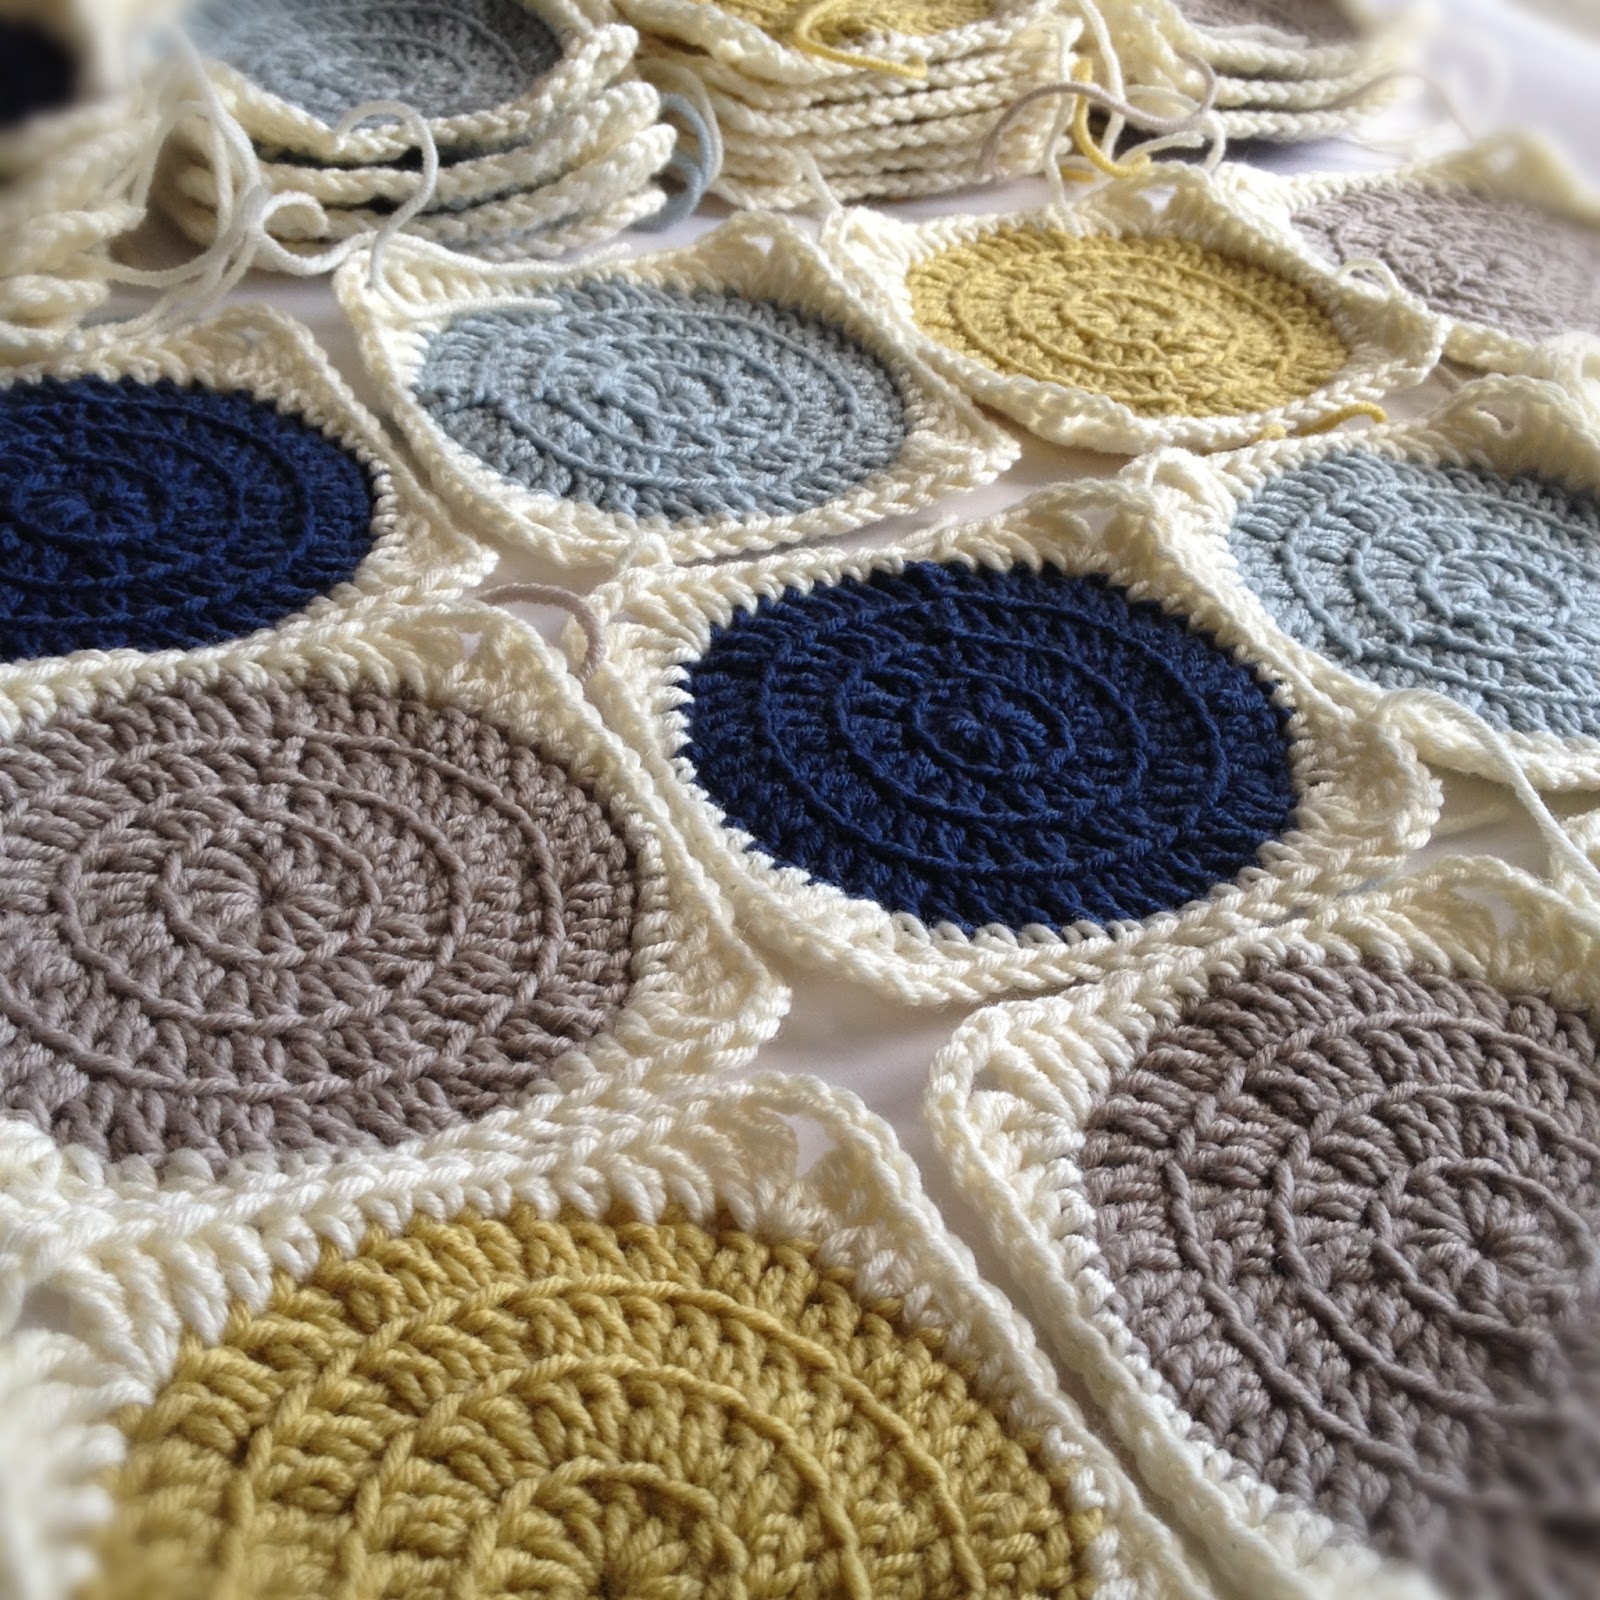
There you are, you've made your first square!
Now make lots more. My cot sized blanket was made up of 63 squares (7 wide x 9 long). You can find a tutorial on joining the squares with single crochet atAttic24