-Метки
-Рубрики
- DECOR (1018)
- Frames, wall art, mirror (204)
- Kids Rooms (97)
- Box & basket (95)
- Painting, stamp (85)
- Walls (77)
- Kitchen (70)
- Miniatures (70)
- Cushions (69)
- Curtains (58)
- Baby Stuff (51)
- Storage (46)
- Candles (41)
- Toys & dolls (36)
- Gifts (34)
- Shelves (34)
- Salt Dough, Mold, clay (33)
- Vase (32)
- Furniture (32)
- Bedroom (29)
- Clocks (29)
- Kids Pillows (27)
- Rugs & floor (26)
- Chair Cover (26)
- Bathroom (23)
- pouffe (15)
- Pin Cushions (14)
- Jewelry Display (14)
- Table Setting (14)
- Foil (11)
- Felt & mesh (11)
- Shadow-Box (11)
- Tissue Box (10)
- Table (9)
- Butterfly (8)
- Napkin Folding (5)
- Soap (4)
- Tassels (3)
- FASHION (818)
- Sewing patterns (170)
- Accessories (158)
- Embllishment (150)
- Re-fashion (98)
- Knitting (89)
- Bags (83)
- Beads (71)
- Shoes (65)
- T-shirts transformation (52)
- SRE (52)
- Scarfs (28)
- Buttons (21)
- Zipper (19)
- Shawl (19)
- No-Sew (15)
- Dye, stamp (14)
- Chinese Knots (11)
- Mending (9)
- Zig Zag (9)
- MultiWear & Infiniti Dress (8)
- boho (7)
- girl dress (3)
- Kids (2)
- Beauty (1)
- RECYCLE (694)
- Paper & newspaper (97)
- Plastic Bottles (86)
- Decorative Bottles (79)
- Thread, Rope & Wire (55)
- Blankets, jeans,leather....etc (55)
- Carton (54)
- Kitchen Items (38)
- Branches (32)
- Pipes & Tubes (30)
- Molding (27)
- Tins & Cans (22)
- CDs (19)
- Socks (14)
- Egg Carton (14)
- Sea Shell (14)
- Cloth Pin (14)
- Egg Shells (11)
- Pasta (9)
- Feather (8)
- Tires (8)
- Plastic Spoons (5)
- Towels (5)
- Coat Hangers (5)
- Wooden Spoon (4)
- Drinking Straw (4)
- Books (4)
- Light Bulbs (4)
- Hangers (3)
- China & Kitchen ware (3)
- Dried Flowers (3)
- glass bottles (2)
- IceCeam Sticks (2)
- light bulb (1)
- Corn Husk (1)
- COOKING (310)
- Dessert (140)
- Decorative Serving (111)
- Chocolate (46)
- No-bake (37)
- Egg (33)
- Bread (23)
- Puff Pastry (20)
- Food Decoration (20)
- Potato (18)
- Apple (18)
- Stuffed (17)
- Rolls (17)
- Meat (16)
- Salad (15)
- Sausage (15)
- Chicken (15)
- Marrow (13)
- Ice Cream (12)
- Banana (10)
- Cheese (10)
- Loaf (7)
- Pasta (6)
- Pizza (5)
- Cabbage (5)
- Eggplant (5)
- Fish (5)
- Mushroom (4)
- Rice (4)
- jello (3)
- yogurt (1)
- Toast (1)
- coconut (1)
- Grape Leaves (1)
- Tuna (1)
- LIGHT (148)
- Lamps (107)
- Chandelier (73)
- Baby Lights (8)
- Flower Making (115)
- USEFUL (103)
- health & beauty (67)
- GARDEN (63)
- Vertical Garden (13)
- WEDDING (44)
- Glass (26)
- Pillows (5)
- Baskets (1)
- Backgrounds (42)
- VICTORIAN (35)
- Victorian Lady (10)
- Cushions (7)
- Box (5)
- Bags (2)
- Beautiful Places (32)
- Cats (29)
- LINKS To Crafts (22)
- in minutes (17)
- Computer & internet (12)
- Games (7)
- Alphabet (5)
- PRIVATE (3)
-Приложения
 Дешевые авиабилетыВыгодные цены, удобный поиск, без комиссии, 24 часа. Бронируй сейчас – плати потом!
 Я - фотографПлагин для публикации фотографий в дневнике пользователя. Минимальные системные требования: Internet Explorer 6, Fire Fox 1.5, Opera 9.5, Safari 3.1.1 со включенным JavaScript. Возможно это будет рабо
 ОткрыткиПерерожденный каталог открыток на все случаи жизни
- Настольные игры онлайнМы предлагаем Вам сразиться в любимые настольные игры со своими друзьями, не отходя от компьютера. У нас вы сможете поиграть в дурака, преферанс, тысячу, нарды, шахматы, шашки, крестики-нолики, точки,
-Я - фотограф
-Поиск по дневнику
-Подписка по e-mail
-Друзья
-Постоянные читатели
-Статистика

plate for the garden |
«Осенний» лист из бетона
Серия сообщений "Molding":
Часть 1 - leaf mold
Часть 2 - baby mold
...
Часть 13 - molded plate
Часть 14 - basket from salt dough
Часть 15 - plate for the garden
Часть 16 - molding accessory
Часть 17 - papier mache
...
Часть 25 - foot and hand molding
Часть 26 - molding with silicone and kitchen soap
Часть 27 - molds
Метки: garden molding |
Процитировано 26 раз
Понравилось: 3 пользователям
recycled jeans |


Метки: recycle jeans |
Процитировано 53 раз
Понравилось: 3 пользователям
wedding boxes |
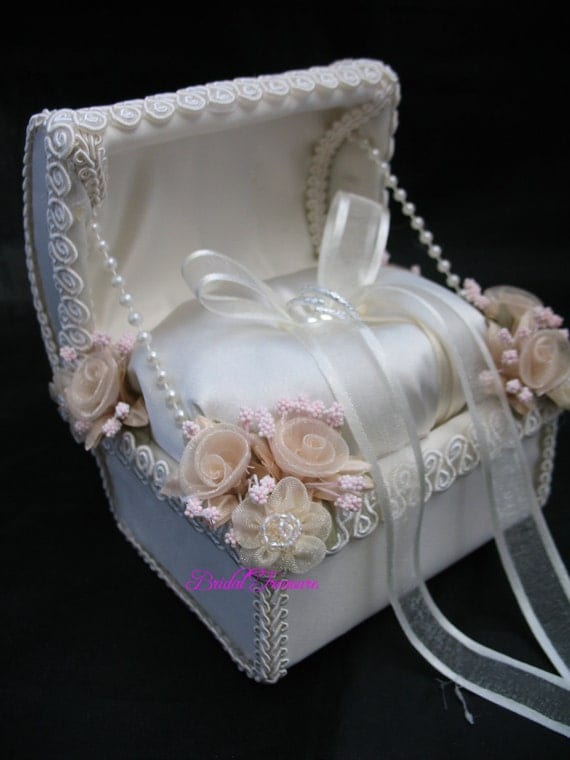
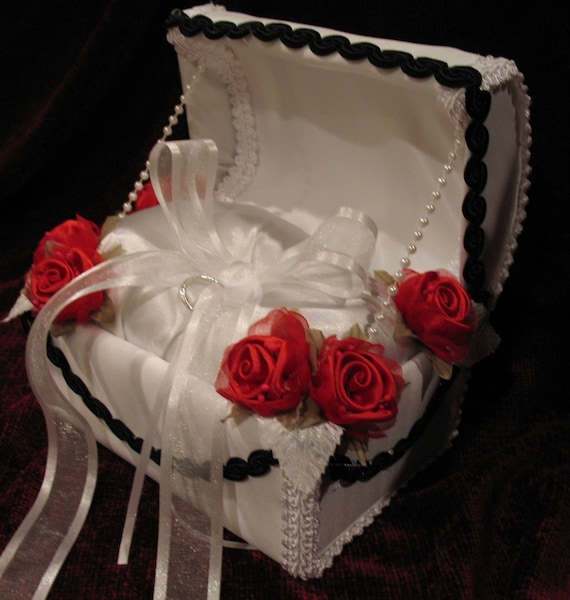
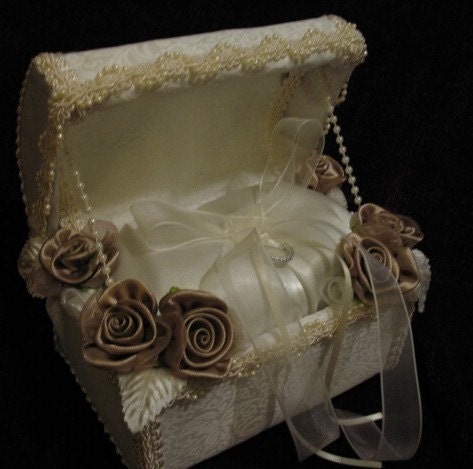
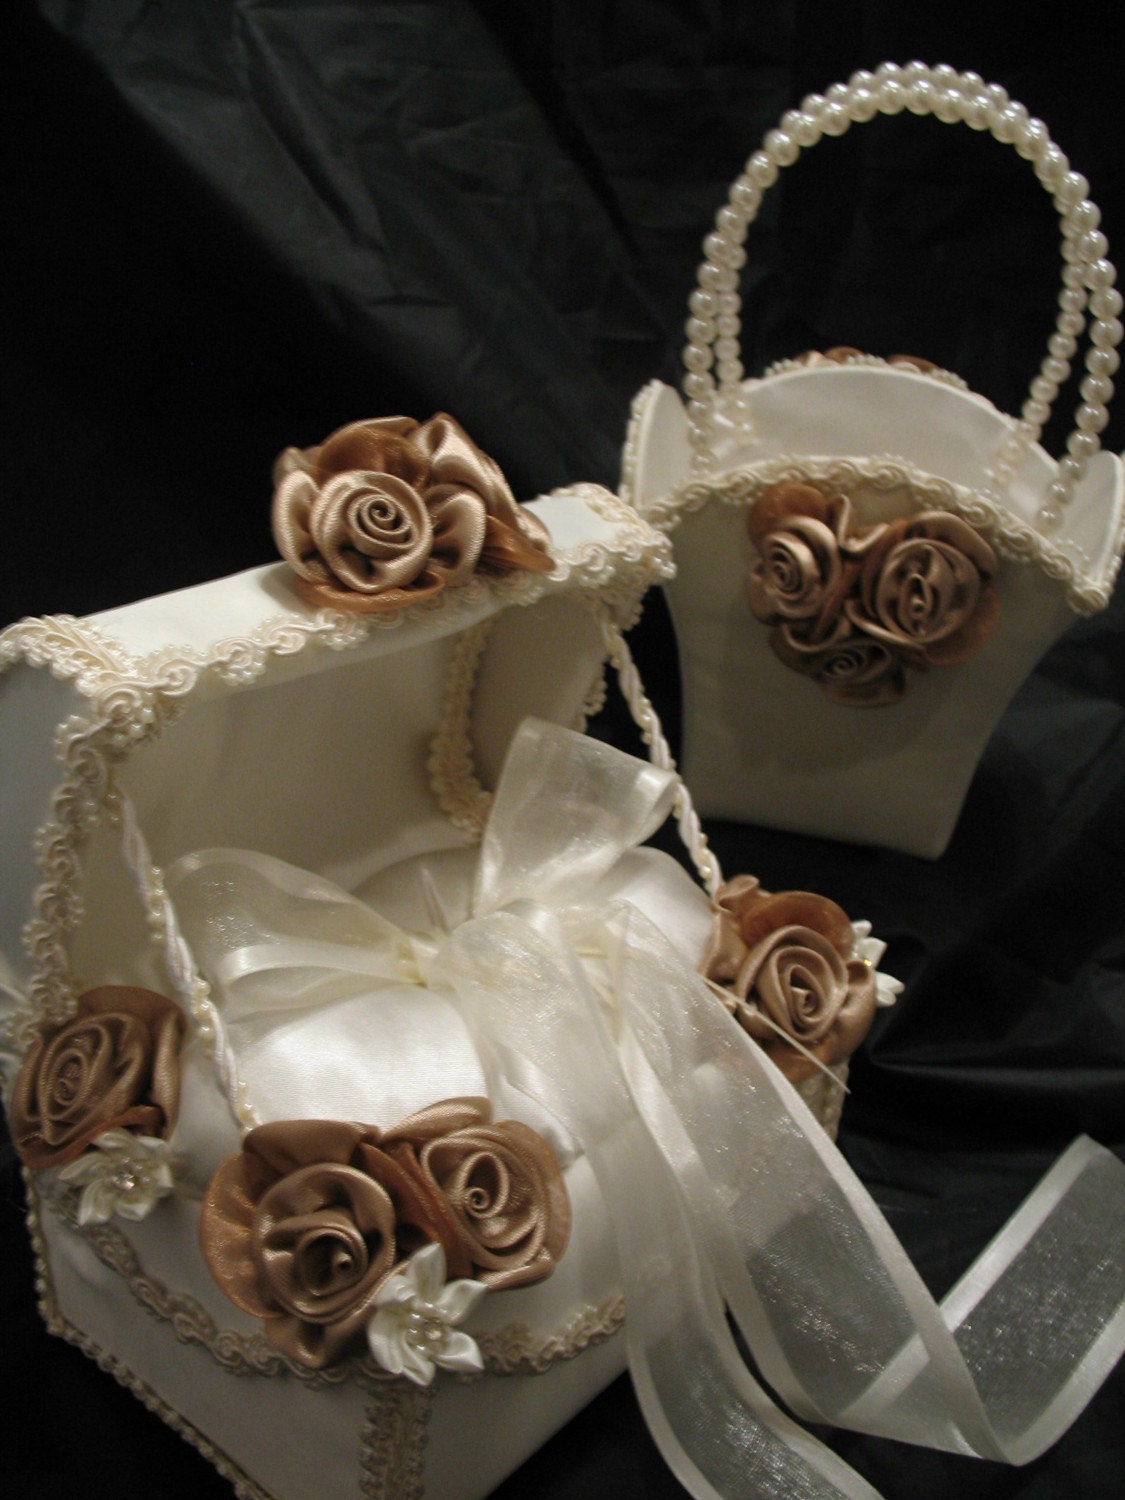
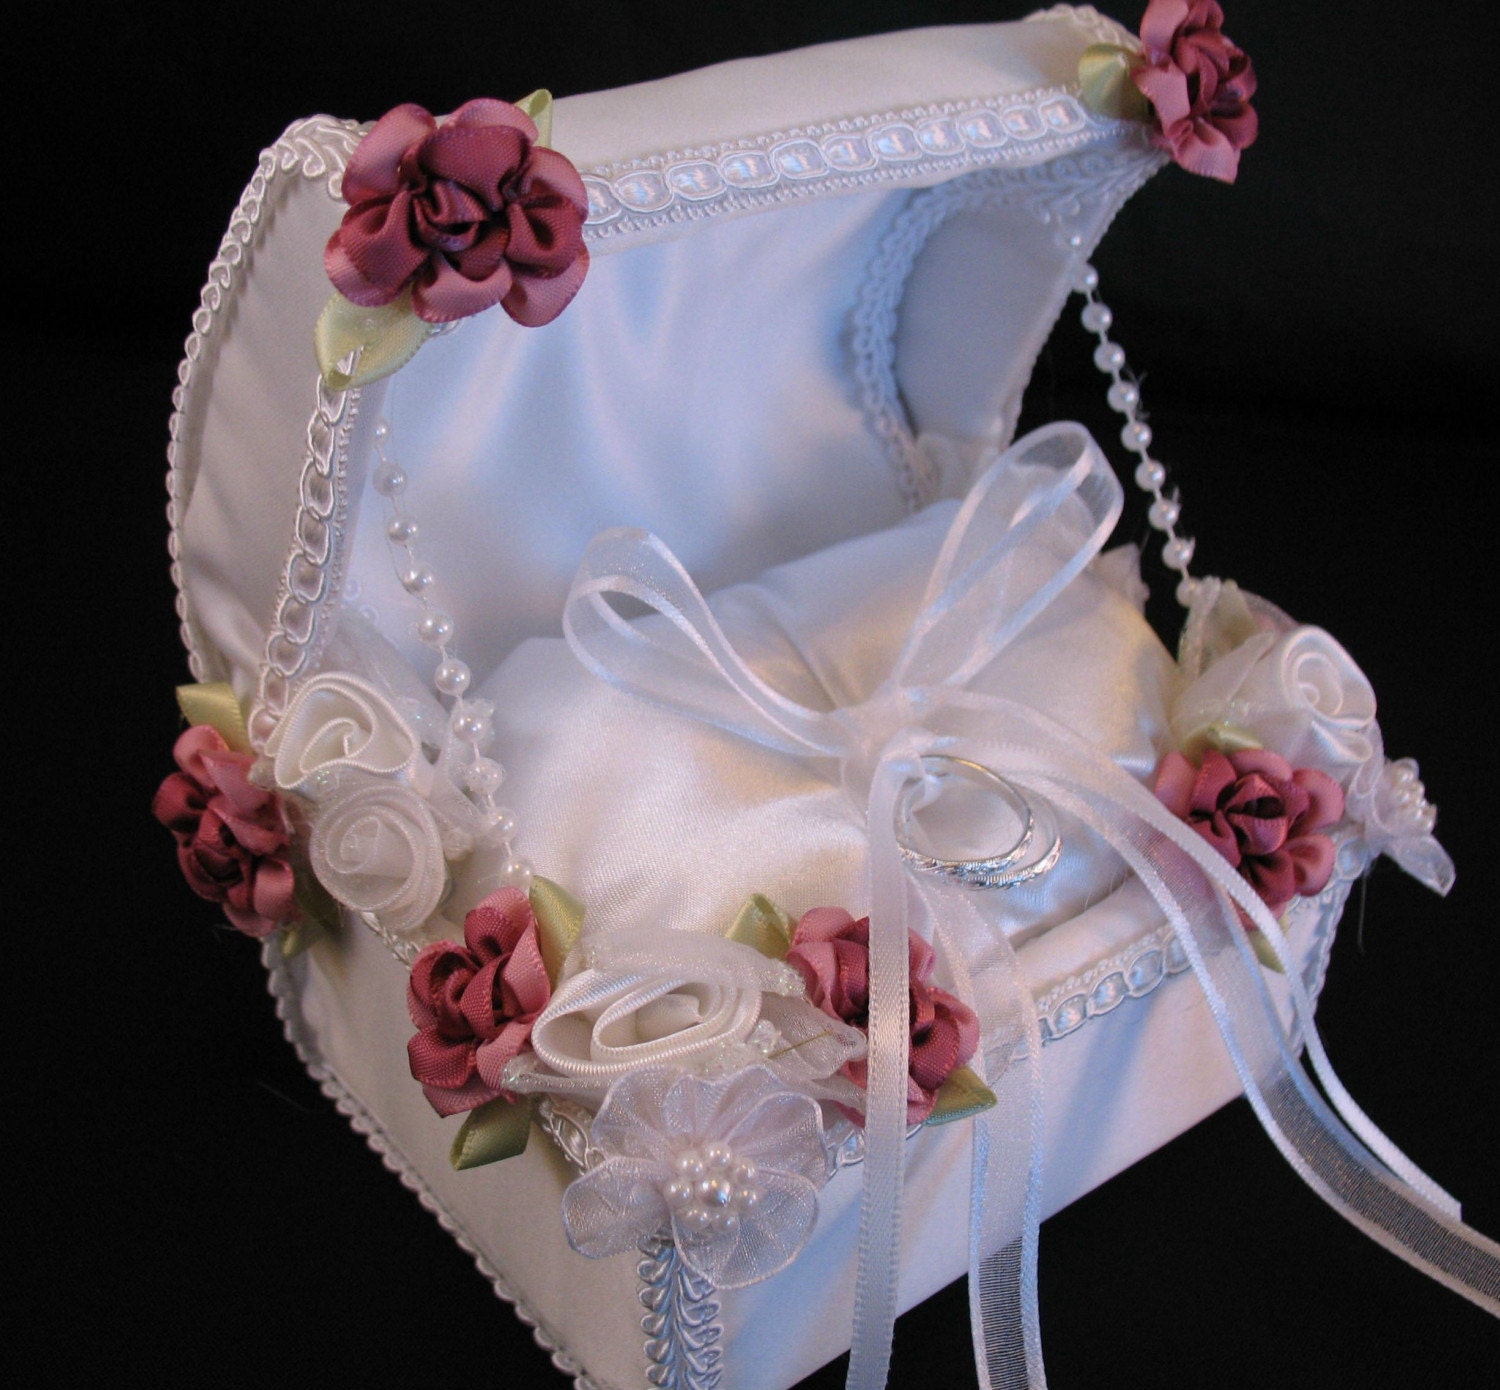
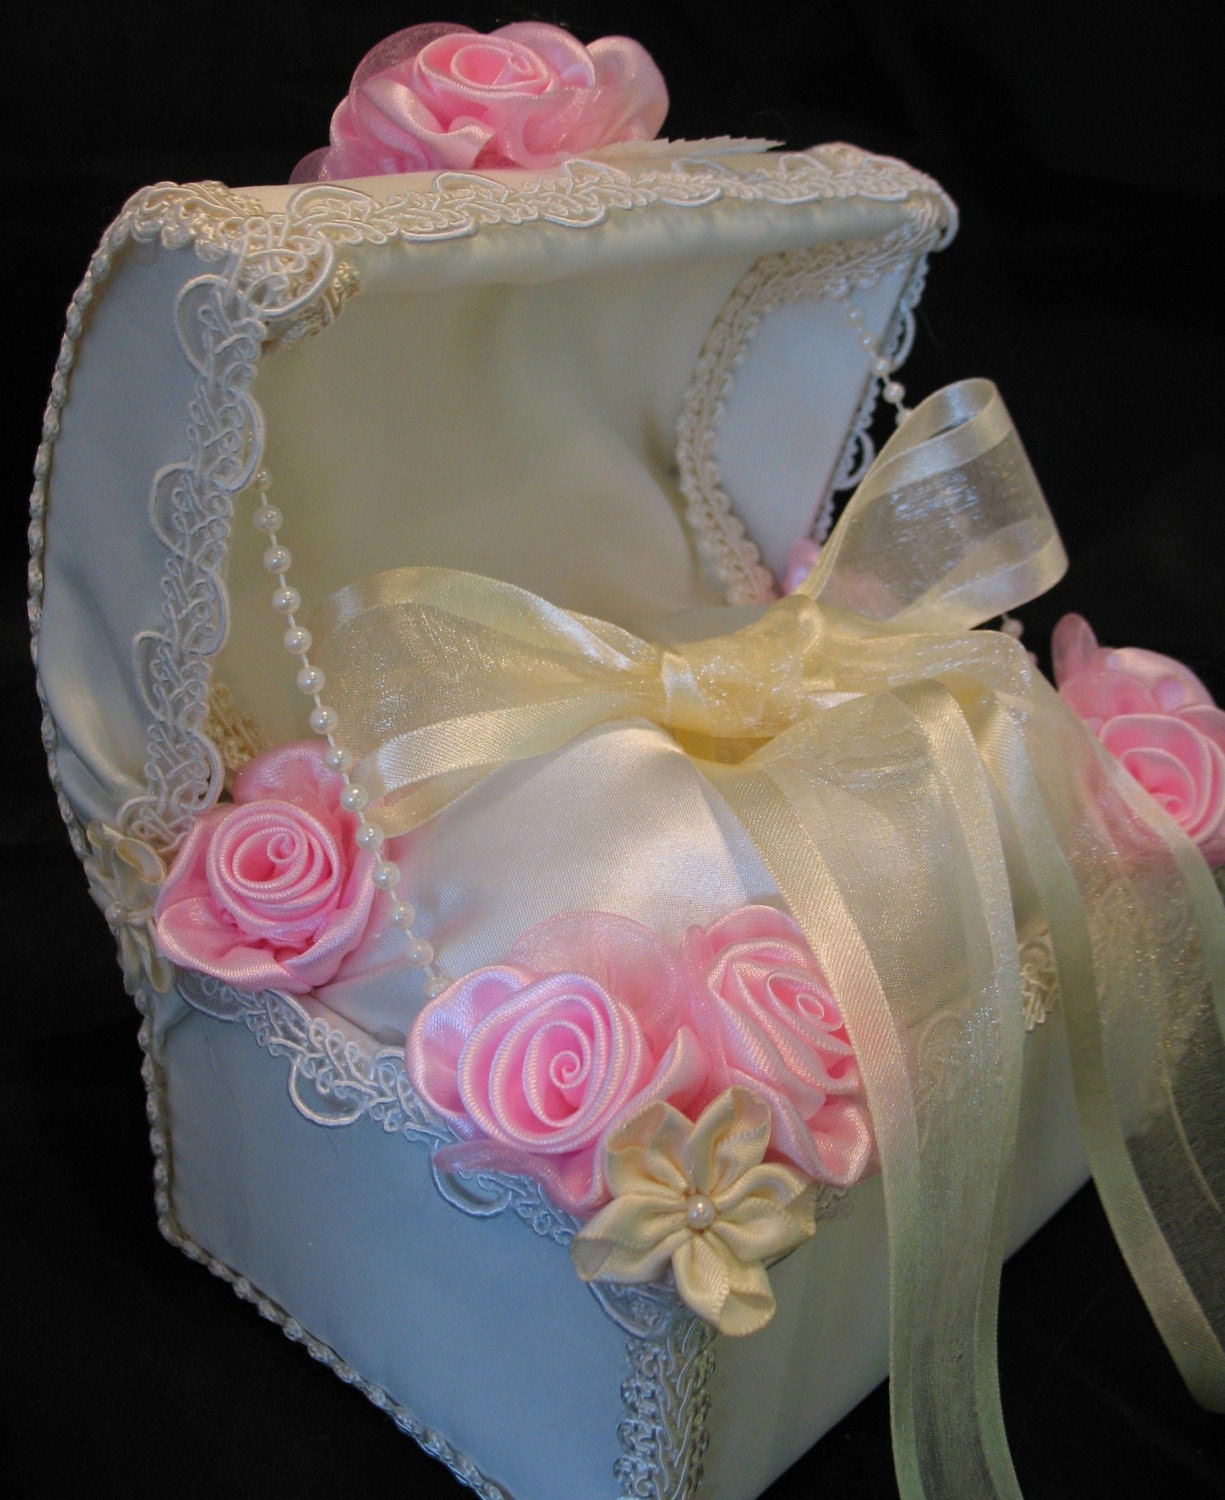
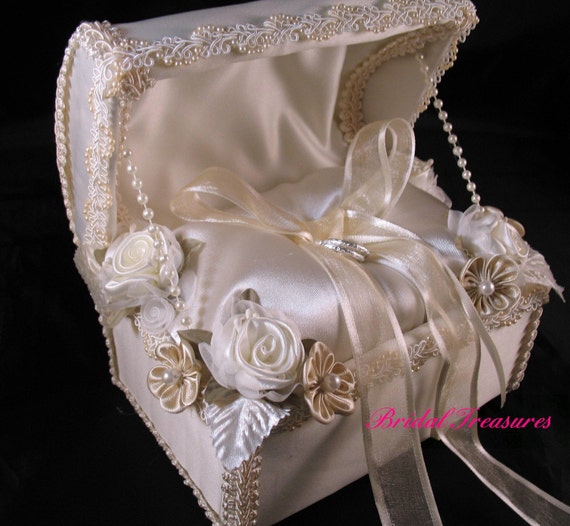

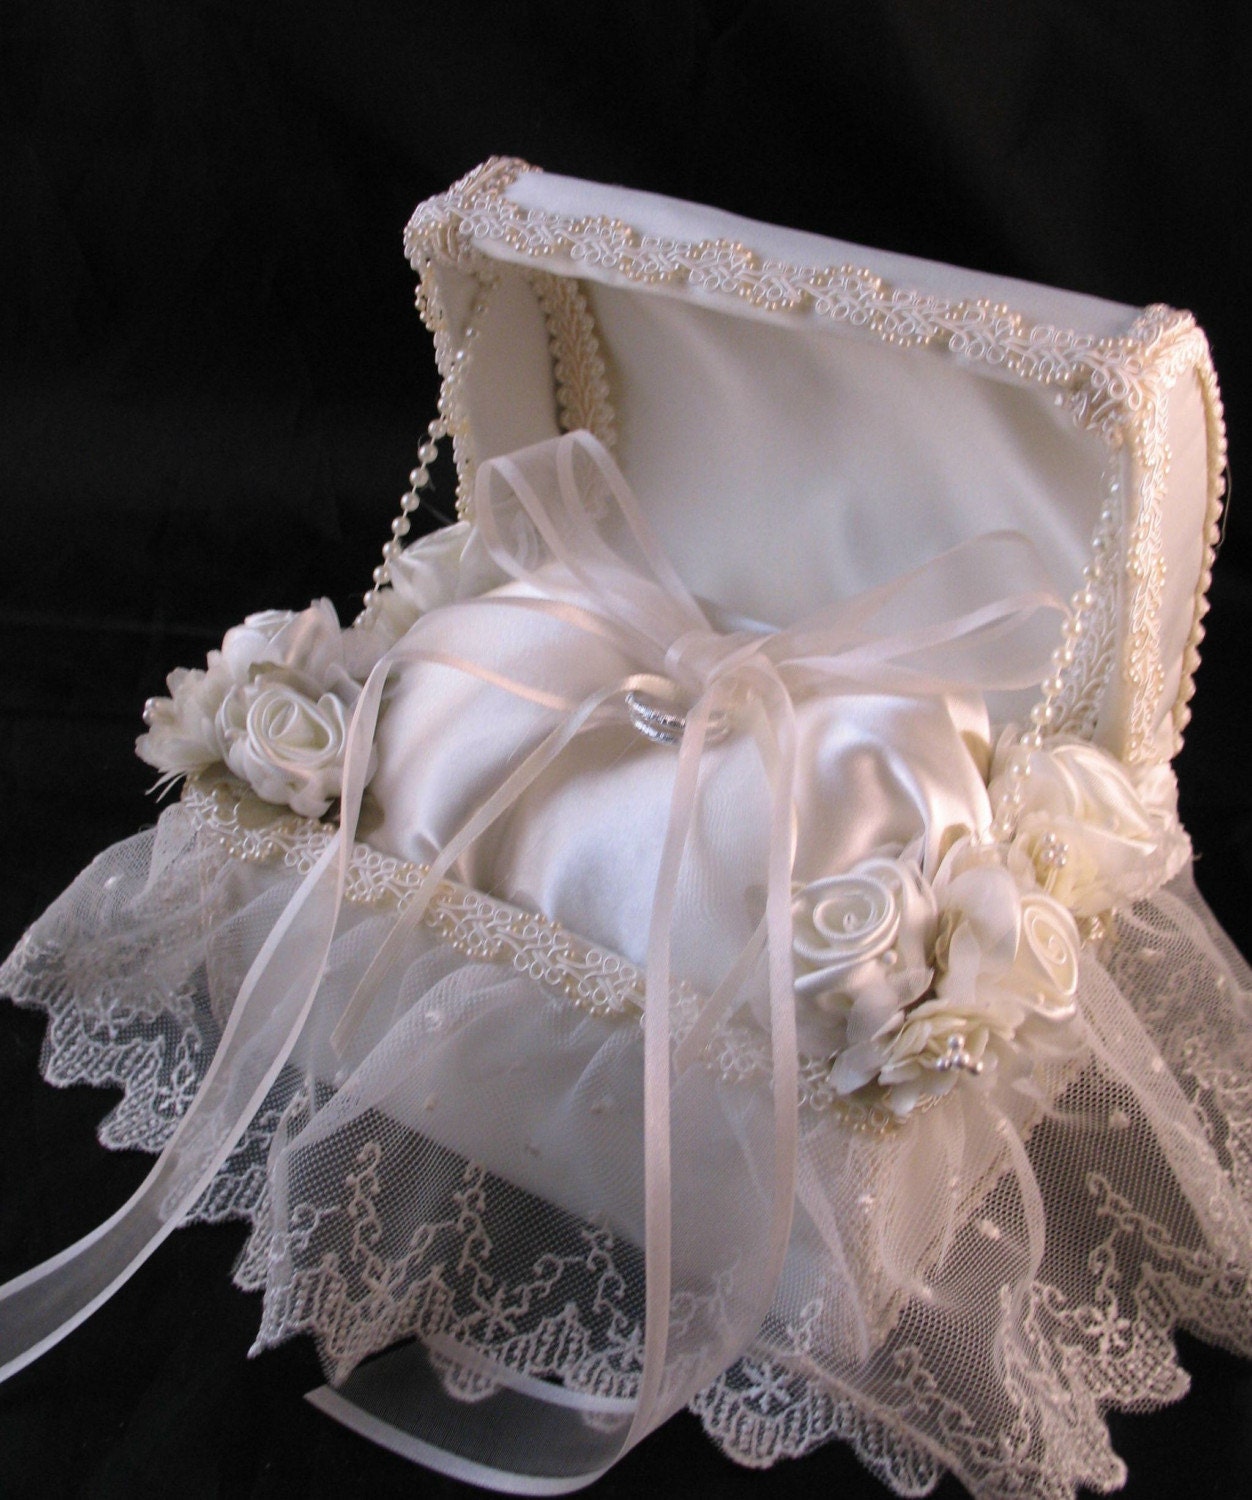
http://www.etsy.com/shop/kpdream 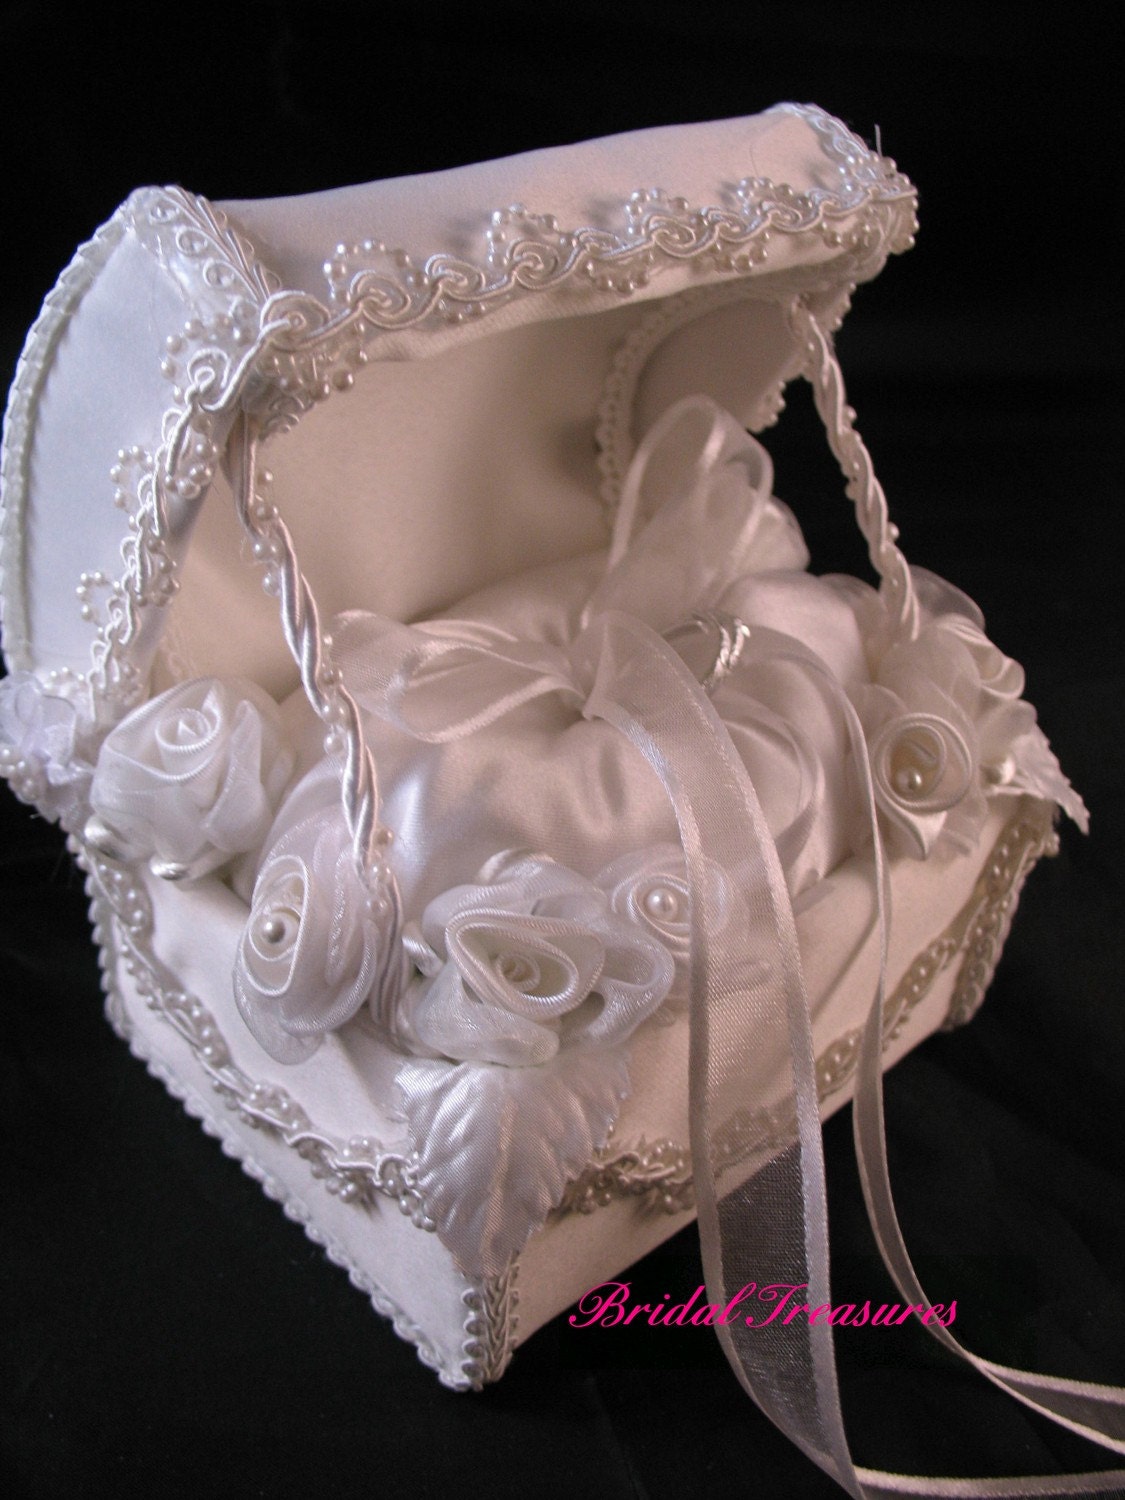
Серия сообщений "Pillows":
Часть 1 - Peacock Wedding Items
Часть 2 - Wedding Billows
Часть 3 - victorian stuff
Часть 4 - wedding boxes
Часть 5 - wedding cushions
Метки: box wedding |
Процитировано 115 раз
Понравилось: 13 пользователям
all zippers bags |
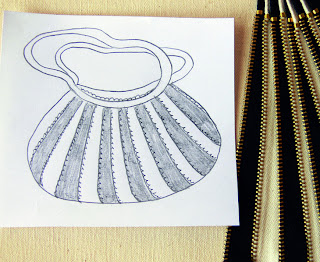
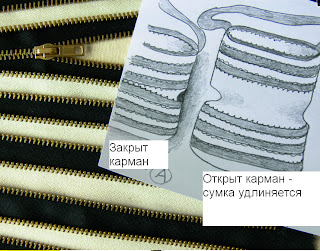
ew myself a practical bag of ... Lightning.
http://klubrukodelnic.blogspot.com/2011/04/blog-post_14.html#more
Серия сообщений "Zipper":
Часть 1 - Zipper lampshade
Часть 2 - Zipper Accessories
...
Часть 10 - zipper embellishment
Часть 11 - Zipper broch
Часть 12 - all zippers bags
Часть 13 - zipper accessory
Часть 14 - recycled zippers
...
Часть 17 - zipper accessories
Часть 18 - zipper button
Часть 19 - stylish bracelet
Метки: zipper bag |
Процитировано 44 раз
Понравилось: 4 пользователям
shoes refashion |
|
апоги из старого пуловера
 /forum.knitting-info.ru/style_images/grey/click2enlarge.gif" target="_blank">http://forum.knitting-info.ru/style_images/grey/click2enlarge.gif); border-bottom: rgb(136,136,136) 1px solid; border-left: rgb(136,136,136) 1px solid; padding-bottom: 1px; background-color: rgb(255,255,255); margin: 0px 2px 0px 0px; padding-left: 1px; padding-right: 1px; background-position: 100% 0%; vertical-align: middle; border-top: rgb(170,170,170) 1px solid; border-right: rgb(136,136,136) 1px solid; padding-top: 13px; background-origin: initial; background-clip: initial" width="300" /> /forum.knitting-info.ru/style_images/grey/click2enlarge.gif" target="_blank">http://forum.knitting-info.ru/style_images/grey/click2enlarge.gif); border-bottom: rgb(136,136,136) 1px solid; border-left: rgb(136,136,136) 1px solid; padding-bottom: 1px; background-color: rgb(255,255,255); margin: 0px 2px 0px 0px; padding-left: 1px; padding-right: 1px; background-position: 100% 0%; vertical-align: middle; border-top: rgb(170,170,170) 1px solid; border-right: rgb(136,136,136) 1px solid; padding-top: 13px; background-origin: initial; background-clip: initial" width="300" />понадобится: Старый пуловер (желательно из натуральных волокон, лучше шерсть). Балетки. 2 пуговицы (примерно 2-3 см шириной). Суперклей. Швейная машинка. Портновские иголки, ножницы, нитки. Пуловер разрезаем на части. Отдельно перед, спинка, и рукава. У всех частей отрезаем швы, у передней и задней части срезаем ворот. А вот резинку на рукавах лучше пока не отрезать. Переднюю часть сшиваем напополам по длине с изнаночной стороны. Одеваем балетки на ногу, примеряем сшитый элемент.Лишнюю часть пуловера сколоть иголками по ноге портновскими иголками. вязаная ткань должна быть немного в натяжку  /forum.knitting-info.ru/style_images/grey/click2enlarge.gif" target="_blank">http://forum.knitting-info.ru/style_images/grey/click2enlarge.gif); border-bottom: rgb(136,136,136) 1px solid; border-left: rgb(136,136,136) 1px solid; padding-bottom: 1px; background-color: rgb(255,255,255); margin: 0px 2px 0px 0px; padding-left: 1px; padding-right: 1px; background-position: 100% 0%; vertical-align: middle; border-top: rgb(170,170,170) 1px solid; border-right: rgb(136,136,136) 1px solid; padding-top: 13px; background-origin: initial; background-clip: initial" width="300" /> /forum.knitting-info.ru/style_images/grey/click2enlarge.gif" target="_blank">http://forum.knitting-info.ru/style_images/grey/click2enlarge.gif); border-bottom: rgb(136,136,136) 1px solid; border-left: rgb(136,136,136) 1px solid; padding-bottom: 1px; background-color: rgb(255,255,255); margin: 0px 2px 0px 0px; padding-left: 1px; padding-right: 1px; background-position: 100% 0%; vertical-align: middle; border-top: rgb(170,170,170) 1px solid; border-right: rgb(136,136,136) 1px solid; padding-top: 13px; background-origin: initial; background-clip: initial" width="300" /> /forum.knitting-info.ru/style_images/grey/click2enlarge.gif" target="_blank">http://forum.knitting-info.ru/style_images/grey/click2enlarge.gif); border-bottom: rgb(136,136,136) 1px solid; border-left: rgb(136,136,136) 1px solid; padding-bottom: 1px; background-color: rgb(255,255,255); margin: 0px 2px 0px 0px; padding-left: 1px; padding-right: 1px; background-position: 100% 0%; vertical-align: middle; border-top: rgb(170,170,170) 1px solid; border-right: rgb(136,136,136) 1px solid; padding-top: 13px; background-origin: initial; background-clip: initial" width="300" /> /forum.knitting-info.ru/style_images/grey/click2enlarge.gif" target="_blank">http://forum.knitting-info.ru/style_images/grey/click2enlarge.gif); border-bottom: rgb(136,136,136) 1px solid; border-left: rgb(136,136,136) 1px solid; padding-bottom: 1px; background-color: rgb(255,255,255); margin: 0px 2px 0px 0px; padding-left: 1px; padding-right: 1px; background-position: 100% 0%; vertical-align: middle; border-top: rgb(170,170,170) 1px solid; border-right: rgb(136,136,136) 1px solid; padding-top: 13px; background-origin: initial; background-clip: initial" width="300" /> /forum.knitting-info.ru/style_images/grey/click2enlarge.gif" target="_blank">http://forum.knitting-info.ru/style_images/grey/click2enlarge.gif); border-bottom: rgb(136,136,136) 1px solid; border-left: rgb(136,136,136) 1px solid; padding-bottom: 1px; background-color: rgb(255,255,255); margin: 0px 2px 0px 0px; padding-left: 1px; padding-right: 1px; background-position: 100% 0%; vertical-align: middle; border-top: rgb(170,170,170) 1px solid; border-right: rgb(136,136,136) 1px solid; padding-top: 13px; background-origin: initial; background-clip: initial" width="300" /> /forum.knitting-info.ru/style_images/grey/click2enlarge.gif" target="_blank">http://forum.knitting-info.ru/style_images/grey/click2enlarge.gif); border-bottom: rgb(136,136,136) 1px solid; border-left: rgb(136,136,136) 1px solid; padding-bottom: 1px; background-color: rgb(255,255,255); margin: 0px 2px 0px 0px; padding-left: 1px; padding-right: 1px; background-position: 100% 0%; vertical-align: middle; border-top: rgb(170,170,170) 1px solid; border-right: rgb(136,136,136) 1px solid; padding-top: 13px; background-origin: initial; background-clip: initial" width="300" /> |
|
| /forum.knitting-info.ru/style_images/grey/catend.gif" target="_blank">http://forum.knitting-info.ru/style_images/grey/catend.gif); padding-bottom: 3px; line-height: 1px; background-color: rgb(131,131,131); padding-left: 3px; padding-right: 3px; color: rgb(0,0,0); font-size: 1px; padding-top: 3px; background-origin: initial; background-clip: initial"> | |
| heba |
 7 окт 2010, 14:06 7 окт 2010, 14:06
Ссылка на это сообщение
|
|
можно считать местным жителем :) форумчанка Сообщений: 4043 Регистрация: 14.03.06 не репутируется каир |
Обрезаем лишнюю ткань.Не забываем про пятку, лишнюю вязанную ткань обрезаем и там.
с изнаночной стороны) сшиваем заготовку сапога на швейной машинке.  /forum.knitting-info.ru/style_images/grey/click2enlarge.gif" target="_blank">http://forum.knitting-info.ru/style_images/grey/click2enlarge.gif); border-bottom: rgb(136,136,136) 1px solid; border-left: rgb(136,136,136) 1px solid; padding-bottom: 1px; background-color: rgb(255,255,255); margin: 0px 2px 0px 0px; padding-left: 1px; padding-right: 1px; background-position: 100% 0%; vertical-align: middle; border-top: rgb(170,170,170) 1px solid; border-right: rgb(136,136,136) 1px solid; padding-top: 13px; background-origin: initial; background-clip: initial" width="300" /> /forum.knitting-info.ru/style_images/grey/click2enlarge.gif" target="_blank">http://forum.knitting-info.ru/style_images/grey/click2enlarge.gif); border-bottom: rgb(136,136,136) 1px solid; border-left: rgb(136,136,136) 1px solid; padding-bottom: 1px; background-color: rgb(255,255,255); margin: 0px 2px 0px 0px; padding-left: 1px; padding-right: 1px; background-position: 100% 0%; vertical-align: middle; border-top: rgb(170,170,170) 1px solid; border-right: rgb(136,136,136) 1px solid; padding-top: 13px; background-origin: initial; background-clip: initial" width="300" /> /forum.knitting-info.ru/style_images/grey/click2enlarge.gif" target="_blank">http://forum.knitting-info.ru/style_images/grey/click2enlarge.gif); border-bottom: rgb(136,136,136) 1px solid; border-left: rgb(136,136,136) 1px solid; padding-bottom: 1px; background-color: rgb(255,255,255); margin: 0px 2px 0px 0px; padding-left: 1px; padding-right: 1px; background-position: 100% 0%; vertical-align: middle; border-top: rgb(170,170,170) 1px solid; border-right: rgb(136,136,136) 1px solid; padding-top: 13px; background-origin: initial; background-clip: initial" width="300" /> /forum.knitting-info.ru/style_images/grey/click2enlarge.gif" target="_blank">http://forum.knitting-info.ru/style_images/grey/click2enlarge.gif); border-bottom: rgb(136,136,136) 1px solid; border-left: rgb(136,136,136) 1px solid; padding-bottom: 1px; background-color: rgb(255,255,255); margin: 0px 2px 0px 0px; padding-left: 1px; padding-right: 1px; background-position: 100% 0%; vertical-align: middle; border-top: rgb(170,170,170) 1px solid; border-right: rgb(136,136,136) 1px solid; padding-top: 13px; background-origin: initial; background-clip: initial" width="300" /> /forum.knitting-info.ru/style_images/grey/click2enlarge.gif" target="_blank">http://forum.knitting-info.ru/style_images/grey/click2enlarge.gif); border-bottom: rgb(136,136,136) 1px solid; border-left: rgb(136,136,136) 1px solid; padding-bottom: 1px; background-color: rgb(255,255,255); margin: 0px 2px 0px 0px; padding-left: 1px; padding-right: 1px; background-position: 100% 0%; vertical-align: middle; border-top: rgb(170,170,170) 1px solid; border-right: rgb(136,136,136) 1px solid; padding-top: 13px; background-origin: initial; background-clip: initial" width="300" /> /forum.knitting-info.ru/style_images/grey/click2enlarge.gif" target="_blank">http://forum.knitting-info.ru/style_images/grey/click2enlarge.gif); border-bottom: rgb(136,136,136) 1px solid; border-left: rgb(136,136,136) 1px solid; padding-bottom: 1px; background-color: rgb(255,255,255); margin: 0px 2px 0px 0px; padding-left: 1px; padding-right: 1px; background-position: 100% 0%; vertical-align: middle; border-top: rgb(170,170,170) 1px solid; border-right: rgb(136,136,136) 1px solid; padding-top: 13px; background-origin: initial; background-clip: initial" width="300" />Отредактировано: heba в 7 окт 2010, 14:07 |
| /forum.knitting-info.ru/style_images/grey/catend.gif" target="_blank">http://forum.knitting-info.ru/style_images/grey/catend.gif); padding-bottom: 3px; line-height: 1px; background-color: rgb(131,131,131); padding-left: 3px; padding-right: 3px; color: rgb(0,0,0); font-size: 1px; padding-top: 3px; background-origin: initial; background-clip: initial"> | |
| heba |
 7 окт 2010, 14:10 7 окт 2010, 14:10
Ссылка на это сообщение
|
|
можно считать местным жителем :) форумчанка Сообщений: 4043 Регистрация: 14.03.06 не репутируется каир |
Теперь приклеиваем сшитый сапог на балетки. Чтобы вязаный сапог и балетки держались вместе – соблюдайте правила склеивания клея.
А лучше всего их прошить (если есть навыки, сшивайте сами. Если нет, то лучше отнести в обувную мастерскую).  /forum.knitting-info.ru/style_images/grey/click2enlarge.gif" target="_blank">http://forum.knitting-info.ru/style_images/grey/click2enlarge.gif); border-bottom: rgb(136,136,136) 1px solid; border-left: rgb(136,136,136) 1px solid; padding-bottom: 1px; background-color: rgb(255,255,255); margin: 0px 2px 0px 0px; padding-left: 1px; padding-right: 1px; background-position: 100% 0%; vertical-align: middle; border-top: rgb(170,170,170) 1px solid; border-right: rgb(136,136,136) 1px solid; padding-top: 13px; background-origin: initial; background-clip: initial" width="300" /> /forum.knitting-info.ru/style_images/grey/click2enlarge.gif" target="_blank">http://forum.knitting-info.ru/style_images/grey/click2enlarge.gif); border-bottom: rgb(136,136,136) 1px solid; border-left: rgb(136,136,136) 1px solid; padding-bottom: 1px; background-color: rgb(255,255,255); margin: 0px 2px 0px 0px; padding-left: 1px; padding-right: 1px; background-position: 100% 0%; vertical-align: middle; border-top: rgb(170,170,170) 1px solid; border-right: rgb(136,136,136) 1px solid; padding-top: 13px; background-origin: initial; background-clip: initial" width="300" /> /forum.knitting-info.ru/style_images/grey/click2enlarge.gif" target="_blank">http://forum.knitting-info.ru/style_images/grey/click2enlarge.gif); border-bottom: rgb(136,136,136) 1px solid; border-left: rgb(136,136,136) 1px solid; padding-bottom: 1px; background-color: rgb(255,255,255); margin: 0px 2px 0px 0px; padding-left: 1px; padding-right: 1px; background-position: 100% 0%; vertical-align: middle; border-top: rgb(170,170,170) 1px solid; border-right: rgb(136,136,136) 1px solid; padding-top: 13px; background-origin: initial; background-clip: initial" width="300" /> /forum.knitting-info.ru/style_images/grey/click2enlarge.gif" target="_blank">http://forum.knitting-info.ru/style_images/grey/click2enlarge.gif); border-bottom: rgb(136,136,136) 1px solid; border-left: rgb(136,136,136) 1px solid; padding-bottom: 1px; background-color: rgb(255,255,255); margin: 0px 2px 0px 0px; padding-left: 1px; padding-right: 1px; background-position: 100% 0%; vertical-align: middle; border-top: rgb(170,170,170) 1px solid; border-right: rgb(136,136,136) 1px solid; padding-top: 13px; background-origin: initial; background-clip: initial" width="300" /> /forum.knitting-info.ru/style_images/grey/click2enlarge.gif" target="_blank">http://forum.knitting-info.ru/style_images/grey/click2enlarge.gif); border-bottom: rgb(136,136,136) 1px solid; border-left: rgb(136,136,136) 1px solid; padding-bottom: 1px; background-color: rgb(255,255,255); margin: 0px 2px 0px 0px; padding-left: 1px; padding-right: 1px; background-position: 100% 0%; vertical-align: middle; border-top: rgb(170,170,170) 1px solid; border-right: rgb(136,136,136) 1px solid; padding-top: 13px; background-origin: initial; background-clip: initial" width="300" /> /forum.knitting-info.ru/style_images/grey/click2enlarge.gif" target="_blank">http://forum.knitting-info.ru/style_images/grey/click2enlarge.gif); border-bottom: rgb(136,136,136) 1px solid; border-left: rgb(136,136,136) 1px solid; padding-bottom: 1px; background-color: rgb(255,255,255); margin: 0px 2px 0px 0px; padding-left: 1px; padding-right: 1px; background-position: 100% 0%; vertical-align: middle; border-top: rgb(170,170,170) 1px solid; border-right: rgb(136,136,136) 1px solid; padding-top: 13px; background-origin: initial; background-clip: initial" width="300" />Отредактировано: heba в 7 окт 2010, 14:11 |
|
|
|
| /forum.knitting-info.ru/style_images/grey/catend.gif" target="_blank">http://forum.knitting-info.ru/style_images/grey/catend.gif); padding-bottom: 3px; line-height: 1px; background-color: rgb(131,131,131); padding-left: 3px; padding-right: 3px; color: rgb(0,0,0); font-size: 1px; padding-top: 3px; background-origin: initial; background-clip: initial"> | |
| heba |
 7 окт 2010, 14:18 7 окт 2010, 14:18
Ссылка на это сообщение
|
|
можно считать местным жителем :) форумчанка Сообщений: 4043 Регистрация: 14.03.06 не репутируется каир |
теперь приступаем к украшению данных сапог. Для этого из рукавов пуловера делаем манжет для сапог (по подобию ботфортов).
На манжете для красоты вышиваем красивый элемент (если нет навыков, то отнесите в ателье). Сшиваем манжет и верх сапога на швейной машинке. Пришиваем на манжет декоративную пуговицу.Все – сапоги из пуловера готовы!  /forum.knitting-info.ru/style_images/grey/click2enlarge.gif" target="_blank">http://forum.knitting-info.ru/style_images/grey/click2enlarge.gif); border-bottom: rgb(136,136,136) 1px solid; border-left: rgb(136,136,136) 1px solid; padding-bottom: 1px; background-color: rgb(255,255,255); margin: 0px 2px 0px 0px; padding-left: 1px; padding-right: 1px; background-position: 100% 0%; vertical-align: middle; border-top: rgb(170,170,170) 1px solid; border-right: rgb(136,136,136) 1px solid; padding-top: 13px; background-origin: initial; background-clip: initial" width="300" /> /forum.knitting-info.ru/style_images/grey/click2enlarge.gif" target="_blank">http://forum.knitting-info.ru/style_images/grey/click2enlarge.gif); border-bottom: rgb(136,136,136) 1px solid; border-left: rgb(136,136,136) 1px solid; padding-bottom: 1px; background-color: rgb(255,255,255); margin: 0px 2px 0px 0px; padding-left: 1px; padding-right: 1px; background-position: 100% 0%; vertical-align: middle; border-top: rgb(170,170,170) 1px solid; border-right: rgb(136,136,136) 1px solid; padding-top: 13px; background-origin: initial; background-clip: initial" width="300" /> /forum.knitting-info.ru/style_images/grey/click2enlarge.gif" target="_blank">http://forum.knitting-info.ru/style_images/grey/click2enlarge.gif); border-bottom: rgb(136,136,136) 1px solid; border-left: rgb(136,136,136) 1px solid; padding-bottom: 1px; background-color: rgb(255,255,255); margin: 0px 2px 0px 0px; padding-left: 1px; padding-right: 1px; background-position: 100% 0%; vertical-align: middle; border-top: rgb(170,170,170) 1px solid; border-right: rgb(136,136,136) 1px solid; padding-top: 13px; background-origin: initial; background-clip: initial" width="300" /> /forum.knitting-info.ru/style_images/grey/click2enlarge.gif" target="_blank">http://forum.knitting-info.ru/style_images/grey/click2enlarge.gif); border-bottom: rgb(136,136,136) 1px solid; border-left: rgb(136,136,136) 1px solid; padding-bottom: 1px; background-color: rgb(255,255,255); margin: 0px 2px 0px 0px; padding-left: 1px; padding-right: 1px; background-position: 100% 0%; vertical-align: middle; border-top: rgb(170,170,170) 1px solid; border-right: rgb(136,136,136) 1px solid; padding-top: 13px; background-origin: initial; background-clip: initial" width="300" /> /forum.knitting-info.ru/style_images/grey/click2enlarge.gif" target="_blank">http://forum.knitting-info.ru/style_images/grey/click2enlarge.gif); border-bottom: rgb(136,136,136) 1px solid; border-left: rgb(136,136,136) 1px solid; padding-bottom: 1px; background-color: rgb(255,255,255); margin: 0px 2px 0px 0px; padding-left: 1px; padding-right: 1px; background-position: 100% 0%; vertical-align: middle; border-top: rgb(170,170,170) 1px solid; border-right: rgb(136,136,136) 1px solid; padding-top: 13px; background-origin: initial; background-clip: initial" width="300" /> /forum.knitting-info.ru/style_images/grey/click2enlarge.gif" target="_blank">http://forum.knitting-info.ru/style_images/grey/click2enlarge.gif); border-bottom: rgb(136,136,136) 1px solid; border-left: rgb(136,136,136) 1px solid; padding-bottom: 1px; background-color: rgb(255,255,255); margin: 0px 2px 0px 0px; padding-left: 1px; padding-right: 1px; background-position: 100% 0%; vertical-align: middle; border-top: rgb(170,170,170) 1px solid; border-right: rgb(136,136,136) 1px solid; padding-top: 13px; background-origin: initial; background-clip: initial" width="300" /> /forum.knitting-info.ru/style_images/grey/click2enlarge.gif" target="_blank">http://forum.knitting-info.ru/style_images/grey/click2enlarge.gif); border-bottom: rgb(136,136,136) 1px solid; border-left: rgb(136,136,136) 1px solid; padding-bottom: 1px; background-color: rgb(255,255,255); margin: 0px 2px 0px 0px; padding-left: 1px; padding-right: 1px; background-position: 100% 0%; vertical-align: middle; border-top: rgb(170,170,170) 1px solid; border-right: rgb(136,136,136) 1px solid; padding-top: 13px; background-origin: initial; background-clip: initial" width="300" /> /forum.knitting-info.ru/style_images/grey/click2enlarge.gif" target="_blank">http://forum.knitting-info.ru/style_images/grey/click2enlarge.gif); border-bottom: rgb(136,136,136) 1px solid; border-left: rgb(136,136,136) 1px solid; padding-bottom: 1px; background-color: rgb(255,255,255); margin: 0px 2px 0px 0px; padding-left: 1px; padding-right: 1px; background-position: 100% 0%; vertical-align: middle; border-top: rgb(170,170,170) 1px solid; border-right: rgb(136,136,136) 1px solid; padding-top: 13px; background-origin: initial; background-clip: initial" width="300" /> |
http://forum.knitting-info.ru/index.php?showtopic=68230&st=40
Метки: shoes |
Процитировано 5 раз
Понравилось: 1 пользователю
anything......light |


1-3.- 4. http://decor8blog.com 5-8.- 9. http://www.countryliving.com 10. beachvintage 11. www.craftstylish.com 12.- 13.suchprettythings 14. http://www.moonbasket.com 15-17.- 18. ![]() ma_zayka 19.- 20. marieclaire 21-25.-
ma_zayka 19.- 20. marieclaire 21-25.-
http://my-handmade.livejournal.com/42284.html#cutid1
Метки: light |
Процитировано 55 раз
Понравилось: 3 пользователям
ribbon rose |
|
|
|
Делюсь вот такой вот розочкой...           |
Серия сообщений "Buttons":
Часть 1 - zigzag flower
Часть 2 - New ways to stich your buttons
...
Часть 8 - chinese button
Часть 9 - buttons from salt dough
Часть 10 - ribbon rose
Часть 11 - accessory with zigzag flower
Часть 12 - buttons
...
Часть 19 - zipper button
Часть 20 - rock buttons
Часть 21 - useful
Метки: making flower |
Процитировано 413 раз
Понравилось: 17 пользователям
miniature shadow boxes |
http://forum.lowyat.net/topic/887187 


Серия сообщений "Shadow-Box":
Часть 1 - lanscapes
Часть 2 - Natural Decoration
Часть 3 - paper double frame
Часть 4 - light frame
Часть 5 - miniature shadow boxes
Часть 6 - shadow box
Часть 7 - make a shadow box
...
Часть 9 - kitchen storage
Часть 10 - 3D frames
Часть 11 - shadow box
|
Метки: shadow box |
Процитировано 43 раз
Понравилось: 7 пользователям
boxes |


Серия сообщений "Gifts":
Часть 1 - boxes
Часть 2 - craft book
...
Часть 24 - gift box patterns
Часть 25 - paper pine cone
Часть 26 - boxes
Часть 27 - gift wrapping
Часть 28 - zigzag gifts
...
Часть 32 - box
Часть 33 - boxes & origami
Часть 34 - gift box
Метки: boxes |
Процитировано 54 раз
Понравилось: 6 пользователям
kids room |
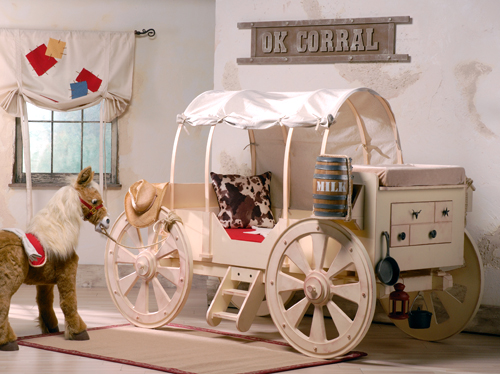
Метки: kids room |
Процитировано 1 раз
Понравилось: 2 пользователям
victorian items |


 http://www.prestoimages.net/store30/rd2919/2919_pd171

Серия сообщений "VICTORIAN":
Часть 1 - Fancy Necklace
Часть 2 - Victorian lamps wowwwwwwwww!!!
...
Часть 11 - victorian pin cushions
Часть 12 - lamps
Часть 13 - victorian items
Часть 14 - victorian wedding album
Часть 15 - victorian bath items
Часть 16 - bejeweled bottles
Часть 17 - faberge
Часть 18 - faberge2
Серия сообщений "Box":
Часть 1 - victorian items
Часть 2 - victorian items
Часть 3 - vintage mirror and accessories
Часть 4 - vintage
Часть 5 - vintage
|
Метки: victorian items |
Процитировано 26 раз
Понравилось: 5 пользователям
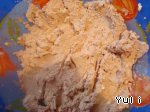
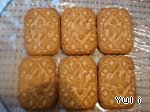
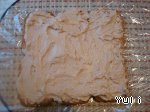
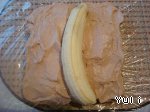
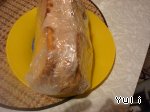
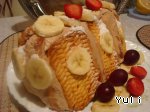
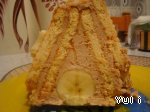
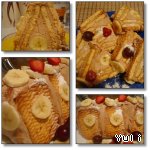
banana house |
Cake "House for banana" |
|

|
|
||||||||||||||||||||||
| Ingredients for "Cake" House for a banana "" | |||||||||||||||||||||||
|
|||||||||||||||||||||||
| Recipe for "Cake" House for a banana "" | |||||||||||||||||||||||
|
|||||||||||||||||||||||
Метки: biscuits banana dessert |
Процитировано 2 раз
Понравилось: 1 пользователю
curtains |


Метки: curtains |
Процитировано 10 раз
Понравилось: 2 пользователям
bottles |


osinka.ru
Метки: decorative bottles |
Процитировано 20 раз
Понравилось: 5 пользователям
an apron out of old shirt |

Метки: apron refashion |
Процитировано 22 раз
Понравилось: 2 пользователям
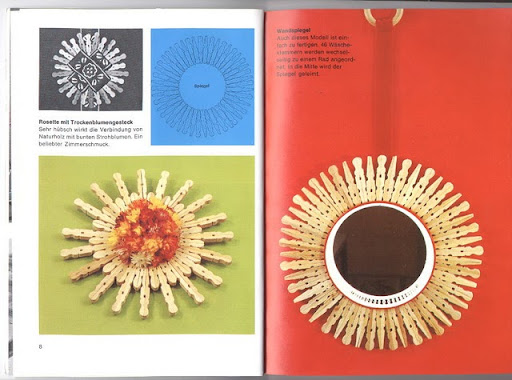
clothpin crafts |
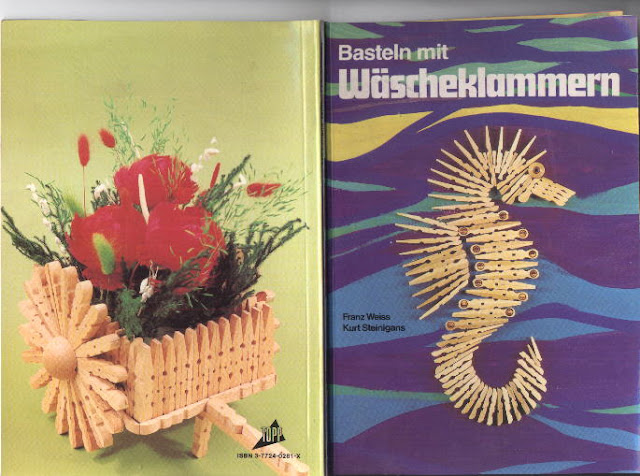
Серия сообщений "Candles":
Часть 1 - candles out of baby jars
Часть 2 - candles
...
Часть 22 - recycled CD & plastic bottle
Часть 23 - decoration
Часть 24 - clothpin crafts
Часть 25 - candle holder
Часть 26 - candle holder
...
Часть 39 - with coffee bean
Часть 40 - candle holder
Часть 41 - diy candleholder
Серия сообщений "Clocks":
Часть 1 - craft book
Часть 2 - clocks
...
Часть 13 - decorative clock frame
Часть 14 - cool clock
Часть 15 - clothpin crafts
Часть 16 - clocks
Часть 17 - clocks............
...
Часть 27 - ideas for kids rooms
Часть 28 - with coffee bean
Часть 29 - clocks
Серия сообщений "Cloth Pin":
Часть 1 - Recycle ice cream sticks - links to picasaweb
Часть 2 - Miniature cloth pin chair
...
Часть 4 - napkin holder
Часть 5 - recycled clothpins
Часть 6 - clothpin crafts
Часть 7 - jar covered with cloth pins
Часть 8 - miniature furniture
...
Часть 12 - frame with cloth pins
Часть 13 - cloth pin decoration
Часть 14 - clothpin chair
Метки: cloth pins |
Процитировано 5 раз
Понравилось: 1 пользователю
shoes refashion |

Метки: shoes |
Процитировано 2 раз
lamp out of carton roll |


Серия сообщений "Pipes & Tubes":
Часть 1 - DIY Bracelet
Часть 2 - Lamp out of PVC pipes
...
Часть 12 - frame from pipes
Часть 13 - lamp out of pipe
Часть 14 - lamp out of carton roll
Часть 15 - recycled toilet roll
Часть 16 - pouffe
...
Часть 28 - box
Часть 29 - breakfast table
Часть 30 - wall art
Метки: lamp tube |
Процитировано 7 раз
Понравилось: 1 пользователю
vase in a minute! |
Design vase for 1 minute
With the advent of spring, blog editor «Family Chic» , together with their children engaged in manufacturing small flower vases. The project involves: glass cup, balloon, and scissors. Balls are cut and stretched on a glass. It is important to leave the narrow part of the balloon intact, because through it in the future and will be inserted flowers.
Серия сообщений "Vase":
Часть 1 - vase
Часть 2 - carton vase
...
Часть 8 - recycle egg carton
Часть 9 - shade
Часть 10 - vase in a minute!
Часть 11 - recycled cardboard
Часть 12 - decoration
...
Часть 30 - vase with thread
Часть 31 - vase
Часть 32 - mercury plate
|
Процитировано 31 раз
Понравилось: 3 пользователям
lamp out of pipe |
Нам потребуется:
банка из под чипсов Принглс, клей (я нежно и трепетно люблю гель момент), нож для резки бумаги, пенька, краски и контуры, зернышки, и провод с патроном для лампы.
Сложность 1.
Время 1 вечер.
Берем банку и вырезаем в ней ножом для резки бумаги вот такие произвольные волнистые дырки.
Мне по форме эта банка напомнила что то африканское, поэтому я продолжила в том же стиле. Красим черной краской и рисуем контурами точки и узоры.
Приклеиваем зернышки. У меня были семечки из стручков южной акации. Но можно и зерна кофе. Или любые другие. И обшиваем верхний край.
Получается такой промежуточный вариант. Уже красиво и можно использовать как вазу. Только без воды, конечно) Но у меня другая задумка.
Дальше берем бумагу, в которую заворачивают подарки. Мягкую такую шуршащую. Ну Вы знаете.. у меня желтенькая, вырезаем квадрат нужного размера и вклеиваем его внутрь банки. Должна сказать, что это довольно не просто, учитывая то, что банка узкая и длинная. Приходится проявлять чудеса изобретательности, и использовать дополнительные подручные материалы, типа японских палочек. Получается вот так.
Вырезаем в дне дырку диаметром под патрон. Декорируем пенькой донышко, вставляем патрон и крепим его той же пенькой и клеем.
Дальше вкручиваем лампочку (что тоже довольно не просто и подвластно только маленькой узкой руке... и включаем. Внимание!! Использовать только не нагревающуюся лампочку!! Включаем, любуемся.
И что же... Вы думаете, что это все.. и дальше Вы прочтете фразу "Светильник готов". А вот и напрасно! Это только плафон. У этого мастер-класса будет еще часть вторая. Хотя и так им тоже можно пользоваться.
Серия сообщений "Pipes & Tubes":
Часть 1 - DIY Bracelet
Часть 2 - Lamp out of PVC pipes
...
Часть 11 - books out of boxes
Часть 12 - frame from pipes
Часть 13 - lamp out of pipe
Часть 14 - lamp out of carton roll
Часть 15 - recycled toilet roll
...
Часть 28 - box
Часть 29 - breakfast table
Часть 30 - wall art
|
Процитировано 8 раз
Понравилось: 1 пользователю


