CREATIVE MENDING – PART 1
###
###
###
јнна ћосквичева ...
Le Borse di Mirtilla є15 2017 - (0)»здательство: Sprea SPA язык: италь€нский ∆урнал посв€щен созданию сумок: в€зание крючком...
–јƒ”∆Ќџ… ƒ∆≈ћѕ≈– Ќј ќ—Ќќ¬≈ "ЅјЅ”Ў »Ќќ√ќ ¬јƒ–ј“ј" - (0)Inside Crochet є132 2021 - (0)
»здательство: Tailor Made Publishing Ltd язык: английский ∆урнал по в€занию крючком из ¬е...
¬€зание крючком. Ѕрюггское кружево дл€ начинающих. ¬идео, схемы, описани€. ѕродолжение следует... - (0)¬€зание крючком. Ѕрюггское кружево дл€ начинающих. ¬идео, схемы, описани€. ѕродолжение следует... ...
Furoshiki Fabric Wraps (€понское искусство обертывани€ предметов тканью) |
|
јнтистрессовое рукоделие, с использованием футболок и остатков ткани. |
оврик из футболок и остатков ткани.
|
ѕлетение коврика по канве с помощью крючка |
ƒневник |
|
Ѕоро от €понского мастера ћ”÷”. ¬се про технологию и цены на издели€ |
ƒневник |
|
–озы Ѕ≈« спиц и крючка |
|
—таринный скандинавский метод плетени€ иголкой (—канди-в€зание) |
http://www.beadsky.com/skandi_viazanije.php?ln=ru
—таринный скандинавский метод плетени€ иголкой (—канди-в€зание)
Ётот старинный и забытый метод рукодели€ использовалс€ в древности в скандинавских странах - Ќорвегии и Ўвеции. ј сейчас он почти полностью забыт и мало кто может вспомнить, как всЄ делалось. ¬нешне изделие выгл€дит в€заным, но на самом деле эта техника основана на спиральных переплетени€х толстой шерст€ной нитки, которое производитс€ с помощью большой иголки.

„тобы стежки получались ровными нужна специальна€ плоска€ дерев€нна€ игла. ќна должна быть довольно широкой, это зависит от толщины нитки, из которой плетЄтс€ работа. „тобы поэкспериментировать в этой технике можно вз€ть обычную большую сапожную иглу, но работать лучше оригинальной иглой.
|
»Ќ“≈–≈—Ќџ… —ѕќ—ќЅ ” –ј—»“№ ѕЋј—“» ” »«ќЅ–ј∆≈Ќ»≈ћ: ћј—“≈–- Ћј——! |
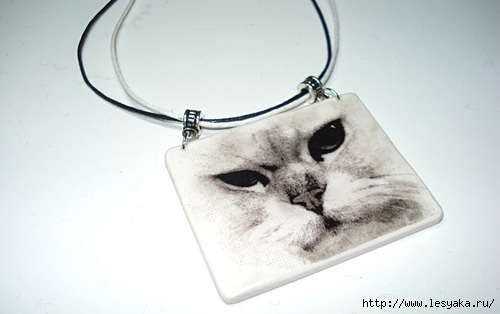
¬ данном мастер-классе € покажу и расскажу ¬ам как очень просто перевести любое изображение на пластику без использовани€ гел€ или спирта.
|
Ѕарджелло - вышивка на сетке |
Ѕарджелло - вышивка на сетке
¬идела и раньше, но не присматривалась. —ейчас вдруг разгл€дела - интересна€ и, похоже, быстра€ техника. ќбъЄмна€, €рка€ поверхность получаетс€. “олстые нитки + толста€ игла = флорентийска€ вышивка. »тали€ - страна талантов, € так считаю. Ќо и мы не лыком шиты
ƒ€ начала полюбуемс€ на подушки-покрывало
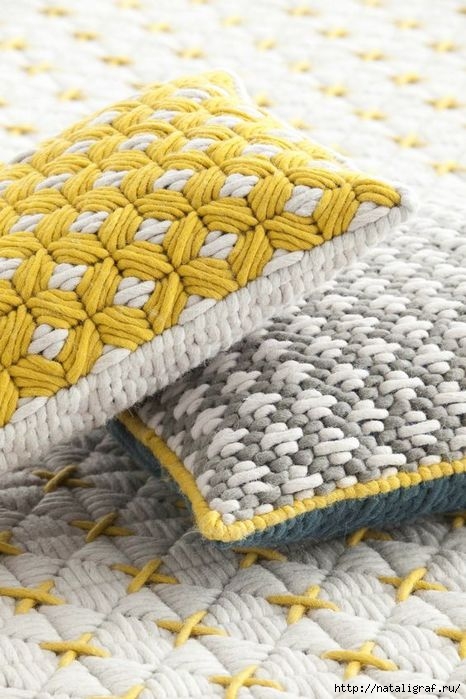
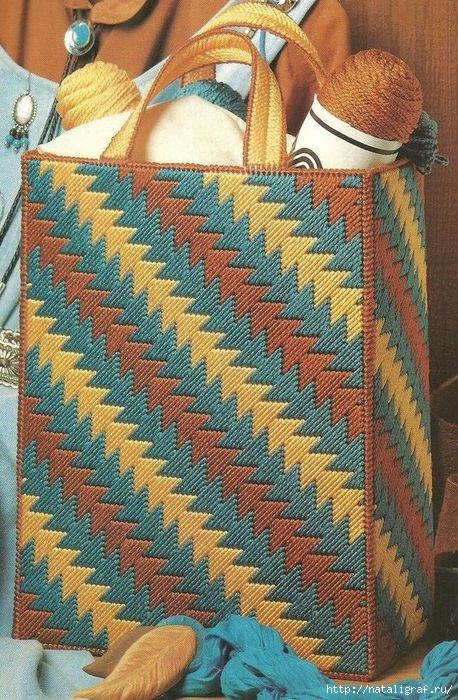
ј тут уже вышивка на пластиковой сетке - в такой технике вышивают сетку дл€ сумок, разных коробок и коробочек, шкатулок и даже ковриков.
|
”рок лоскутного шить€ 6. |
|
ќъЄмна€ вышивка ...на расчЄске |
![[CombEmbroidery+roemah+kebon+25des08.jpg]](http://3.bp.blogspot.com/_h8Zd1uX3vJc/SkYj0LmaByI/AAAAAAAAAAM/R23cLO-KFHY/S220/CombEmbroidery%2Broemah%2Bkebon%2B25des08.jpg)
|
≈щЄ один метод изготовлени€ ковриков |
ƒневник |
|
оврик из старых свитеров (метод ћарты) |
ќригинал вз€т у
 »спользование старых свитеров, шарфов, шапок, носков, перчаток и пр. ¬ общем все, что носить уже невозможно, а выкинуть жалко.
|
÷итата сообщени€ lipa_fv
ќ–»√»ЌјЋ№Ќџ… ѕќƒј–ќ„≈ —¬ќ»ћ» –” јћ» |
÷итата |
|
омментарии (0) |
Ѕесподобна€ Ўирли |
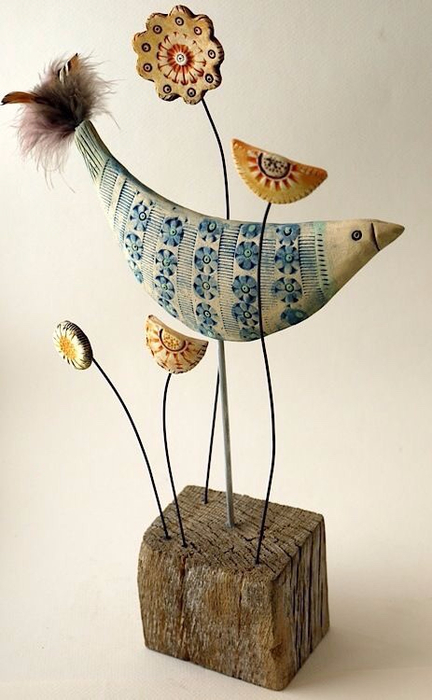
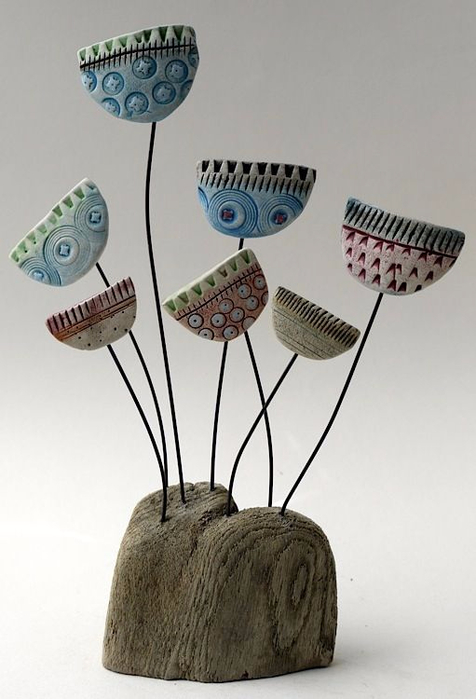
Ёто работы Shirley Vauvelle. ќна лепит их из... да, собственно, кака€ разница из чего это сделано, главное как! ¬едь это же сплошной восторг! » настроение.
ћожете изобразить нечто подобное в этой технике, обещаю, получите бездну удовольстви€ и самых удивительных эмоций. ј из чего лепить, вы сами знаете что вам ближе: соленое тесто, папье-маше, глина или полимерна€ глина, все в дело пойдет. √лавное - братьс€ за работу с хорошим настроением и удовольствием
|
—амый простой рецепт холодного фарфора (мастики) |
ћатериалы и инструменты: 1/4 часть чашки пищевой соды, 1/4 часть чашки кукурузного крахмала (можно картофельного), 1/4 часть чашки воды, акрилова€ краска, ложечка, подход€ща€ емкость.
»нструкци€:
|
Ѕез заголовка |

¬ этом мастер-классе € продолжаю знакомство всех желающих с контурным или, как его еще называют, графическим квиллингом. Ётот тип квиллинга отличаетс€ от привычного тем, что в контурном квиллинге нет сложных элементов, а рисунки или элементы создаютс€ за счет контуров, которые «прорисовываютс€» полосками цветной бумаги.
|
CREATIVE MENDING Ц PART 1 |
ƒневник |
|
—амоотвердевающа€ масса дл€ моделировани€ |
Ќет, это не холодный фарфор, и хот€ близко к нему, но гораздо проще. –ецептом этой отличной самоотвердевающей массы дл€ моделировани€ делитс€ с нами мастерица Apple and apple
ћасса идеальна дл€ детского творчества, так как она экологична€, пластична€, не липнет к рукам, тверда€ после высыхани€, можно раскрашивать чем угодно....¬ общем, рекомендую!
1 стакан пищевой соды
1/2 стакана кукурузного крахмала ( артофельный тоже подойдет, но кукурузный намного, намного пластичнее!)
3/4 стакана холодной воды
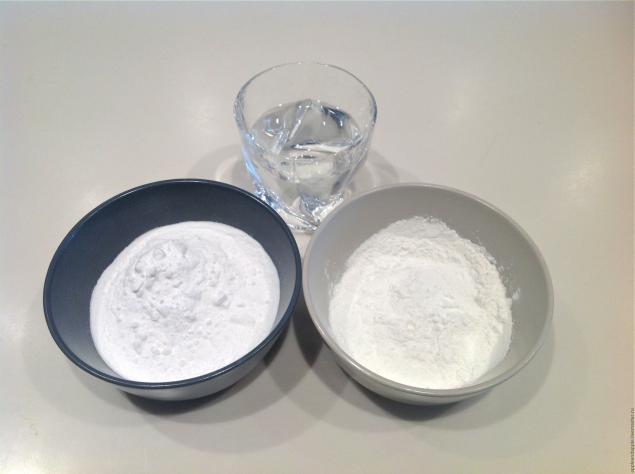
¬ кастрюльку высыпаем крахмал и соду
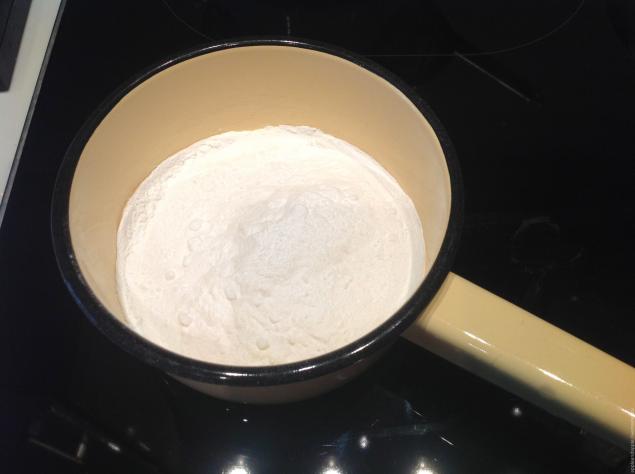
¬ыливаем воду и хорошо перемешиваем смесь
|
ѕростое изготовление сложной ткани |
”рок по созданию арт ткани от “ать€ны Ѕушмановой (BizWoo)
»сточник - http://www.livemaster.ru/topic/760305-delaem-art-tkan-dlya-svoih-rabot
ћен€ часто спрашивают, как € делаю ткань дл€ своих работ. ƒелюсь. Ќичего сама, в принципе особо не изобретала. Ёту технику часто используют американские мастерицы. –асскажу, как делаю ее €. техника в общем-то похожа на пиццу.
Ќам понадобитс€:
ткань основа;
клеева€ паутинка;
лоскуты различных тканей;
фатин или органза;
нитки различных цветов (дл€ машинки);
пр€жа различна€;
бумага дл€ выпечки;
ак делать:
ладем на стол основную ткань, у мен€ б€зь. «атем на нее клеевую паутинку, сверху раскладываем лоскуты тканей, чтобы они перекрыли основу, раскладываем пр€жу, нитки, накрываем фатином или органзой.
|
¬ыкройка кошелька. |
|
| —траницы: | [2] 1 |