Без заголовка |
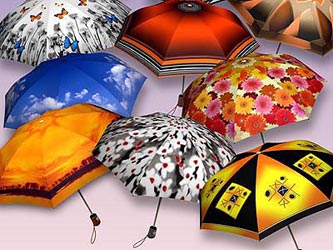
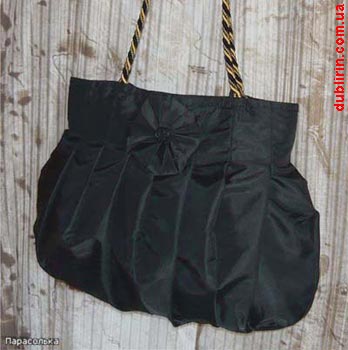
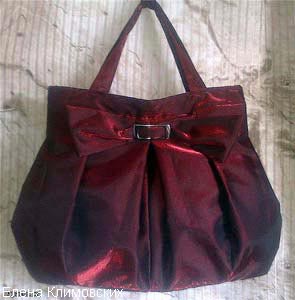
| Umbrellas are different: blue, green, red ... And how sad it is when they break down. But do not throw them away, from your favorite umbrella can make a nice handbag, which will also become a favorite. |
|
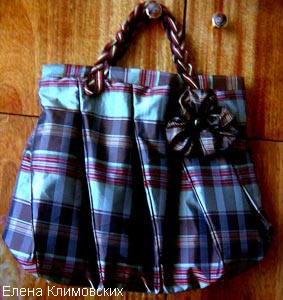
The number of variations on the theme of umbrellas bags unlimited, since umbrellas are available various colors, sizes, and the tissue they are different. In such a bag can lay the folds to make the assembly or drapery. Folds can be either at the bottom and top of the bag. Sumochnaya accessories too will its diversity. I'll show you a fairly simple structure, which is the power of those who are just starting to sew bags. Well, craftswomen from experience will not be difficult to change the model from the bottom and then sew bag will be completely different. So, we begin! Elena Klimovskikh (Parasolka) Udmurt August 27, 2010 |
 |
 |
|
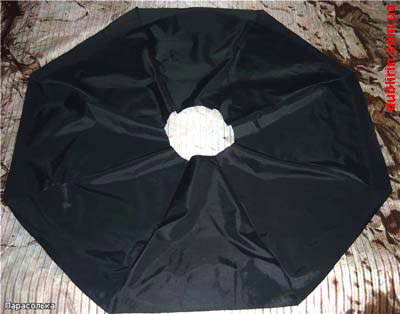 |
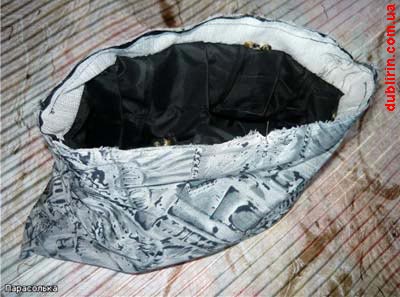
1. First, prepare an umbrella to work. Carefully rip off it from the frame, if necessary, erase and carefully ironed. The seam on the edge of the umbrella vpodgibku neatly cut off just below the seam. Cut from the center of a circle of radius umbrella of 8-10 cm, and the edge of the hood cut away a strip width of 7-8 cm from the circle can then be done for decorating bags. A strip (8 or 10 pieces, depending on the number of wedges umbrella) will be used to manipulate the top bag, zipper processing, of which it is possible to produce and handle. By the way, if preserved case of an umbrella, it too can be useful. |
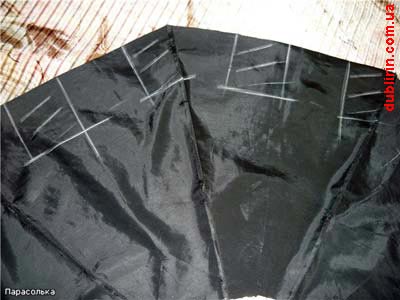 |
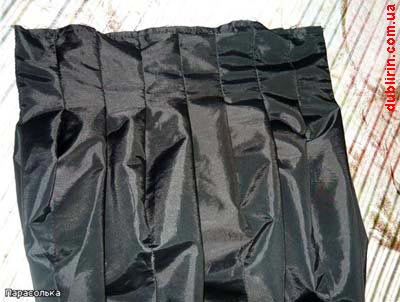
2. Now count and mark up the fold. Folds may be unilateral, colliding, bantovymi. The same can be variety and quantity: 8-10 by the number of wedges or 2 times (two on each wedge). In my model will be 16 folds. Calculation of the width of the folds: 126 cm (length of the edge of the umbrella, folded twice) minus 28 cm (width bags ready for use) and divide by 8 (number of folds in half of the umbrella), we get a little more than 12 cm The picture is shaded half the width of the folds. The length of the folds of 8 cm Folds baste or pin together, we check the width of the bag. At this stage, the width of the bag on top can be adjusted by varying the depth of wrinkles. |
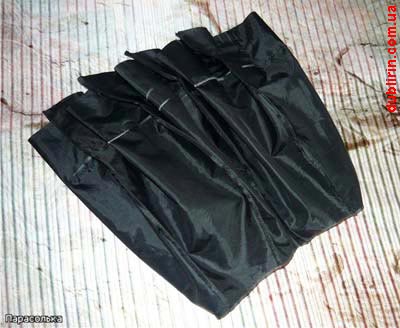 |
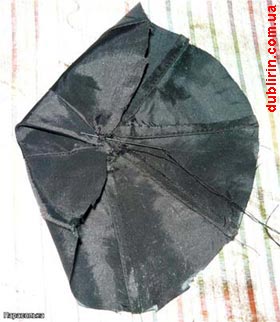
3. Folds grind, press out to one side ... |
 |
4. ... and we fix their machine-stitch along the edge of the bag. |
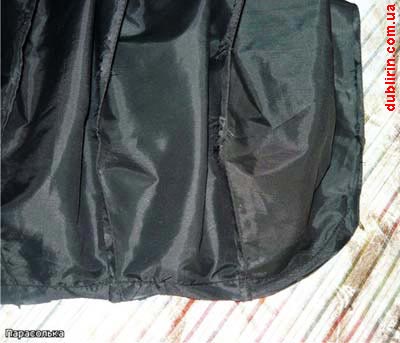 |
5. skive bottom of the bag, rounding the corners. Excess tissue in the corners cut off. |
 |
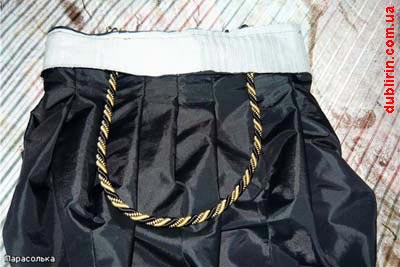
6. sew handles that can be drawn from the finishing fabric of the cord for curtains, beaded, chain, strap, weave out of cords, from Sew strips which were cut along the edge of the umbrella, etc. In this model the length of the handles 48 cm ( 1 m cable and cut in half by Seam by 1 cm). |
 |
7. The top handle bag obtachkoy that grind out first cut strips. Obtachku strengthen dublirinom. Do not forget to wet-heat-treated joints. |
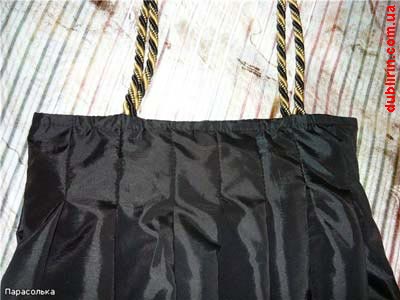 |
8. spawns edge bags, charting finishing line at the top of the bag and iron. |
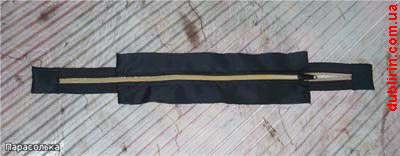 |
9. turn to buckle. clasps can be used to tape "Velcro" (Velcro) or make a loop and sew a nice button. I sew the zipper, while using it, so to speak, a simplified technique. First, handle bars zipper. The length of the shelf brackets 24 cm, so in a cut of about 26 cm length 42 cm zipper ends welt zipper slices of tissue. In detail, how to sew the zipper, but on a different technology, you can still see here . |
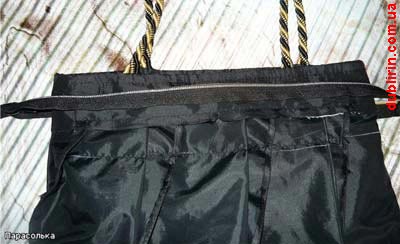 |
10. Trims buckle stitch to obtachke. |
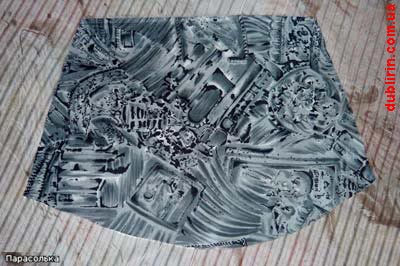 |
11. proceed to the lining. Lay the bag on the table and smooth hand laid folds, and you'll see what size and shape you need to cut out the lining. cuts out the lining in the form of bags, to the bottom of the expansion a little more, because you want to Sew Corners needed to create the volume. nastrachivaem on lining the pockets (for cell phone, keys, wallet - to whom it is necessary). On the pockets in the bag can still be read here . and here. |
 |
12. skive details lining, leaving a small area for turning the bag. Welds iron. Align the side seam to the bottom, grind angles. |
 |
13. obtachke to tack the lining or shear pins. abrasive seam to seam pritachivaniya paving planks to buckle obtachke. |
|
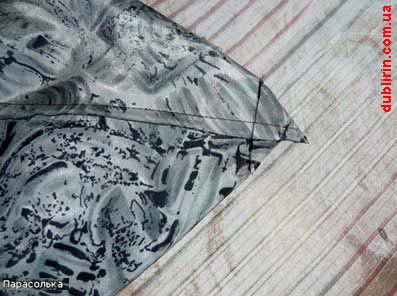
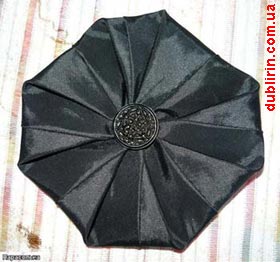
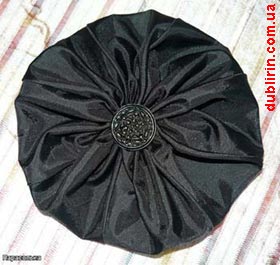
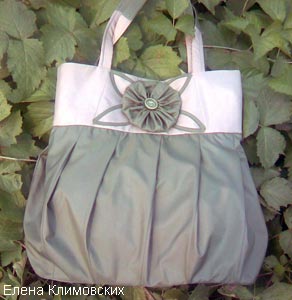
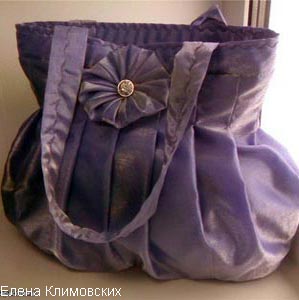
14. Now for a decorative element for which we need a circle cut out at the beginning. Secures thread on one seam stitching wedges and anchoring 2.3 stitches in the center, just next anchoring suture, remove any excess in the crease and so on around the perimeter of the circle. In the center of the resulting parts sew a button or a beautiful bead. finishing detail can be done in another way: on the edge of the circle going through the slanting stitches, thread and fasten contractible.In the center again sew some decoration, for example, the same decorative buttons. |
 |
 |
 |
 |
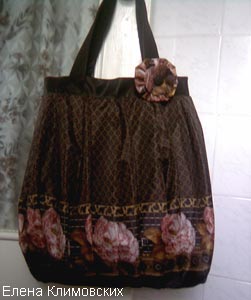
17. The bag turns, makes the ultimate moist heat treatment, finishing detail sew and sewed in the seam area, left for turning. That's it! You can walk the new handbag and receive compliments! I think that when your relatives, friends, acquaintances or colleagues know that you have sewn bag with his hands, and even from a broken umbrella, you'll hear a lot of nice words! I wish you success in creativity! By the way, soon autumn rains begin, and then break Umbrellas will be more ... |
| PS: I told him how I sew a bag of individually sewn without the umbrella of the bottom. If you want to make the bottom of this, of course, add the bag volume. But I'll explain another time. |
 |
 |
 |
 |
 |
 |
 |
 |
 |
 |
http://www.dublirin.com.ua/we_sew_zont.html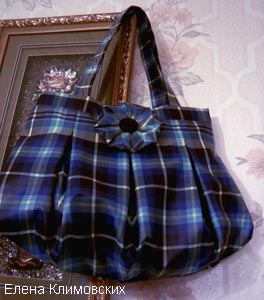 |
 |
| Рубрики: | учумелые ручки |
| Комментировать | « Пред. запись — К дневнику — След. запись » | Страницы: [1] [Новые] |


