(и еще 17320 записям на сайте сопоставлена такая метка)
Другие метки пользователя ↓
бисер бисероплетение браслеты брошь букет букет из конфет букет невесты винтаж вышивка вышивка бисером вышивка лентами вязание вязание крючком декор декорирование декупаж игрушка игрушки канзаши клатч колье коробочка кружево кукла кулинария лепка мишка мишка тедди новый год одежда для игрушек одежда для кукол открытки пасха плетение подушка рукоделие свадебные аксессуары свадьба серьги скрапбукинг сумка текстильная кукла тильда украшения цветы цветы из бумаги цветы из лент цветы из ткани шаблоны шитьё
Тильда-зайки - МК и идеи. |
Метки: рукоделие тильда заяц игрушки игрушка текстильная кукла одежда для кукол одежда для игрушек |
Кукольная одежда для большой и маленькой куклы. |
Кукольная одежда для большой и маленькой куклы.
Публикуя модели кукольной одежды для больших кукол, незаслуженно забывала про маленьких - а тут такая удача, наряды для маленькой куклы ничем не хуже, чем одежды для более высокой куклы.......
1.

Метки: рукоделие одежда для кукол одежда для игрушек игрушки игрушка кукла текстильная кукла |
Королевские платья для кукол. Выкройки кукольной одежды |
Королевские платья для кукол. Выкройки кукольной одежды.
С помощью королевского платья можно Золушку превратить в Принцессу, идеи таких платьев и выкройки кукольной одежды можно посмотреть ниже.
1.

Метки: рукоделие кукла текстильная кукла игрушки игрушка платье одежда для кукол одежда для игрушек |
Интересные МК по игрушкам |
Дневник |
Интересные МК по игрушкам
Метки: рукоделие игрушки игрушка кукла текстильная кукла одежда для кукол одежда для игрушек обувь для игрушек |
МК колготок для куклы. |
Дневник |
МК колготок для куклы.

Краткая инструкция по изготовлению колготок для кукол GOTZ Heart and Soul Dolls
Я покупала эластичную сетку бежевого цвета, мне хватило кусочка 30 см в ширину (на 3 пары колготок). Выкройка на глаз ![]()
Разрезала 30 сантиметровый кусочек на 2 по 15 см.
Кромка ткани - будущий пояс колготочек.
15 сантиметровый кусочек сложила пополам и вырезала вот таким образом

В развернутом виде это выглядит примерно так

Сложила и сделала очень слабую наметку (прошиваем не до конца)

Дальше прошила зигзагом на машинке (немножко натягивая ткань). То же самое можно сделать и вручную.
Получились 2 вот такие детали

Одну деталь выворачиваем на правую сторону, и заправляем ее внутрь второй детали, которая та и остается "швом наружу"

Снова делаем слабенькую наметку по шву, соединяя 2 детали между собой

Снова прошиваем зигзагом немного растягивая ткань (совсем чуть-чуть).
Закрепляем концы ниток и выворачиваем

Остается только подвернуть поясок и вставить резиночку (пояс я шила трикотажным швом, чтобы он легче растягивался)


В следующий раз буду пробовать шить капроновые колготки ![]()
Метки: рукоделие кукла текстильная кукла игрушки игрушка тильда колготки одежда для кукол одежда для игрушек |
МК платье для куклы |
Дневник |
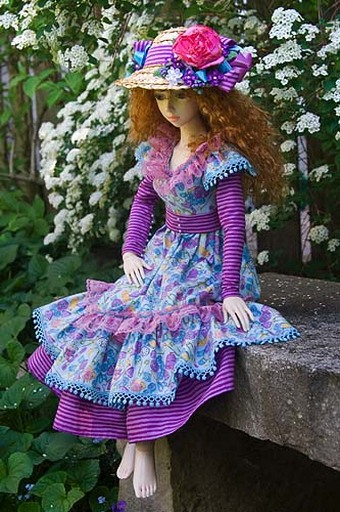
МК платье для куклы
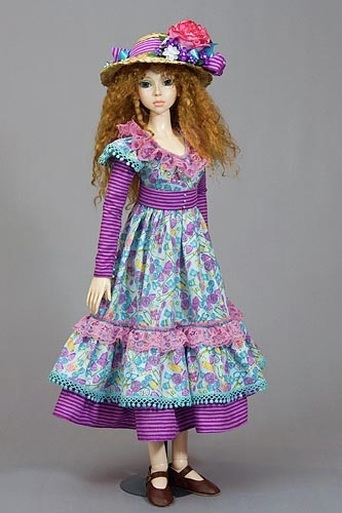
Country Ruffles - Original Prototype
|
 |
Метки: рукоделие платье одежда для кукол одежда для игрушек кукла тильда текстильная кукла игрушки игрушка |
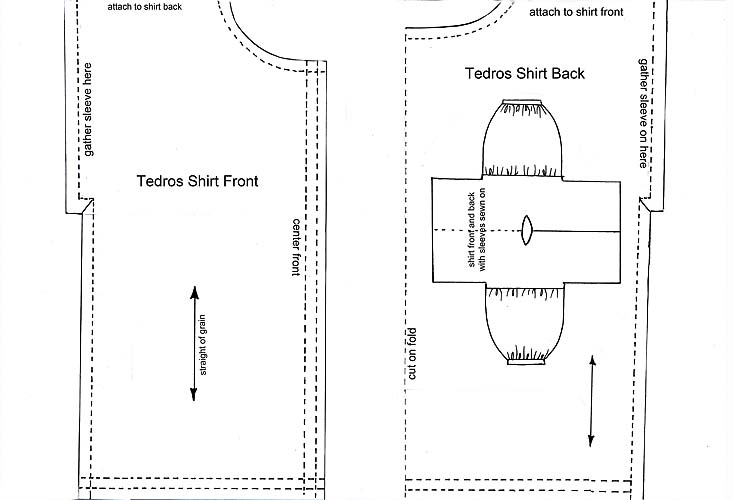
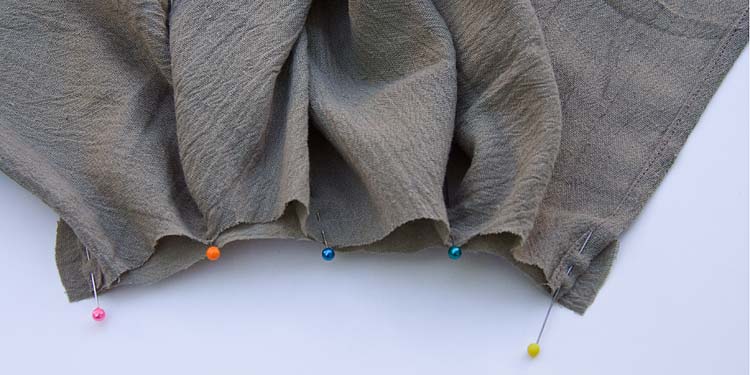
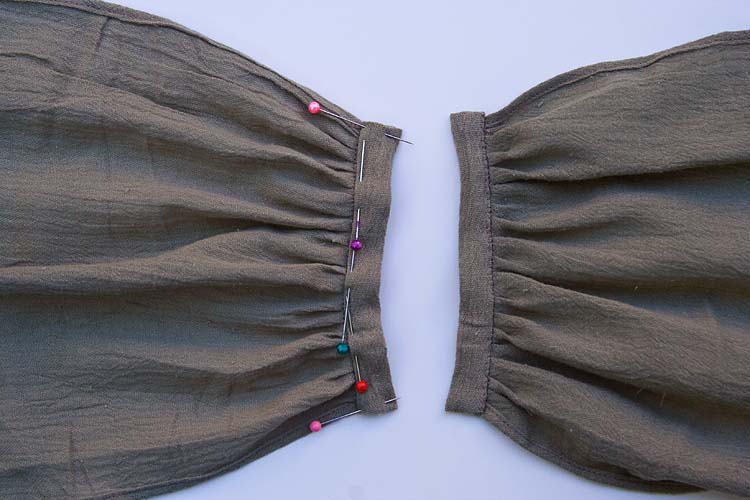
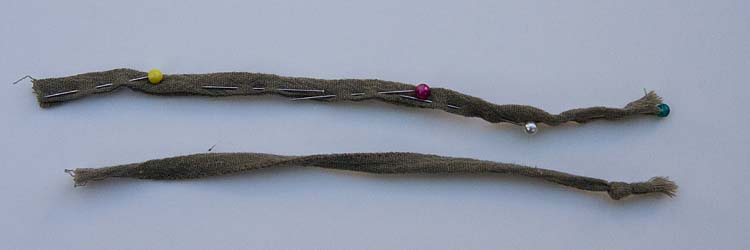
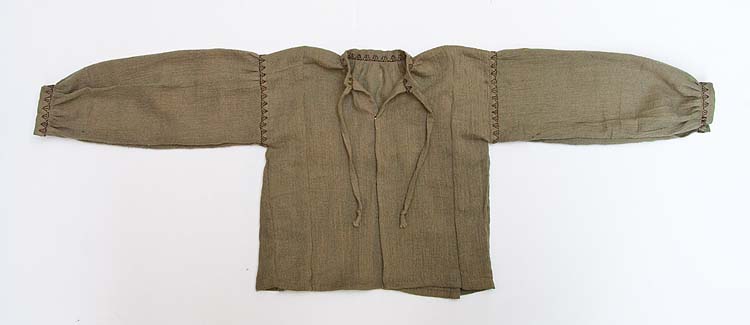
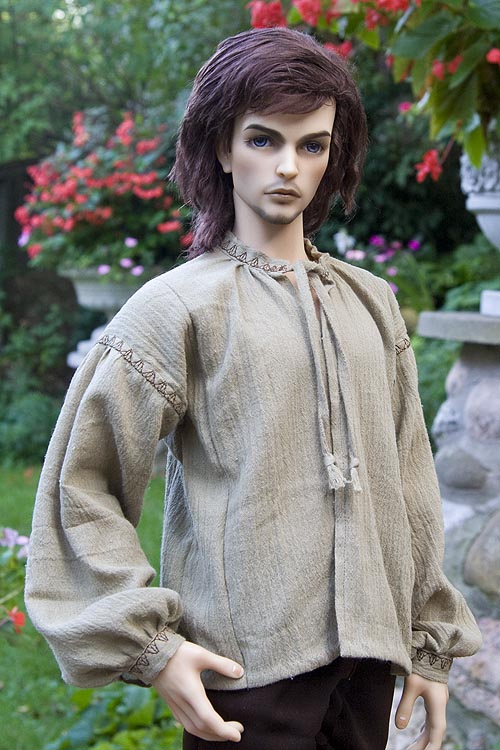
МК мужской рубахи для куклы |
Дневник |
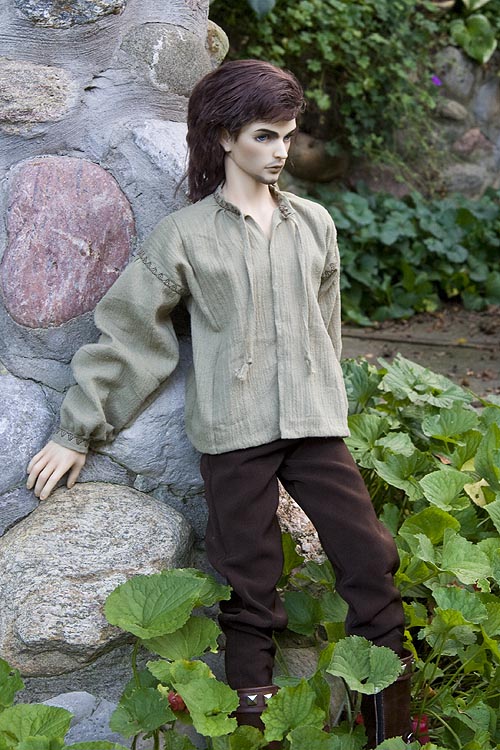
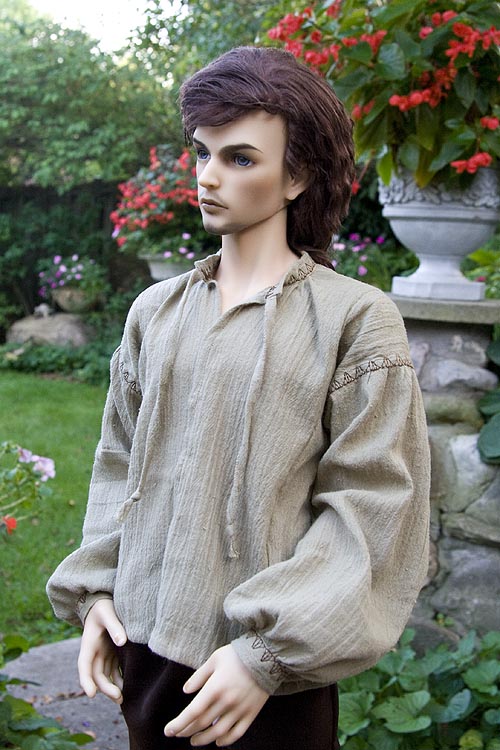
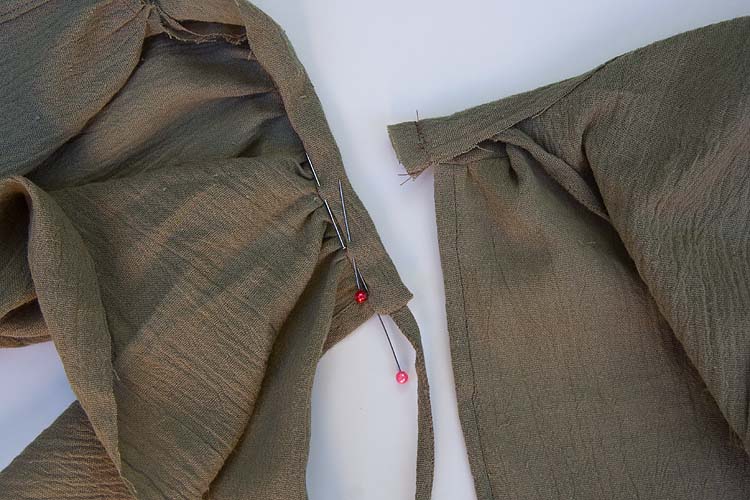
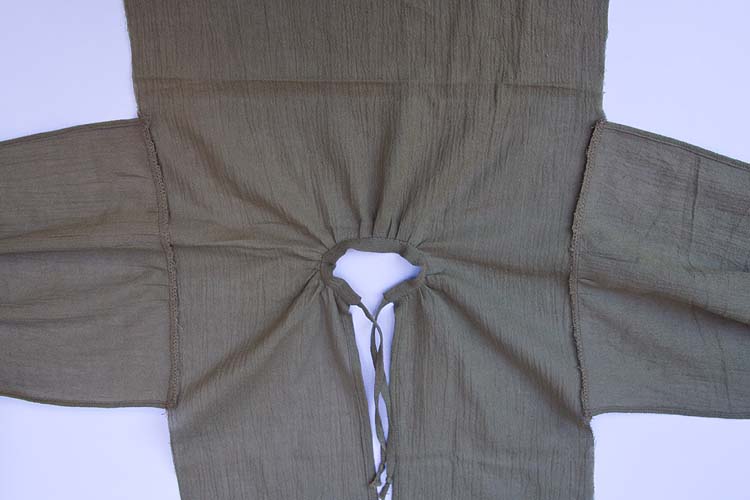
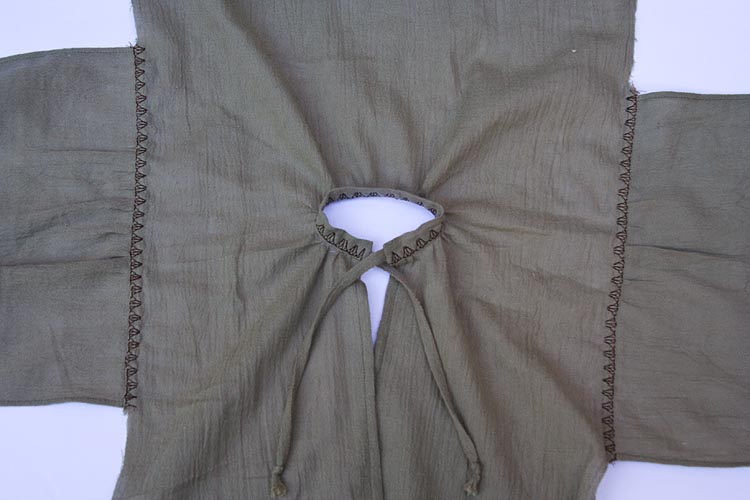
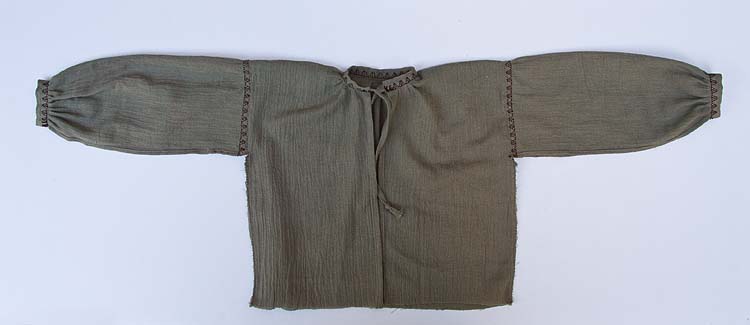
МК мужской рубахи для куклы
 |
 |
Метки: рукоделие одежда для кукол одежда для игрушек кукла игрушки игрушка |
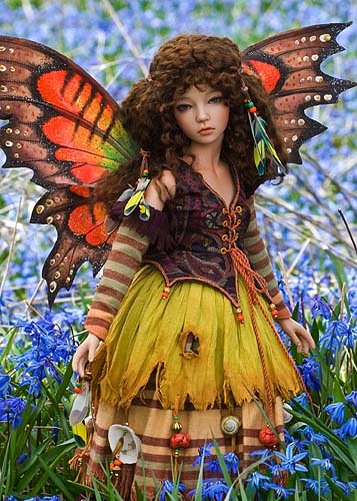
МК жилетка с крыльями для куклы |
Дневник |
МК жилетка с крыльями для куклы
 |
|
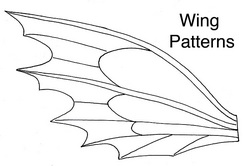
Метки: рукоделие игрушки игрушка кукла текстильная кукла тильда одежда для кукол одежда для игрушек жилетка крылья |
МК куклы |
Дневник |
МК куклы
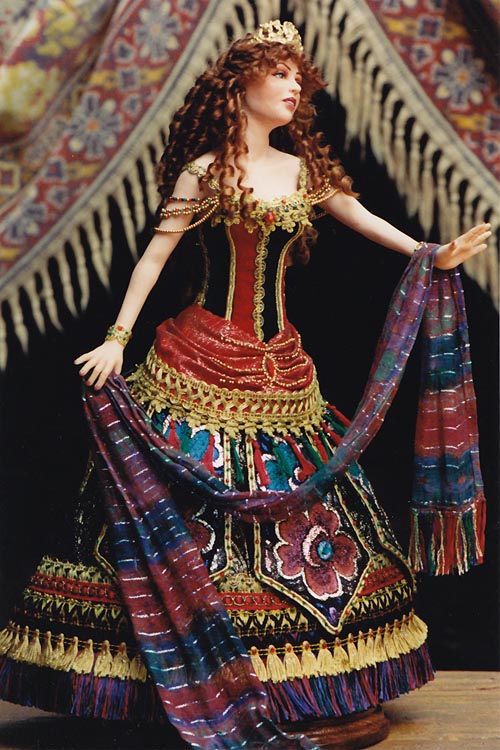 |
Many years ago, my sister and I made a one-of-a-kind art doll which was called "Think of Me". It was our version of Christine, from the stage production of Phantom of the Opera. Carlotta, the leading lady, had been injured in the famous chandelier accident, and Christine made her public singing debut as Queen of Carthage in the opera Hannibal Triumphant. Christine had been playing the role of slave girl in that opera, but was given Carlotta's skirt to wear over it, and went out to sing "Think of Me" Ever since getting into BJDs, I've wanted to recreate this costume for one of my dolls. In November 2010 I bought many of the special trims. I went back to the same store, but had to buy different ones as the trims used for my original were no longer available - except for the blue and red fringe. It took some time to decide which doll to make the outfit for. I knew it would be very dramatic, and could end up quite bulky, so felt my Iplehouse girls were too realistic and with too thick a waist. My Soom and Elfdoll girls, even though they had nice slim waists, both had way too big a bust. In the end I decided that my Supia Rosy would be perfect - she had a beautiful slim body and small bust. |
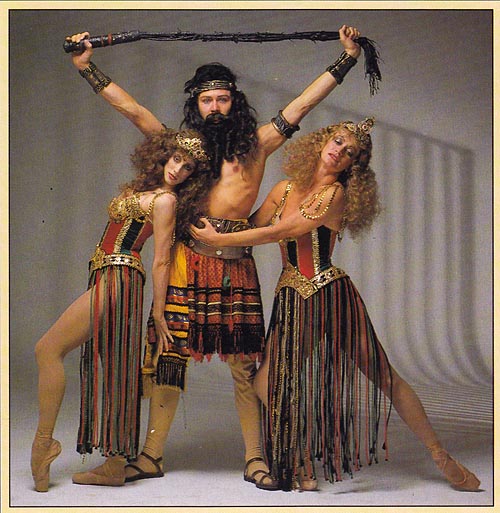
Two Slave Girls
|
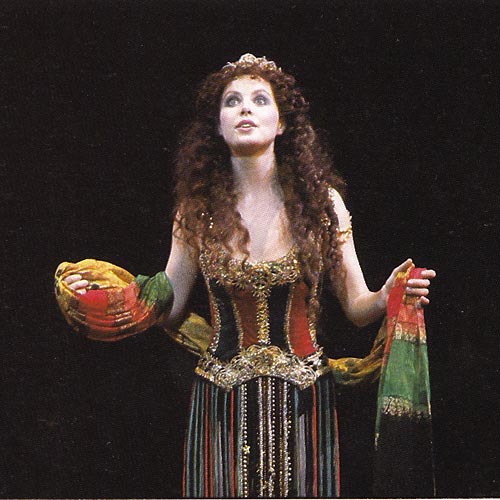
Christine
|
Метки: рукоделие кукла одежда для кукол одежда для игрушек игрушки игрушка |


