Hello everybody
No matter how hard I want to be better blogger, various things always get on my way and crafting and blogging goes into second plan.
I hope I will make it up to you buy offering one simple tutorial for all those enthusiastic crafters who enjoy making own embellishments.
I came up with this watching several different tutorial for all sorts of flowers, so it is not exact copy of somebodies work but it is sure inspired by other peoples work. I love making these using tick handmade paper, unfortunately I cannot always find this one so there is a way to achieve the texture using cardstock.
For this project you need:
-
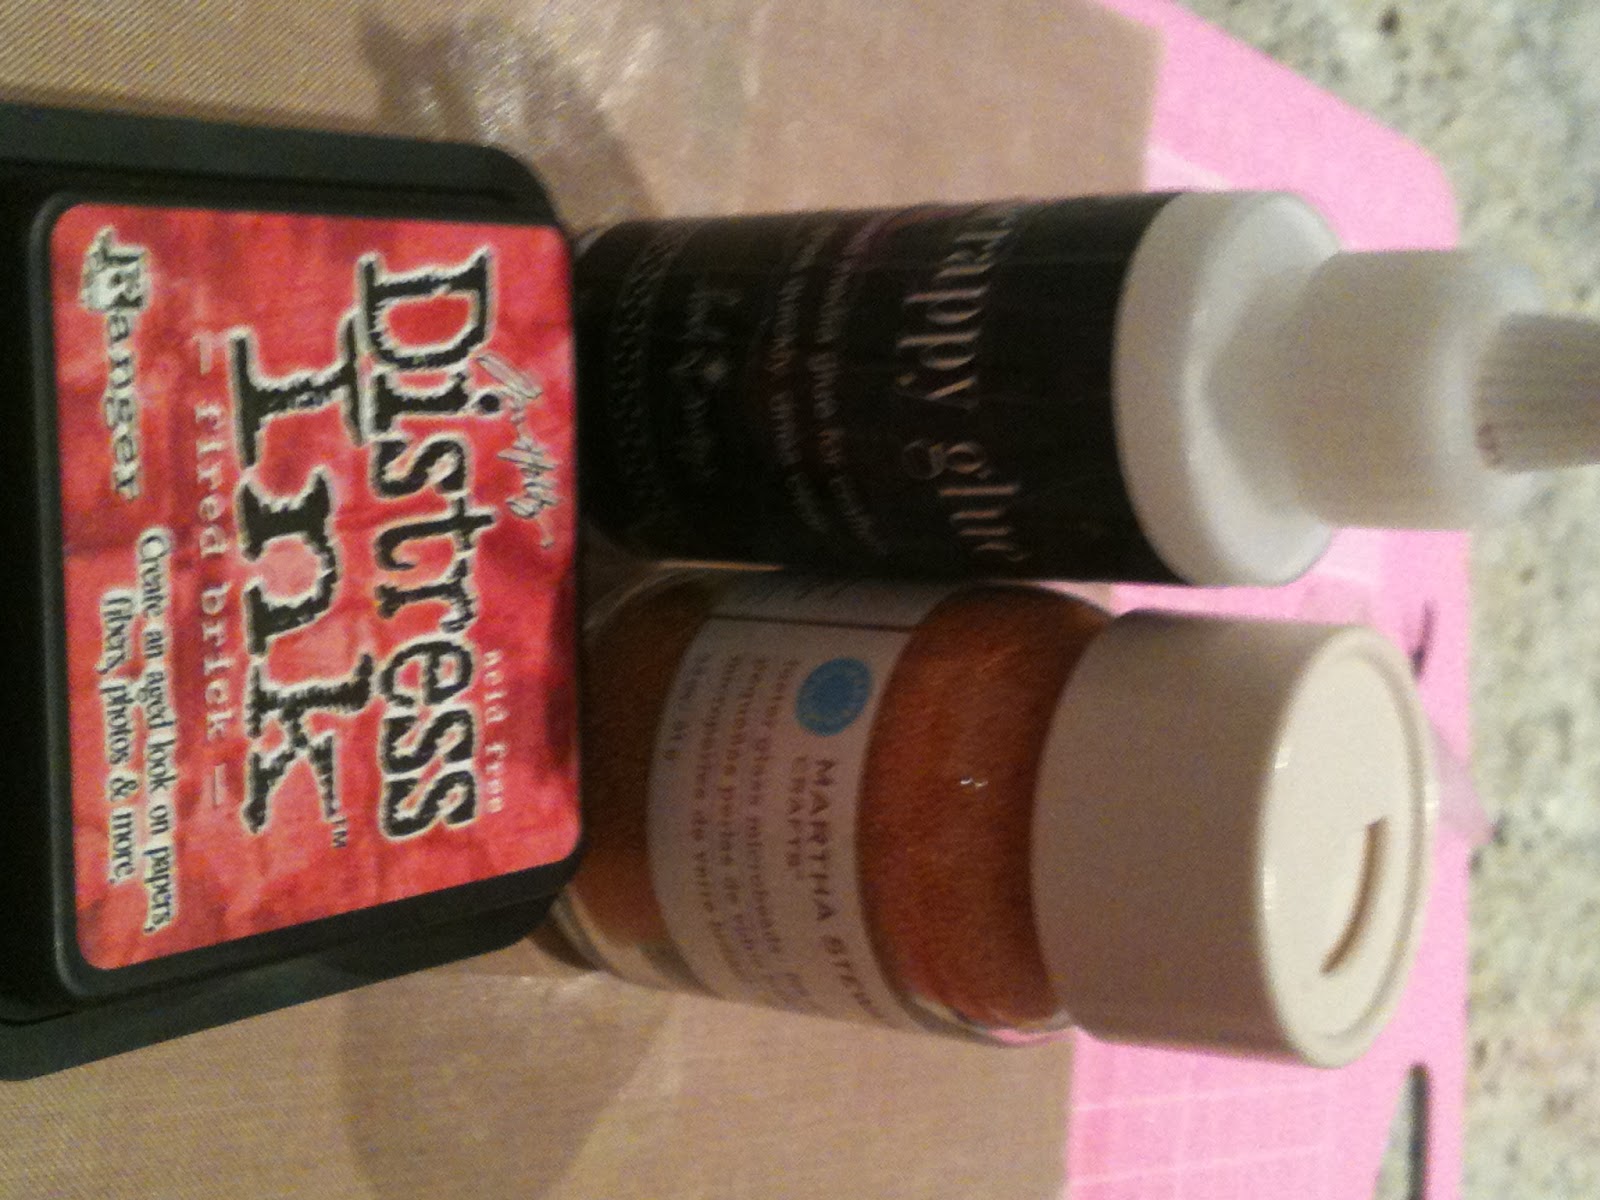
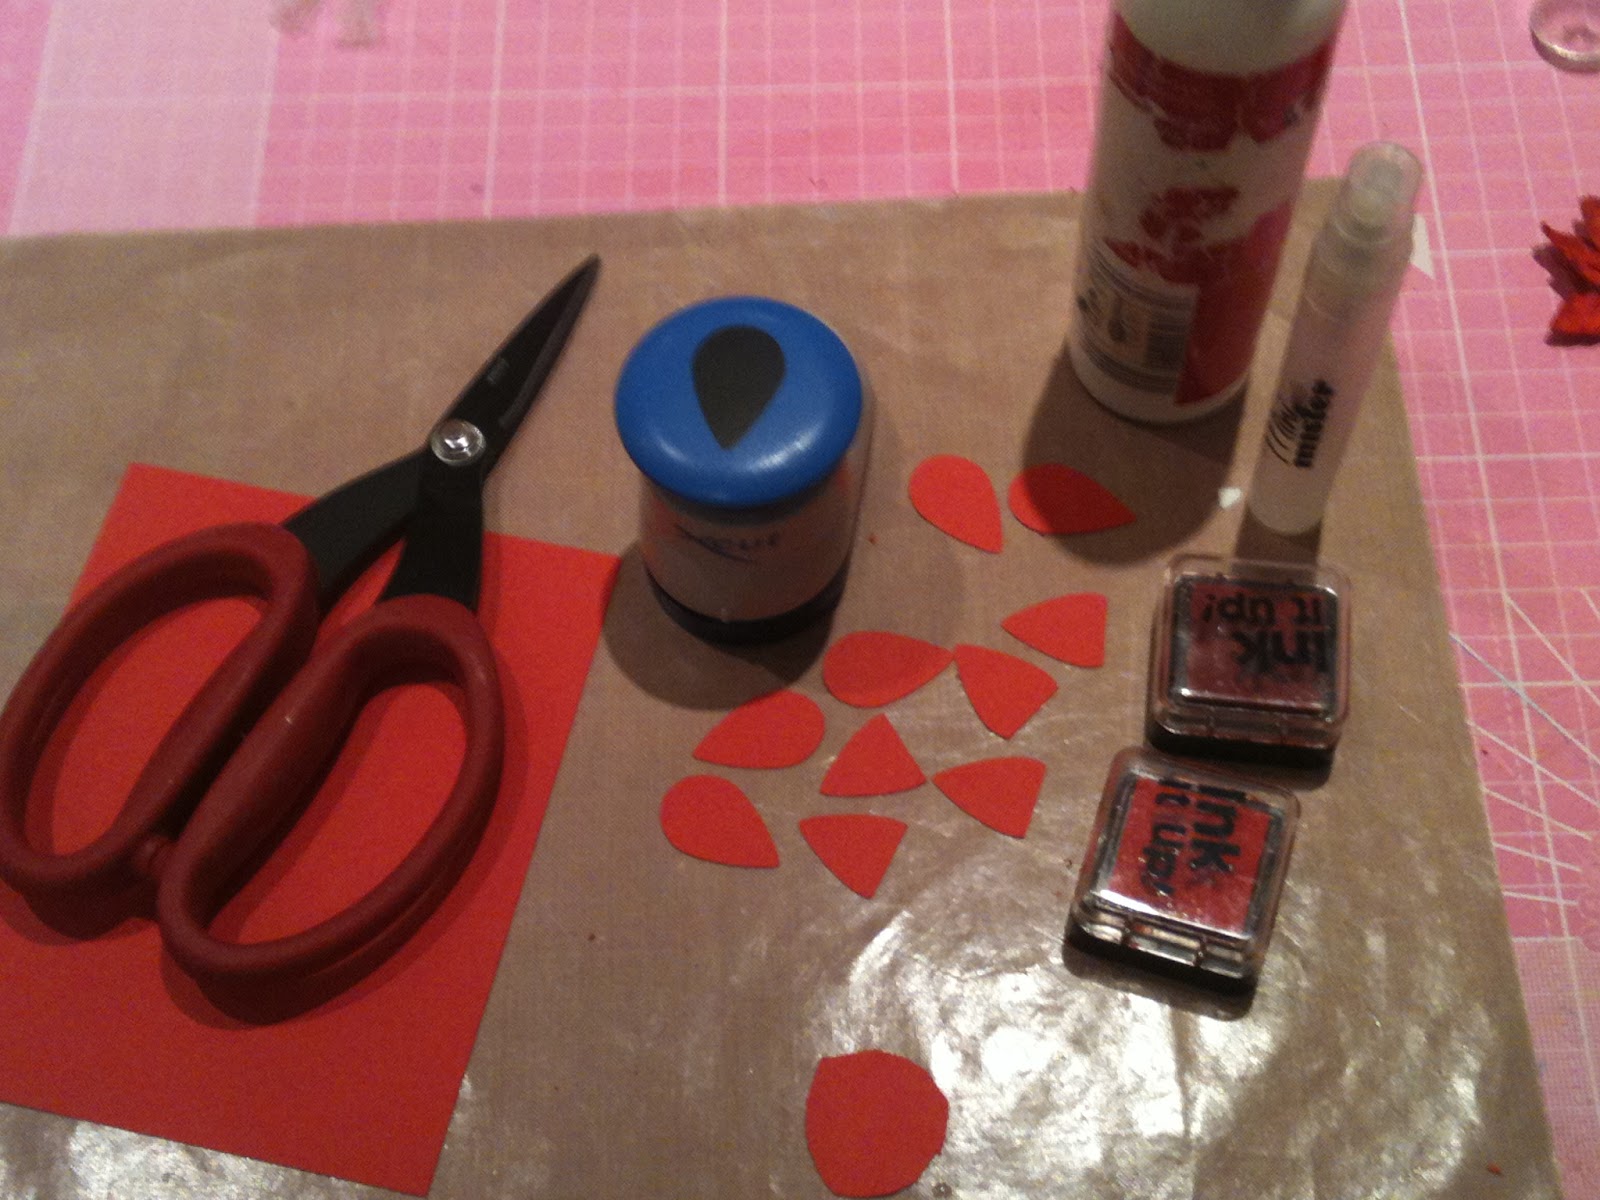
Solid core card (red and green)
-
some punch with at least one pointy end, I am using very old craft tonic tear drop punch
-
some water mister
-
scissors
-
Liquid glue (look for acid free one if you are making these to use on your scrapbook pages)
-
inks - optional
-
micro-beads/beads/buttons for flower centre
-
one small circle in red, could be punched or hand cut
-
Punch out 10 petals using your chosen pointy punch. Trim off sound side of 5 of them so that are slightly shorter. Then put them all on a craft sheet or some scrap paper and slightly mist them. take care not to overdone.
-
Then crunch up each of them making tiny balls, see the photo above.
-
Carefully unfold each ball, and you can ink them at this stage if you wish. You might find that pigment or chalk inks are better for this then distress inks.
-
In next step apply glue on your circle and start gluing larger petals as shown bellow:
-
Once first layer is done you have something like picture above. Then apply glue in a middle of your flower and glue second layer of the smaller petlas and there your flower nearly done:
-
Then apply more clear glue in a middle and add your chosen flower centre. If you using micro beads it is a good idea to wait until the flower and glue is completely dry then continue with this step. This is to prevent your micro beads to be glued on places you don't want them to appear.
-
Once your flower is dry you can punch out some green cards and leafs under your flower bud.
And there are few cards I made with these:
Hope you enjoyed my tutorial. Have a lovely day.