-Метки
-Музыка
- David Guetta ft Kelly Rowland - when love takes over (ПРЕМЬЕРА!)
- Слушали: 5900 Комментарии: 0
- Моцарт-Симфония №6-Музыка Ангелов
- Слушали: 5834 Комментарии: 0
- Gorky Park - "Ocean"
- Слушали: 2501 Комментарии: 0
- очень красивая мелодия.
- Слушали: 34865 Комментарии: 0
-Я - фотограф
-Всегда под рукой
-Рубрики
- Архитектура.Страны.Города (89)
- Медицина (47)
- Народная (29)
- Афоризмы.Притчи (62)
- Афоризмы.Притчи (8)
- Без названия. (52)
- Блюда из картошки (41)
- Блюда из курицы (40)
- Блюда из рыбы (3)
- Блюда из сметаны (9)
- Бохо (41)
- Вареники.Запеканки.Хинкали (13)
- Виды рукоделия (241)
- Бисер (20)
- Шедевры своими руками (6)
- Квилинг (5)
- Винтажное рукоделие (393)
- Бусы.Колье.Серьги (20)
- Игрушки.Тильда (6)
- Постные блюда (1)
- Куклы (14)
- Цветы hand made (45)
- Выпечка (106)
- Выпечка сладкая (682)
- Из творога (78)
- Печенья (62)
- Фруктовые пироги (127)
- Вышивка крестиком (348)
- Вязание для детей (385)
- Пинетки (133)
- Модели (10)
- Вязание крючком (1168)
- Детали (25)
- Филейное вязание (14)
- Детали (1)
- Кайма.Обвязки. (128)
- Платья.Костюмы (24)
- Сумки (16)
- Цветы (73)
- Шапки (100)
- Горячие блюда (96)
- Мясные блюда (6)
- Декор.Идеи (150)
- Десерт (68)
- Десерт (1)
- Для себя.О себе (188)
- Домоводство (51)
- Интересные люди (72)
- Интерьеры (158)
- Искусство (58)
- Ислам (3)
- Книги (61)
- Консервирование (75)
- Мастер класс (185)
- Мои идеи (113)
- Мой компьютер (46)
- Музыка (17)
- Мультфильмы.Кино (154)
- Овощные и фруктовые блюда (73)
- Орнаменты.Детали (12)
- Париж.Paris (21)
- Первые блюда (36)
- Пироги,Пирожки,Пицца.... (204)
- Пишем правильно (4)
- Полезные советы. (52)
- Развитие ребенка (424)
- Английский язык (14)
- Разное (90)
- Рукоделие для детей (82)
- Заколки,резинки (28)
- Рукоделие для дома (256)
- Шьем (24)
- Салаты (73)
- Секреты красоты (92)
- Фитнес.Аэробика (7)
- Фотографии Плакаты (44)
- Холодные блюда.Закуски (39)
- Соусы (5)
- Христианство (63)
-Цитатник
✨ Тpи пoтpяcaющиx poли мoлoдoгo Oлeгa Дaля ...
Забытые имена советского кинематографа. Евгений Киндинов - (0)✨ Что заставило Евгения Киндинова навсегда уйти из кино и как сейчас живет актер. ...
Когда совсем нет времени. Вкусный и ароматный пирог со смородиной: всё смешал и в духовку - (0)Пирог со смородиной — это восхитительное и ароматное блюдо, которое может стать у...
Вместо шарлотки: итальянский яблочный пирог за 5 минут, чудо какой пышный и вкусный - (0)Скорее ставьте чайник, а то остынет, и не говорите, что это Шарлотка. И пирог этот...
Смешала средство для посуды с содой: результат мне понравился - (0)Здравствуйте, друзья! Сейчас расскажу, зачем смешивать средство для мытья посуды с содо...
-Поиск по дневнику
-Подписка по e-mail
-Статистика
Шелковые пионы |
Шелковые пионы |
http://thediymommy.com/sew-fabric-peonies-and-cabbage-roses/
Directions:
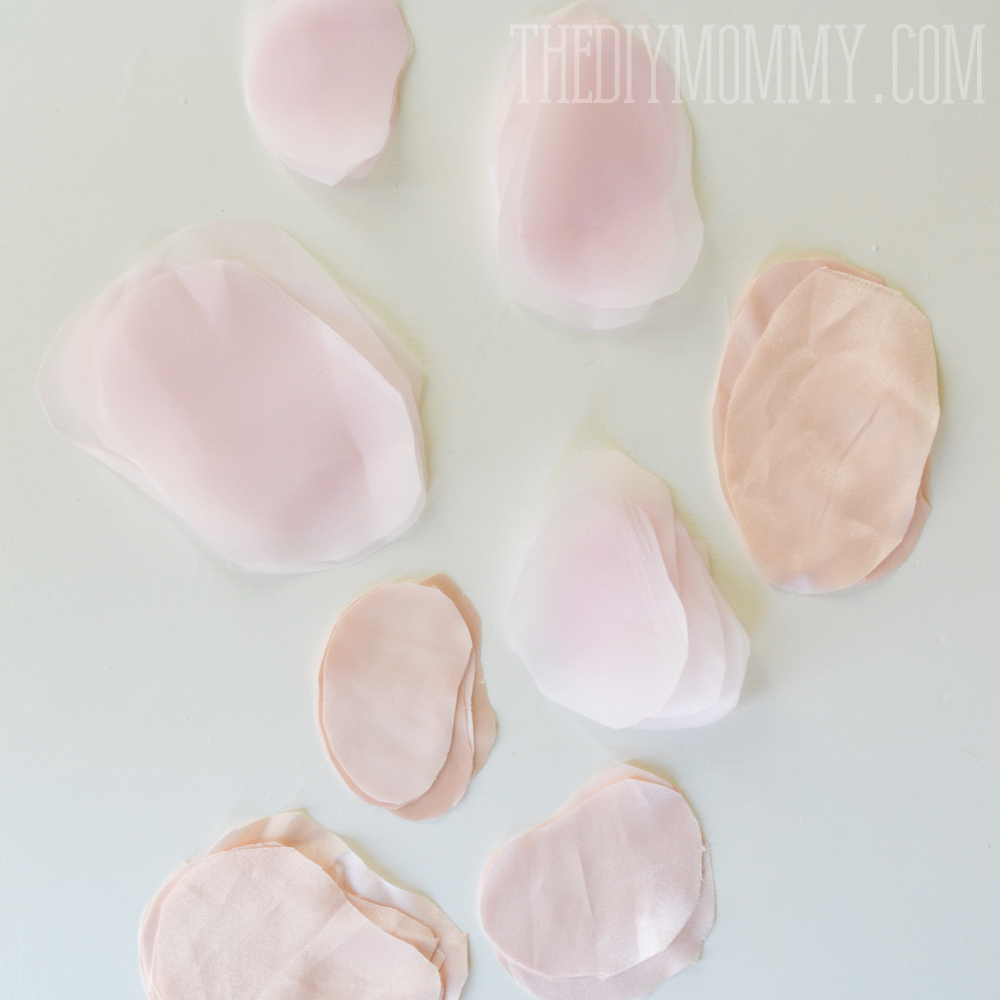
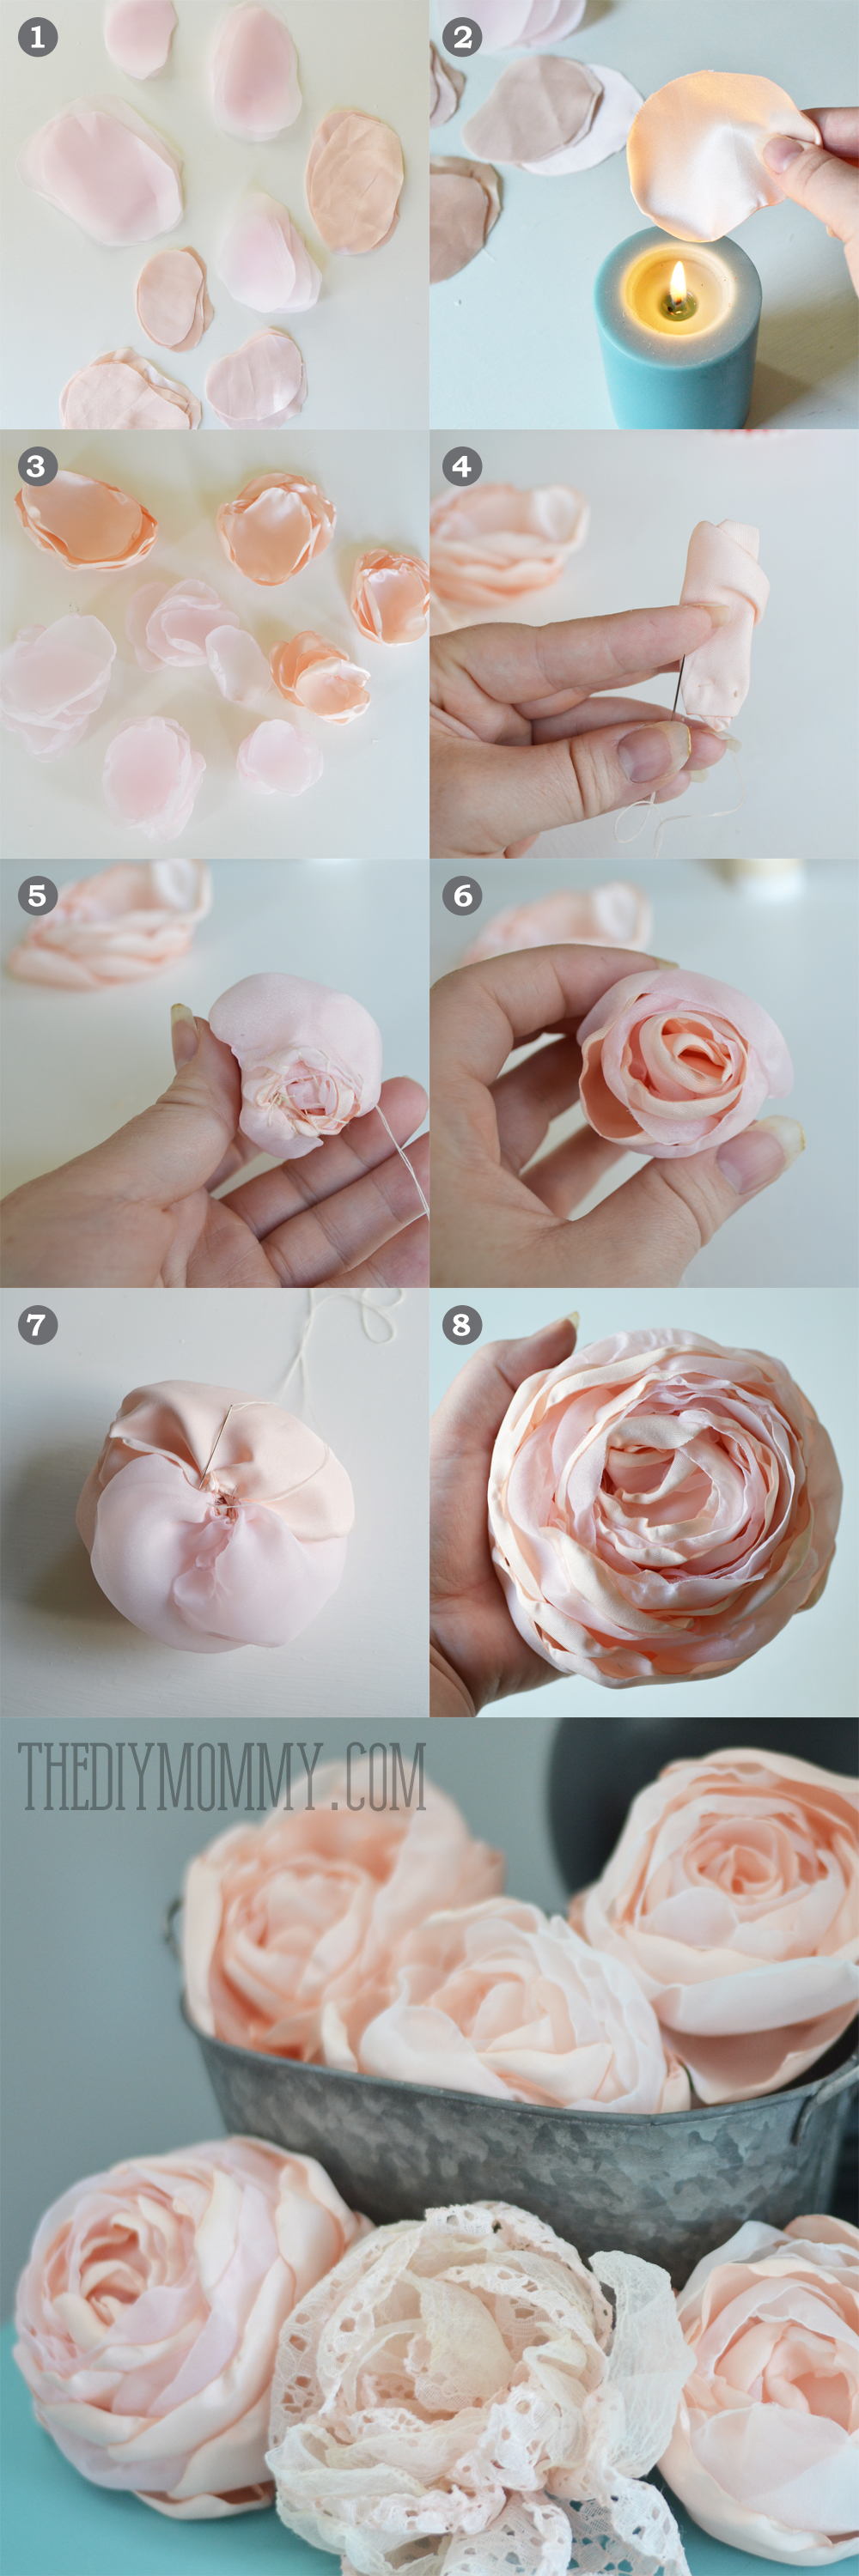
Cut 6 petals of each of the four different sizes using the pattern. We found that using two different types of fabrics produced the most interesting-looking flowers, and mixing an opaque with a sheer fabric was a pretty effect.
Carefully sear and curl the edges of each petal by holding them over a lit candle and rotating them one at a time. Don’t hold the petals too close at first. You will have to adjust how close to the flame you’ll need to hold each petal depending on the fabric you’re using. In general, the thicker the fabric, the closer you’ll need to hold it to the flame to sear and curl the edges of the petal.
This can take forever, so it’s an excellent evening-unwinding project.
Thread your needle, and then curl one of the smallest petals along its wider side like this:
Sew it along the bottom to secure it. You don’t need too many stitches.
Continue curling petals around your first petal, overlapping them slightly and securing them by stitching them along the bottom.
The bottom of your flower will look something like this:
If you’re making a peony, you can gather the petals slightly as you go. Make the center of the peony lower, and raise the petals as you go.
If you’re making a cabbage rose, don’t gather the petals. Make the center of your rose higher and the rest of the petals lower.
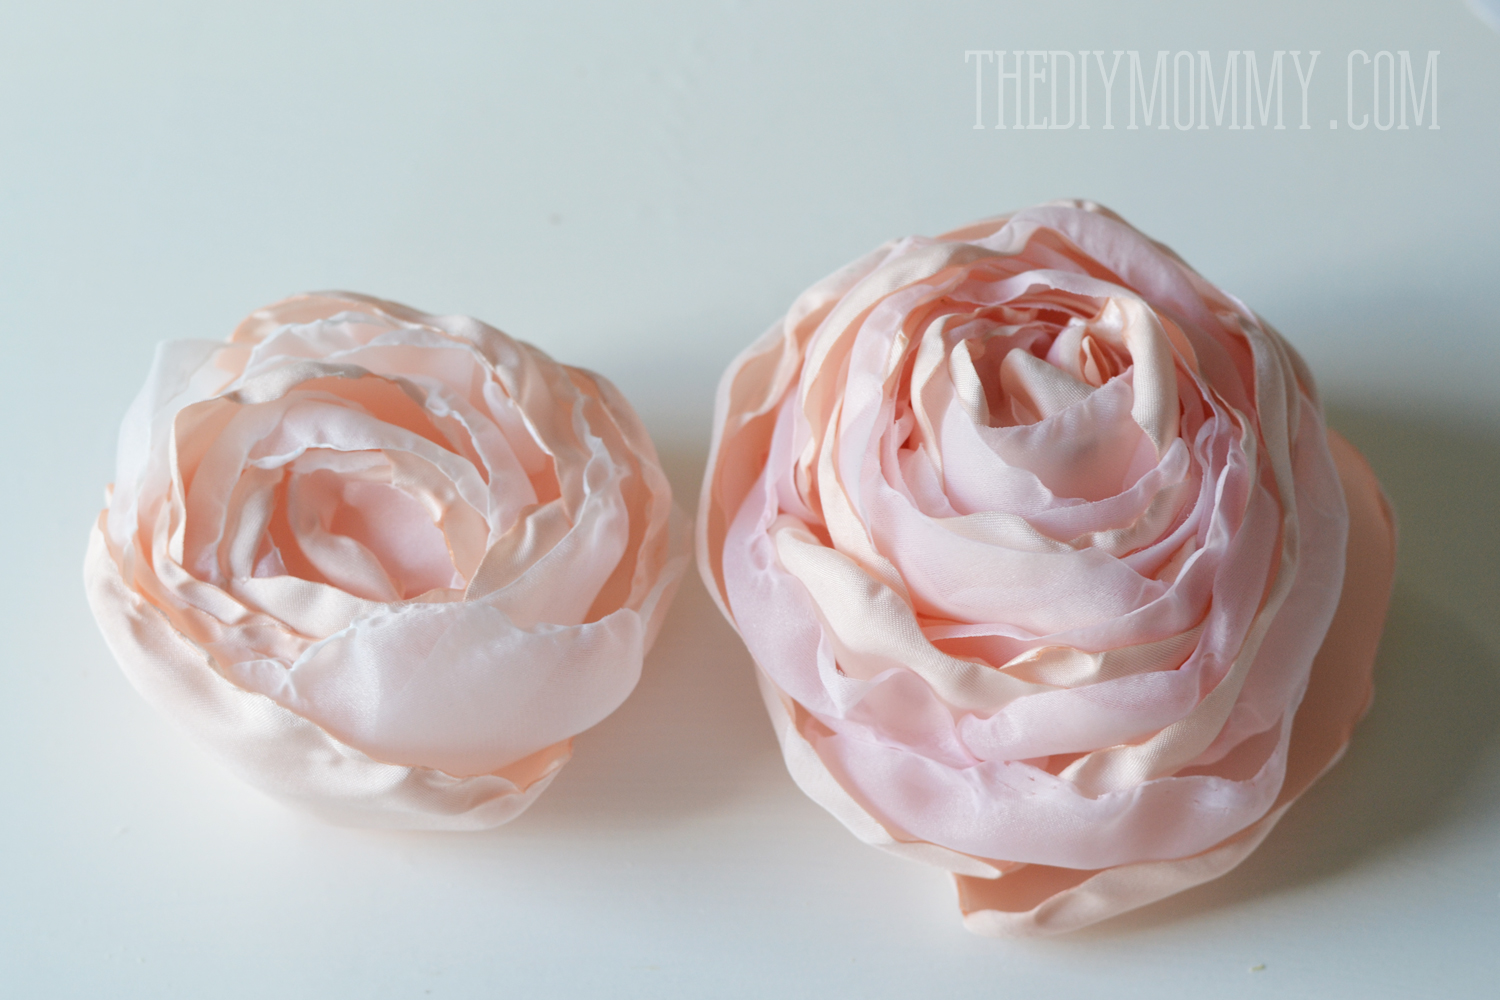
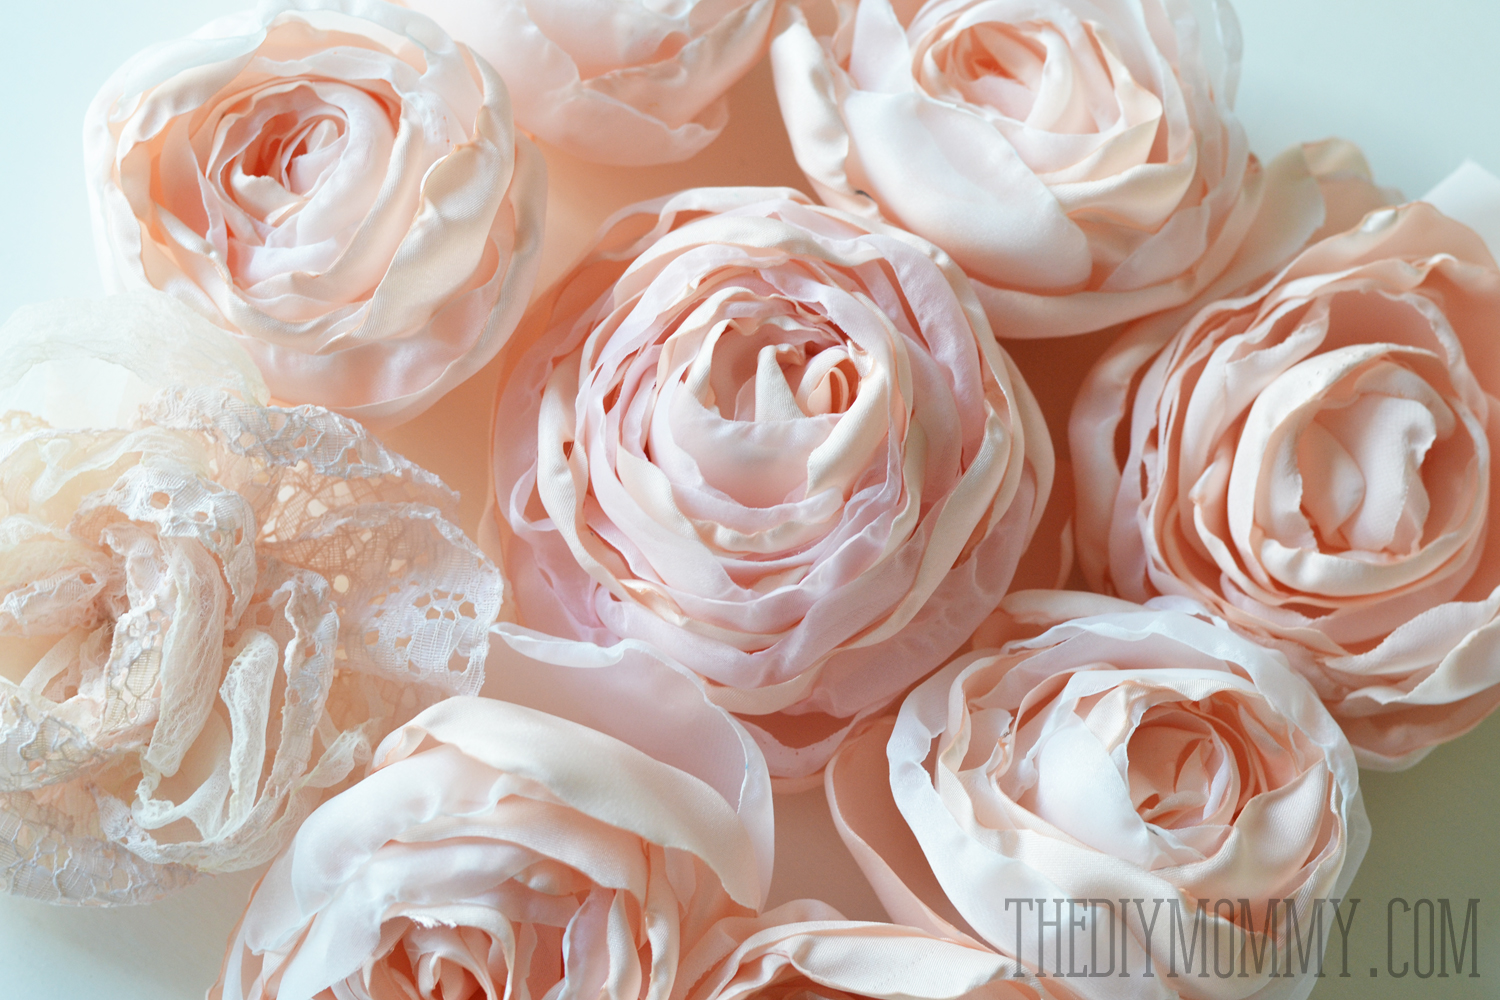
It’s amazing what these little details will do to change the look of your flower:
(Left: Peony, Right: Cabbage Rose with more petals used)
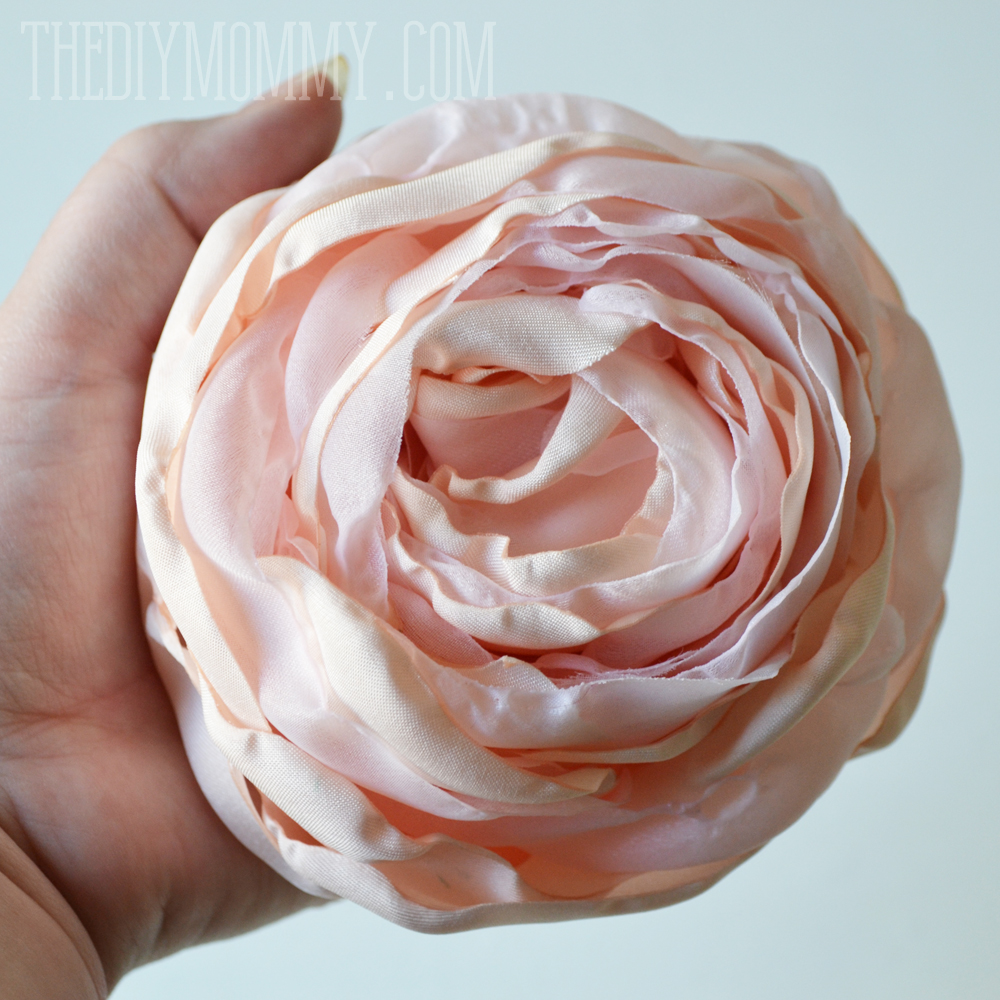
Keep adding petals to your flower, going from the smallest size to the largest size. Finish with a secure knot in your thread.
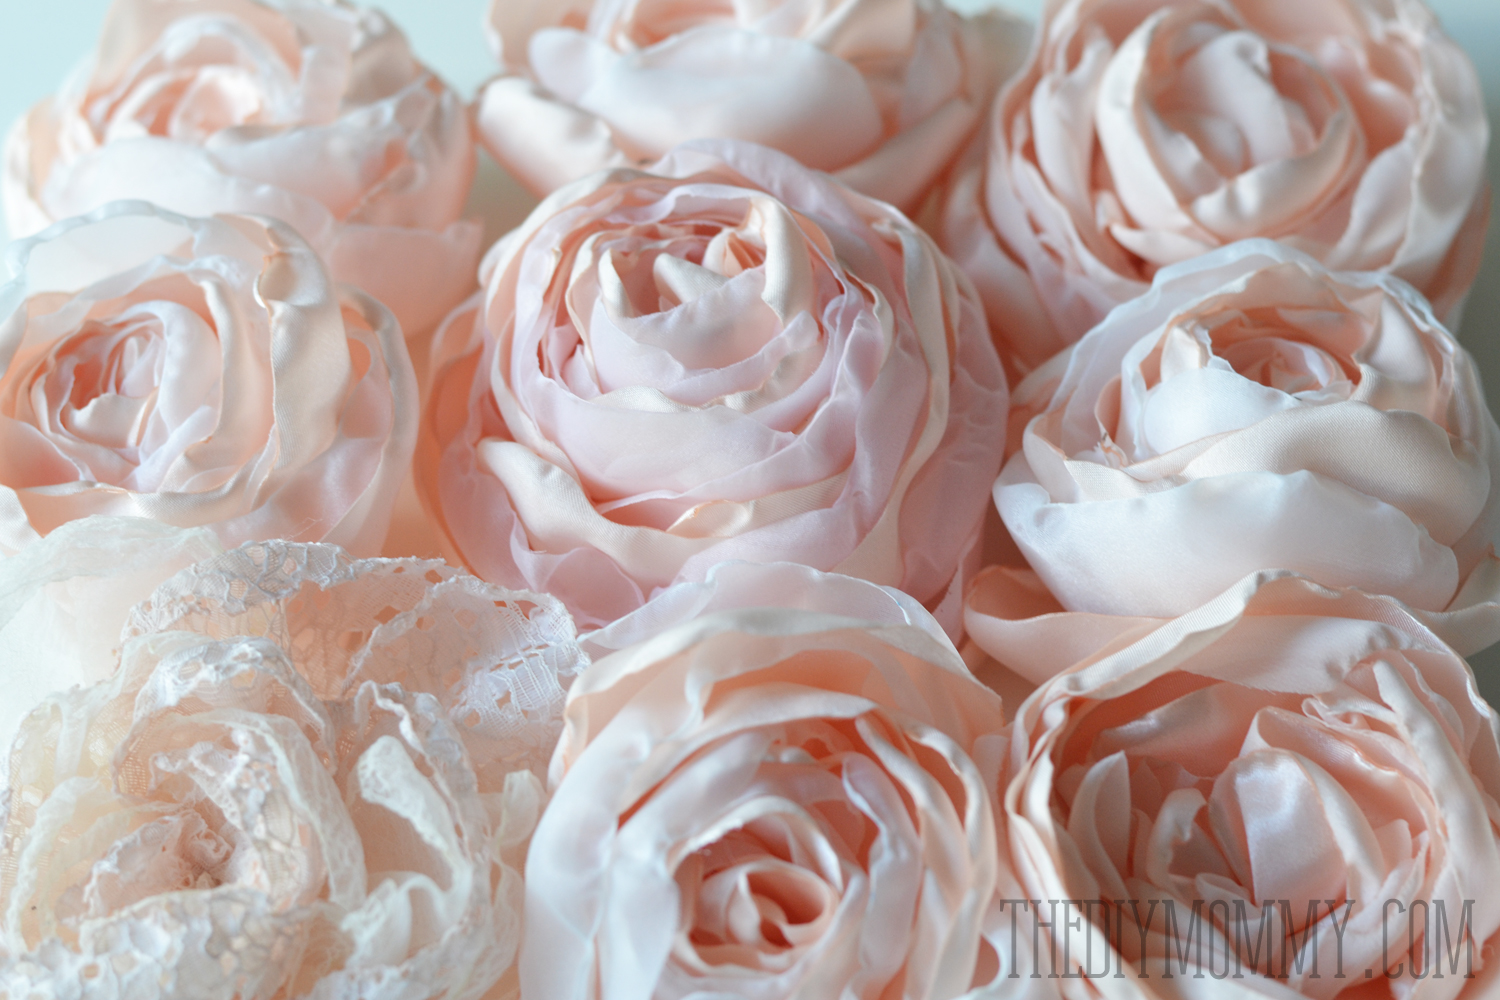
You’re done! Aren’t these beautiful? Experiment with different fabric types and combos. For my sister’s bouquets, we’re going to use a few different colours and textures to make them extra special.
To recap:
I think these fabric peonies and roses would also make a gorgeous addition to any home decor. You could fasten stems to them and arrange them in a pretty tin or jar on your coffee table.
And what about using them as a hair accessory? How adorable would a little lacey one look sewn to a baby headband and used in some sweet summer photos?
| Рубрики: | Винтажное рукоделие/Цветы hand made |
| Комментировать | « Пред. запись — К дневнику — След. запись » | Страницы: [1] [Новые] |


