


Шитье, сумки, мастер-класс |
Сумки МК


And draw a line like you see in the picture above.
This is how it looks like when whole and laid out:

Keep it folded, and cut along the line you drew:

You will get this:

You can throw out one of the side parts, you will only need one of them and the middle part. These are the main body pieces. There are 2 pieces. But you need 3 - the 3rd will be the flap. This is next. Cut:

This is it for the pattern!
Now let's start with the bag itself!
2) Take the side pattern piece, and cut out 4 pieces for the sides from the main fabric – 2 for the left and 2 for the right.
Note: you can use the same pattern piece, just use each side of the pattern for each side.

3) Also, cut from another fabric 2 pieces of the middle part:
4) Cut out the flap pieces – 1 from the main fabric, and 1 from the lining fabric.
Note: I used the same fabric for both the lining and the middle pieces. You don't have to do the same as me!
5) Attach one half of the magnetic snap to the lining piece, 5cm from the bottom: 


здесь-http://www.creativecutie.com/2010/02/wishful-thinking-bag-tutorial.html
![[b1.jpg]](http://3.bp.blogspot.com/_c_DQoDD3fPk/S1mCXkW1NBI/AAAAAAAAA2A/pNO_dhI433s/s1600/b1.jpg)
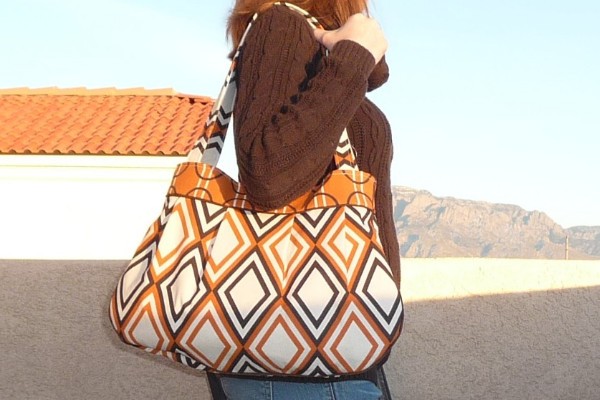
здесь-http://www.creativecutie.com/2010/01/deep-zipper-tutorial.html![[bothbags.jpg]](http://3.bp.blogspot.com/_c_DQoDD3fPk/SrtGGsAf4dI/AAAAAAAAAiY/rqi0Aau-mew/s1600/bothbags.jpg)
http://www.creativecutie.com/2009/09/eternal-beauty-bag-tutorial.html
![[P1010754.jpg]](http://3.bp.blogspot.com/_CbAsxZzlx9E/R9OtH1KKVcI/AAAAAAAACKA/I936ZIHw4xg/s1600/P1010754.jpg)
http://gretelies.blogspot.com/2008/03/zum-mitmachen-da-so-viele-danach.html

http://verypurpleperson.com/2010/04/making-reversible-bag.html
http://7layerstudio.typepad.com/7_layer_studio/2010/03/tutorial-for-little-clutch-purse.html
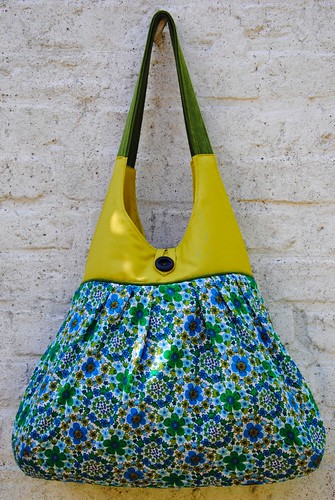
 http://www.warehousefabricsinc.com/blog/pleated-lined-handbag/
![[3-1.jpg]](http://2.bp.blogspot.com/_c_DQoDD3fPk/SzDiED1reSI/AAAAAAAAAuo/DQyDtZxcR9s/s1600/3-1.jpg)
http://www.creativecutie.com/2009/12/zipper-and-strap-tutorial.html

http://www.creativecutie.com/2009/10/classical-romance-bag-tutorial.html

 http://www.creativecutie.com/2009/09/bag-recommend-1.html
http://eloleo.blogspot.com/search?updated-max=2010-05-04T07%3A53%3A00%2B02%3A00&max-results=5
http://eloleo.blogspot.com/search?updated-max=2010-05-25T15%3A32%3A00%2B02%3A00&max-results=5
| Рубрики: | Шитье. Рукоделие. Мастер-класс |
| Комментировать | « Пред. запись — К дневнику — След. запись » | Страницы: [1] [Новые] |
![[e1.jpg]](http://2.bp.blogspot.com/_c_DQoDD3fPk/S4fd7Fm83HI/AAAAAAAABC4/bksc2iSgTVo/s1600/e1.jpg)


