-Цитатник

жалюзийные дверки - (2)

Жалюзийные двери и их применение в интерьере. В  строительных магазинах уже довольно давн...

ну вот(((что-то пошло не так((( - (2)

Если не видно картинки на Лиру Всем Здравствуйте... В последнее время стало страшно у...

Авторский проект Веры Морозовой "Кошка для Королевы" - уже 53 !!! Наконец-то отредактировала кисок))) - (0)

Модный показ от VeraMo. Авторский выставочный проект Веры Морозовой "Кошка для Королевы"-"Созвездие ...

Конкурс "Рождественские истории" почти завершён! Ждём выставку в Берлине! - (0)

Выставки-анонсы-мероприятия-объявления!                ...

Авторский проект Веры Морозовой "Кошка для Королевы" - нас уже за 50 !!! - (1)

Модный показ от VeraMo. Авторский выставочный проект Веры Морозовой "Кошка для Королевы&...

 -Приложения

  • Перейти к приложению Photoshop online Photoshop onlineДля того чтоб отредактировать картинку совсем не обязательно иметь фотошоп на комьпьютере. Это можно сделать с помощью приложения online photoshop =)
  • Перейти к приложению Открытки ОткрыткиПерерожденный каталог открыток на все случаи жизни
  • Перейти к приложению Я - фотограф Я - фотографПлагин для публикации фотографий в дневнике пользователя. Минимальные системные требования: Internet Explorer 6, Fire Fox 1.5, Opera 9.5, Safari 3.1.1 со включенным JavaScript. Возможно это будет рабо
  • Перейти к приложению Стена СтенаСтена: мини-гостевая книга, позволяет посетителям Вашего дневника оставлять Вам сообщения. Для того, чтобы сообщения появились у Вас в профиле необходимо зайти на свою стену и нажать кнопку "Обновить
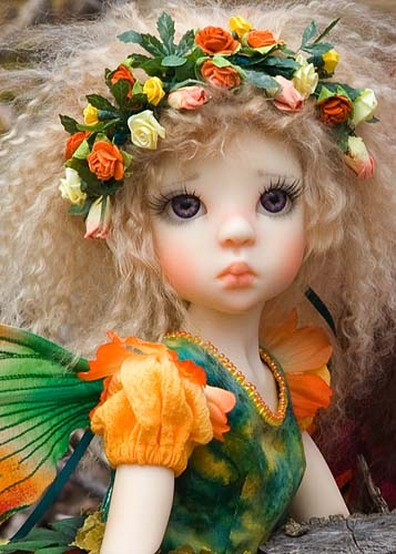
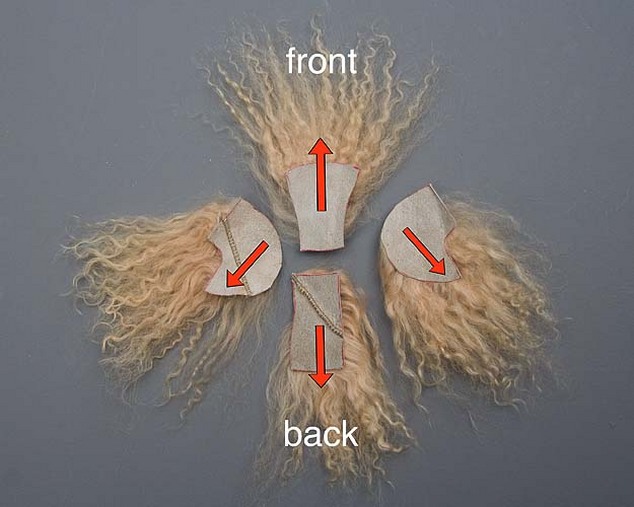
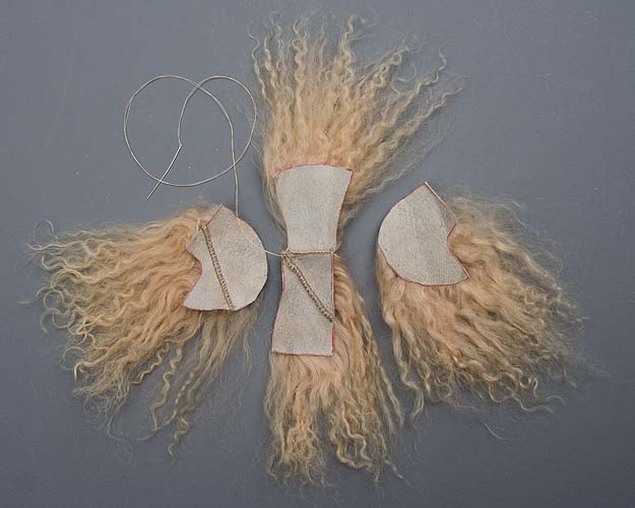
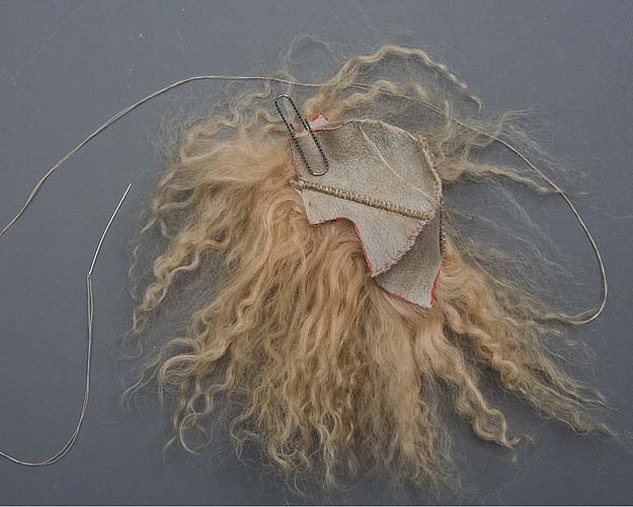
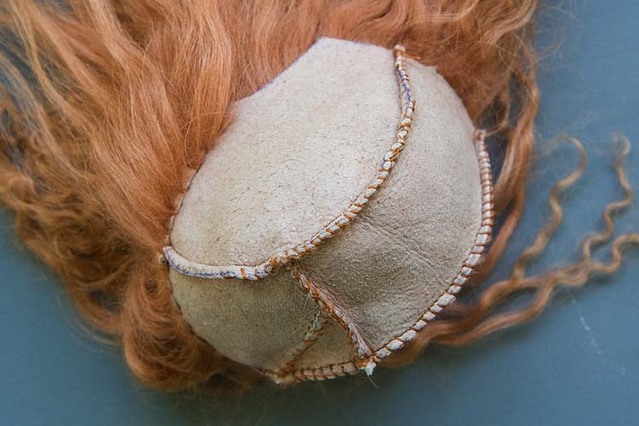
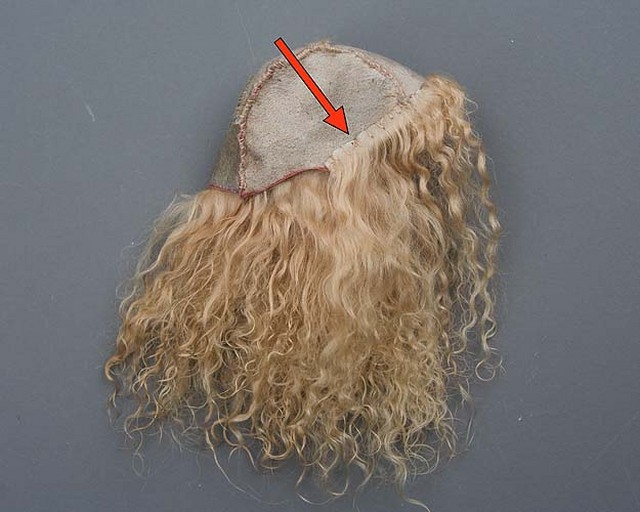
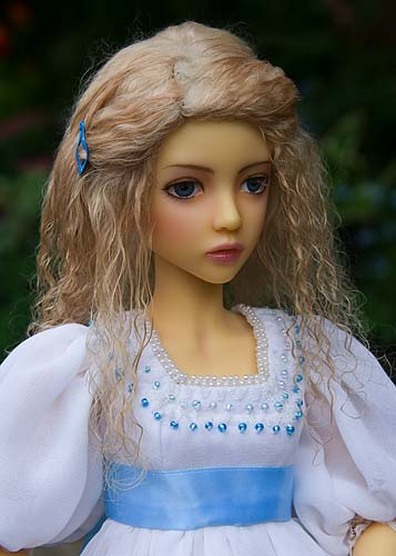
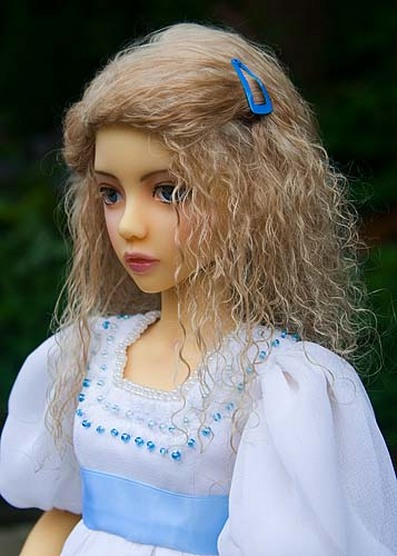
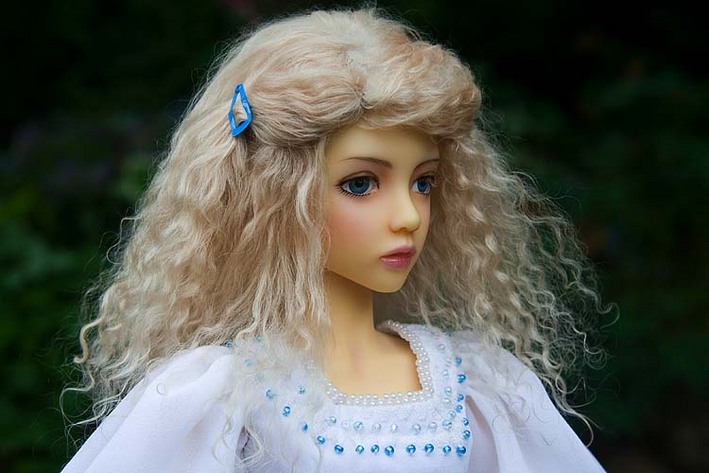
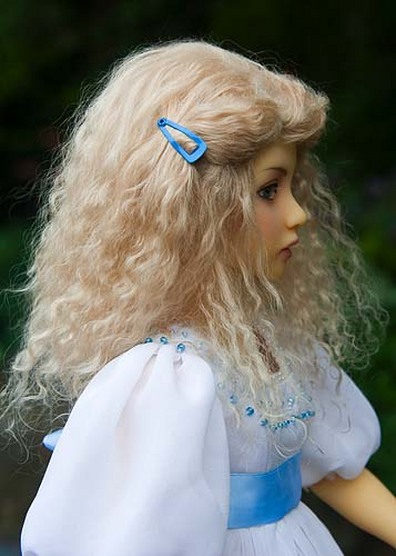
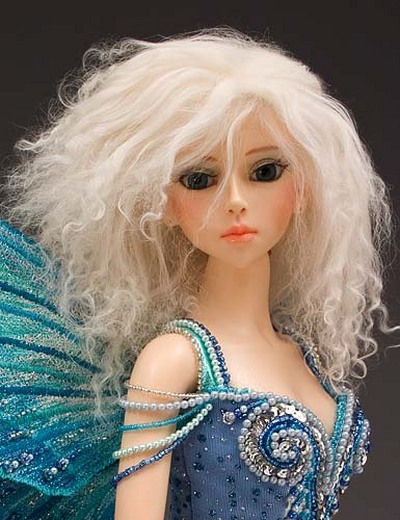
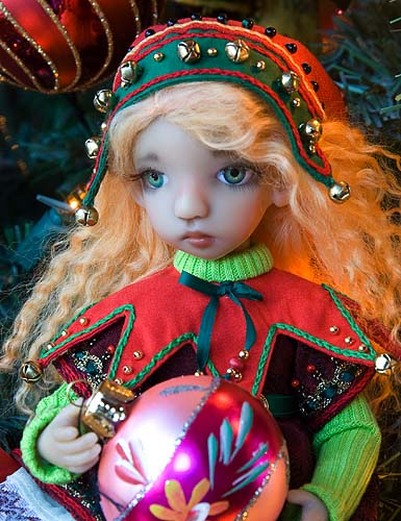
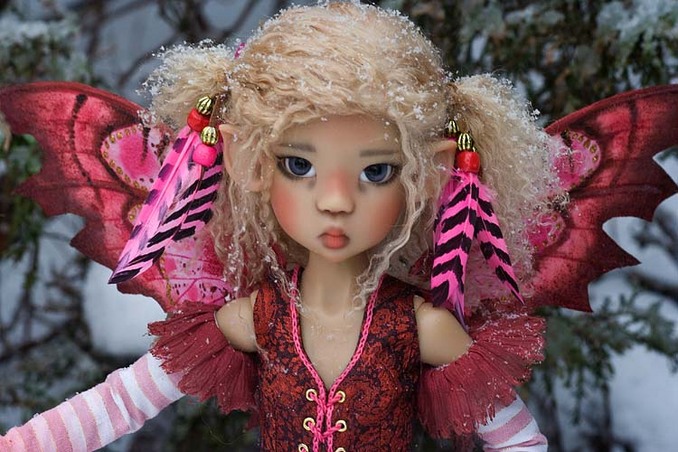
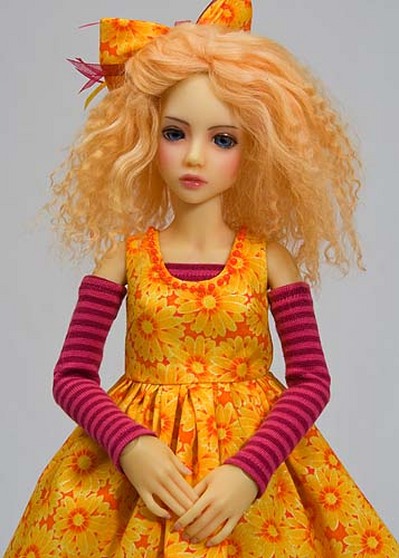
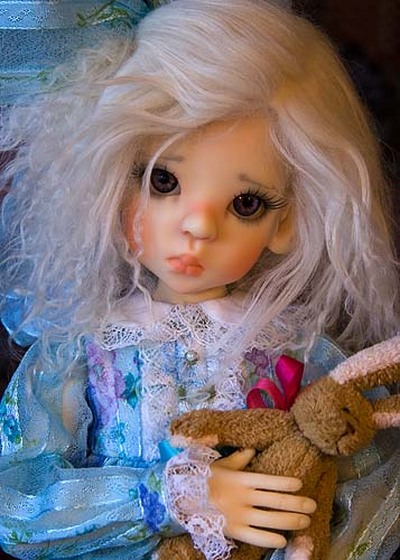
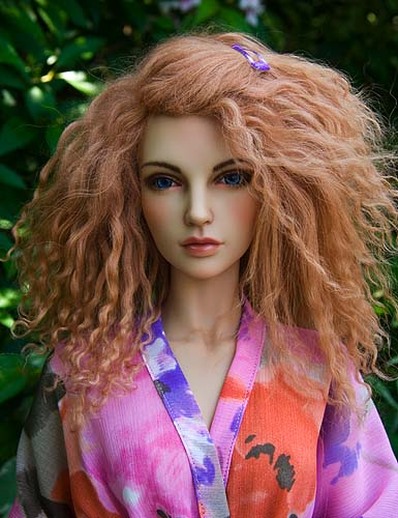
 -Фотоальбом

Посмотреть все фотографии серии
17:00 26.11.2012
Фотографий: 58
Посмотреть все фотографии серии Общая
Общая
16:45 13.06.2010
Фотографий: 4
Посмотреть все фотографии серии
03:00 01.01.1970
Фотографий: 0
Посмотреть все фотографии серии
03:00 01.01.1970
Фотографий: 0

 -Поиск по дневнику

Поиск сообщений в veramo

 -Подписка по e-mail


 -Статистика

Статистика LiveInternet.ru: показано количество хитов и посетителей
Создан: 13.06.2010
Записей:
Комментариев:
Написано: 8893


МК волосы для куклы

Суббота, 23 Марта 2013 г. 11:19 + в цитатник
Цитата сообщения Nadin72

МК волосы для куклы
 

МК волосы для куклы

Make Your Own Tibetan Lambskin Wigs

These patterns were designed to fit specific dolls in my own collection. 
They should fit other dolls with the same head circumference. 
Picture
 

In this tutorial I will take you step by step through making this blonde wig for my Narae
 
*to download a pdf with the full-size patterns click on the patterns below.
Picture
1. Print and cut out the desired patterns. I would suggest making a
'test' wig cap out of felt to test the fit on your doll. If the felt wig 
cap fits perfectly, you can proceed to make the actual wig.

 Place the patterns onto the back (skin side) of the Tibetan lambskin. It 
is important to watch the direction of the hair on the lambskin. I make 
sure the hair goes in the directions of the red arrows below. Trace the 
patterns onto the back of the skin and cut out carefully just through the
 skin with an Exacto knife or by taking tiny snips with a sharp scissors.
 
 
Picture
2. With a sharp, sturdy needle, and thread the same colour as the hair 
hand-sew the top and back sections together at the center line.
Picture
3. Fit center section to side section and hold in place with paper clips, then hand
sew the seam easing in any fullness on the wig sides. Repeat for second side.
Picture
3a. Optional - after hand-stitching, go over seams with machine-stitching 
1/8" from edge. This will make for a neater part on the right side.
Picture
4. When both sides are sewn on, fold back the front seam allowance.
 Using small stitches sew the front edge back inside wig. 
Picture
*Option - Instead of stitching, you could use hot glue to secure the front edge 
to the inside of the wig. But DO NOT use white glue for this step. You will need
 to wet your wig to style it and white glue will dissolve and come undone. 


5. Turn wig right side out and put on doll. Gently comb out. Remove the wig
 from doll and wet the hair thoroughly. You can cut and style the wig, and
 use any products that you would use on your own hair.
Picture
Picture
6. Let the wig dry. 
Picture
Narae with her new, lovely blonde wig....
Picture
Picture
7. After playing with your doll, if the hairs on her wig get too 'fly-away',
 just dampen the hair a bit to bring it back under control.


More wigs made with the patterns in this tutorial

Picture
Picture
Picture
Picture
Picture
The 8.5" pattern for Elfdoll and Kaye Wiggs MSD will also fit Iplehouse EID girls.
Picture
Picture

Источник

Рубрики:  полезные ссылки
мастер-класс
ссылки
Метки:  
Понравилось: 2 пользователям


Добавить комментарий:
Текст комментария: смайлики

Проверка орфографии: (найти ошибки)

Прикрепить картинку:

 Переводить URL в ссылку
 Подписаться на комментарии
 Подписать картинку