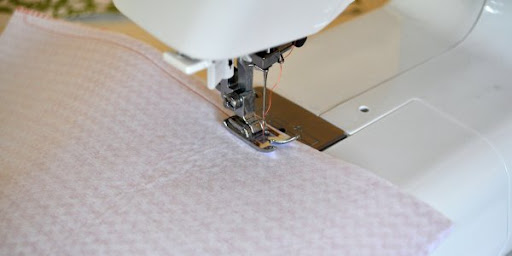
Take one of your 18 ½ x 28 inch pieces and fold it in half with right side in, short ends together. Now sew up the sides, leaving the top open. Repeat on the five left.
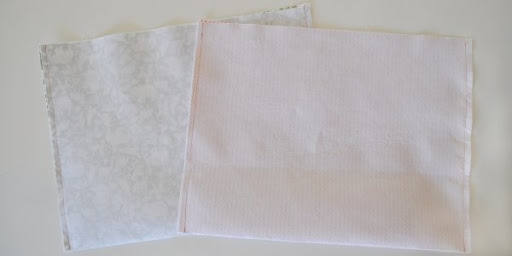
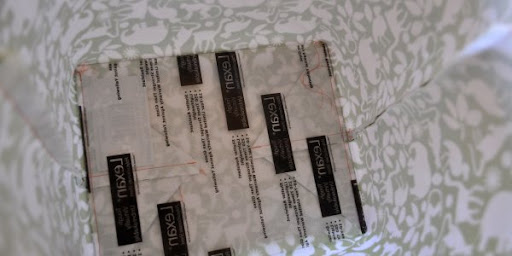
You will need two sheets for one basket, and they should look like this. I alternated them so that I had a different pattern on the inside then I did on the outside.
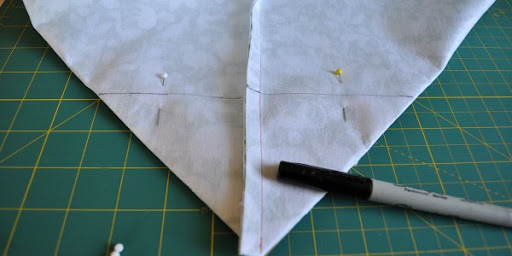
Leaving them wrong side out, take and fold your corners down like shown. To make sure that you are aligned correctly, just make a crease on the bottom fold and line that up with the seam on the inside, make sure your seam is flattened all the way out.
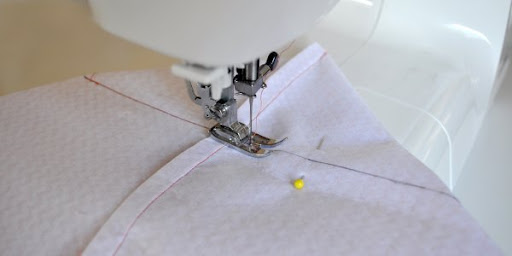
Take a ruler and mark a line 7½ inches long as shown and pin. After you make the line measure from the point to the line and you should get 3¾. Repeat on the other side, and do this on all of your pieces.
It does help if you have a cutting mat with measurements, you can see how I lined up the corners to make sure they were symmetrical. If you don't, that's fine, just eyeball it.
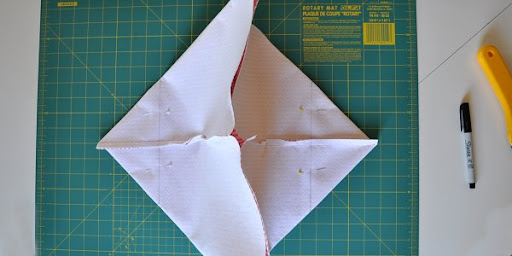
Now sew along the lines on each of your corners.
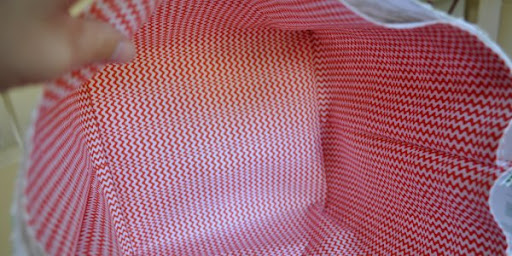
Take the pieces you want on the outside and turn them right side out, folding the corners down. Drop the Plexiglas into the bottom.
Leaving your other pieces right side in, fold your corners under and place inside of the other shell, on top of the glass.
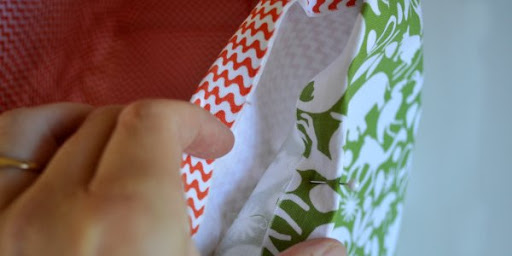
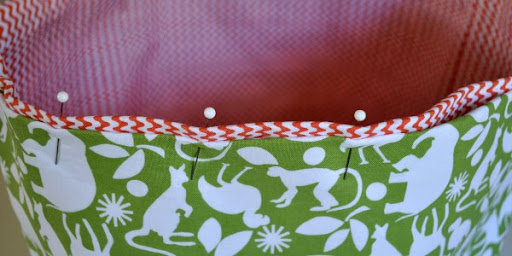
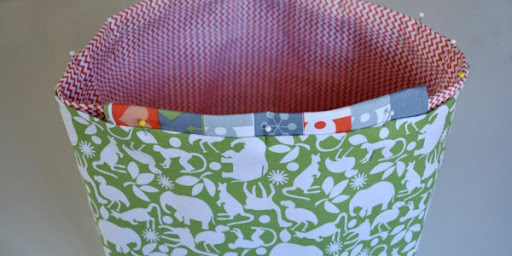
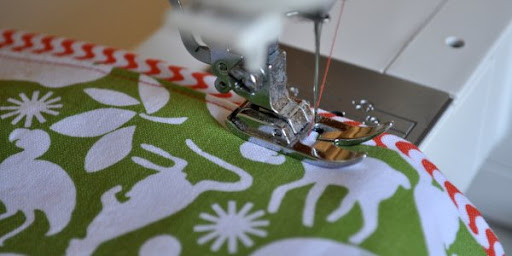
Next fold your outer shell over about a half inch and pin then repeat on the inner shell...
using the same pins so that you are pinning them together. Make sure the two overlap some where you will stitch together.
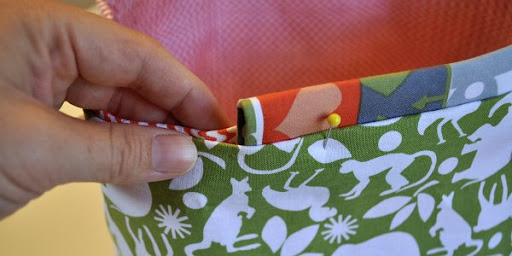
Take your three smaller pieces and fold the ends over a ¼ inch and sew both ends.
Fold in half and insert on what you would like to be the backside of the basket. Pin in place, making sure that whatever rod you use will fit through. I tested mine now to make sure.
To make sure that I had it centered, I just pulled the basket straight at the seams and eyeballed it.
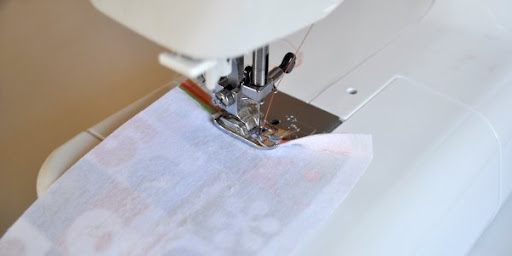
Now with a little longer stitch length just sew all around the top, making sure to get all the layers included in the stitch.