������� + �� �������. |
�����: ����� ����� ���� ����� �� ����� �� ����� |
������-����� ��� ������ �������� ������ ����������� |
�����: ����� �� ����� ����� �� |
������� �������. |
�����: ����� �� ����� ����� �� ��������� |
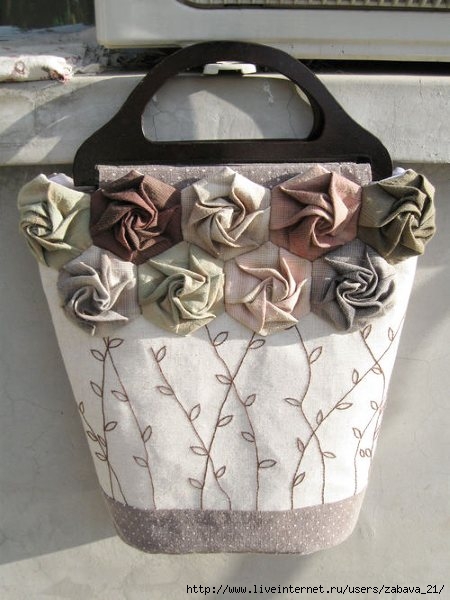
������������ ����������� ��������� �� Snugars. ����, ������-������ |
������� ������� �����!
���� �� �������������� �������, ��� ����� ��������� ����� ������� �� �������� ��������... ������ ��! �������� ����, �������� ������ � ������������� ���� ������!
��� �������� ��������� ����� �������� ���� ���� � ������� ��������� ������-�������. ��������� ���������!
�����: ����� �� ����� ����� �� �������� |
�������� �����! |
�������� http://kak-sdelat-samoj.ru/cvety-iz-fetra/

��� ������ ���������� ���� ������ � ��������� ��� � ����������� �������� �� ������.


����� �����, ����������� ������ ������ �� ��������� ������ � ��������.

��������� ������ �������� � �������� ����� � ���������.


������, ���������� ������� �� � �������� ������, ������� � ������ ������� ����.

������ ��������� �������� ������� ������ , �������� ��������� ������.

C���� �������� ����� ������� �������.
� �������� "�����������" ����� ������������ ��������, �������, �����.


�����: ����� �� ����� ����� �� |
�� ����� � ������� |
��������� ������ ������ �� ����� � �������. ��� ������ ������ � �������. �����.


�����: ����� �� ����� ����� �� ����� ����� �� |
���� �� ����� � ���������� ��� �����. ������-����� |
�����: ����� �� ����� ����� �� |
�� �� ������ � ��������� �������� 2 |
�����: ����� �� ����� ����� �� ������� �� |
�� �� ������ �� ����� |
�����: ����� �� ����� ����� �� ���� |
������� � ����� ��� ���� � ��������. |
�����: ����� �� ����� ����� �� ���� �������� ��������� |
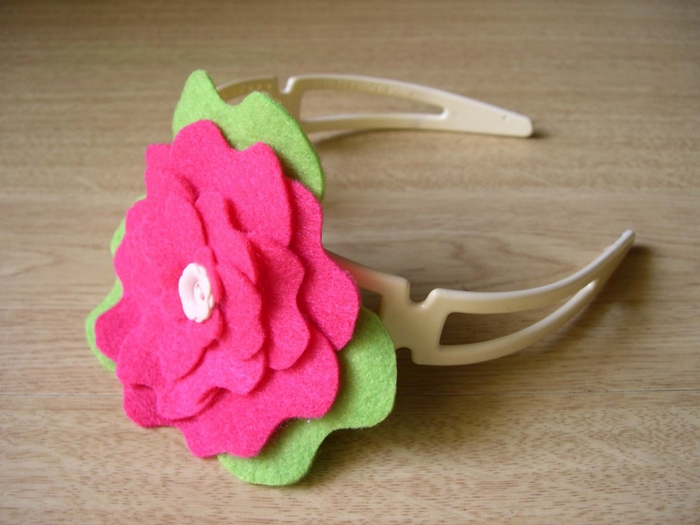
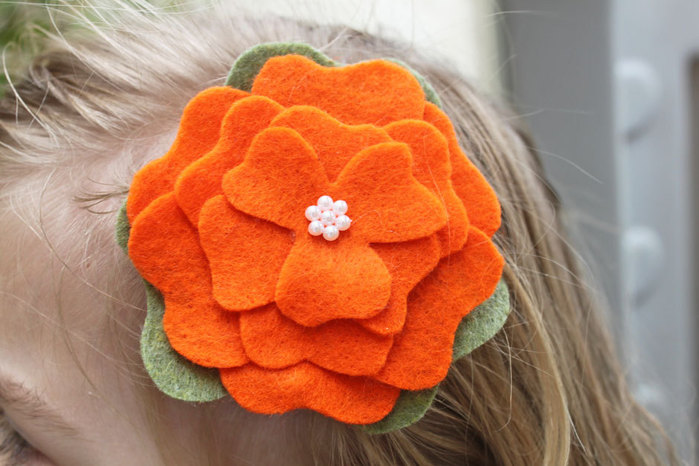
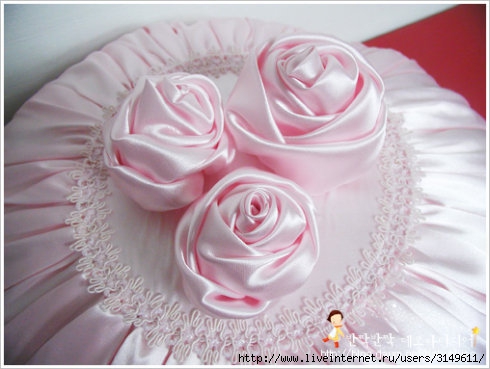
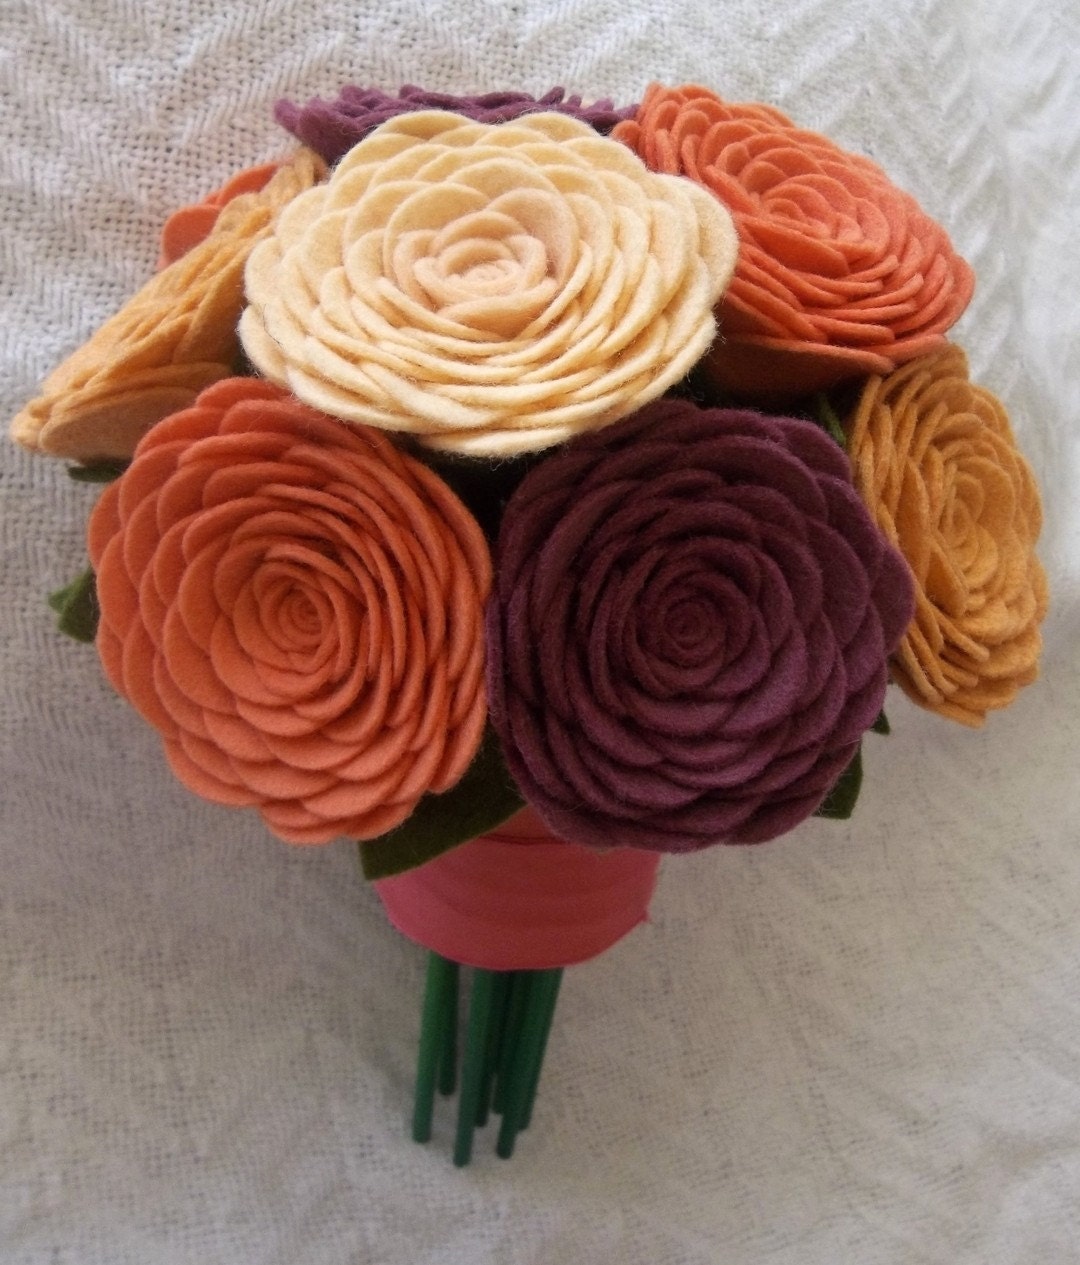
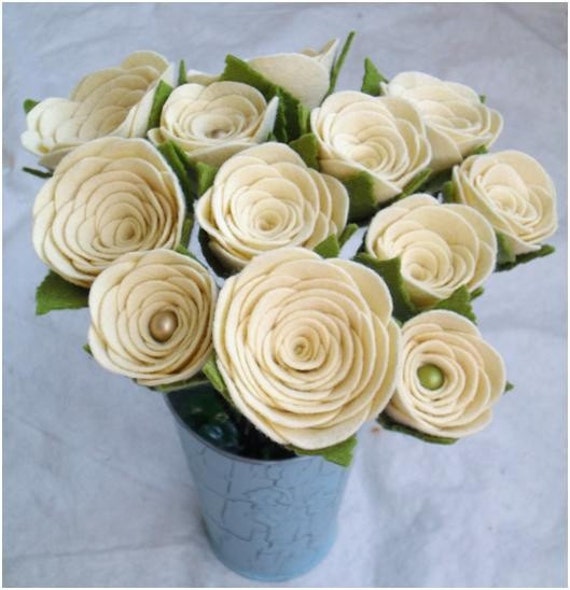
73 ������-������ �� ��������� �� �����!!!!!!!!!!!! |
������-������ �� ��������� �� �������, ������, ������, �������, ������, �����, ������ � ��. ������!
 |
|
| ������-����� �1 |
 |
| ������-����� �2 |
 |
| ������-����� �3 |
 |
|
|
�����: ����� �� ����� ����� �� |
6 � 1. �� : ����, �������, �����... |
������� �� �����������...


�����: �� ��������� |
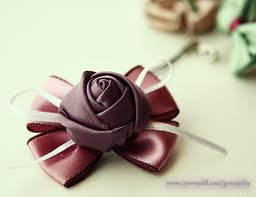
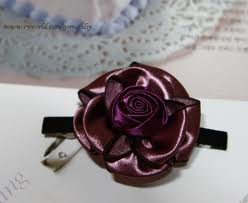
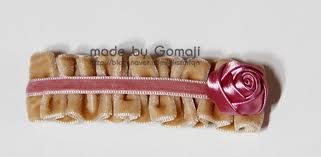
������������ ������ �� ��������� �� Donna Courtney. ������-����� |
������� ������� �����!
�����, � ���������� ��� ���� ��� ����� ����������� - ��������� �������� �������� �� ������ ��� ����������� ������, �� � ����� ����������� ������ ��������������� ����� � ����� ������� �������:) �� ������? ����� ����������, ��� ������� ��������� ������, ����������� �� ��������� � ����������� ������ ����������� ���������� ������ ������ (Donna Courtney), ������� ������� The Decorated House!


�����: ������ ����� �� ����� ����� �� ���� ��������� |
���������� ��� ����� ������ ������. |
�����: ����� �� ����� ����� �� ���� ��������� |
������� �� �������� �����. |
�����: ���� ����� �� ����� �� ����� |
��������� ���� �� Cole Franke. ����. ������-����� |
������� ������� �����!
�����, ��� �� ���� ��������� ��������� �����, ������ � ���� - ����� ����������� ��������� ��� �������� ������: ����� ������ ����������, � ��� ������� ��������� ����� ����������!! ������ ������������� ������ �� �����:)
���� ������ �� ������� - ���������� ������� � ���� ���� ������������� ���������, ������� ���������� ��� ����������� ������� ��� �������� ������������� ���. ��������� ���������� ������ ����, � ���� ���� � ���������� ������-����� ��� �������� ��������� ����� ��������:) ��������� ���������!
�����: ���� ����� �� ����� |
����� �� ���������� ����� � ��������. ��������! ������-����� |
������� ������� �����!
����������, ����� ������ ����������, ���� � ������� ����� �������� ������� � ����� �������� ��������� �������. �������� ������� ��� �������� ���������.


�����: ���� ����� �� ����� ����� �� ��������� |
��������� ���� �� ���������. ����, 2 ����� � ������-����� |


�����: ������ ���� ���������� ��������� ���� ����� �� ����� �� ����� |
������� ���� � �������� �� �����. ������-����� |
�����: ����� �� ����� ����� �� |
����� �� �����. �����. �� |
����� �� �����. �����. ��
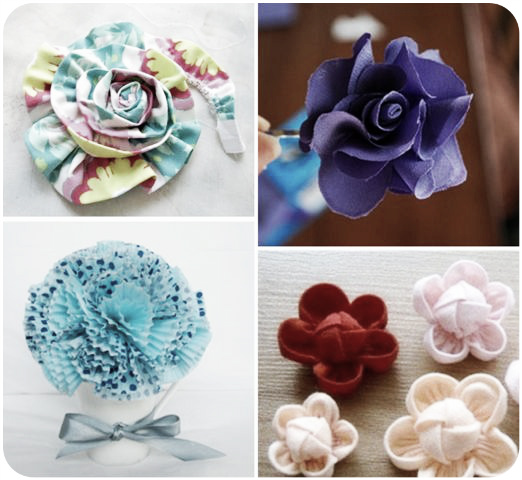
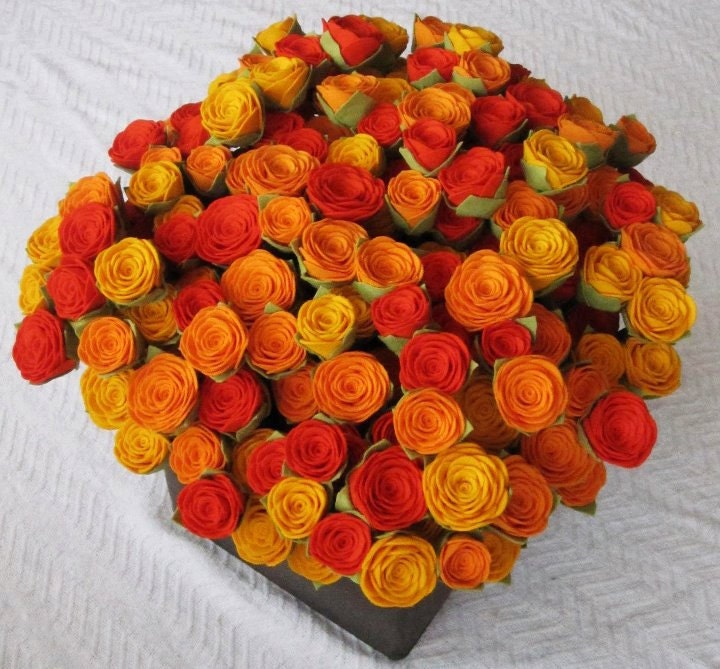
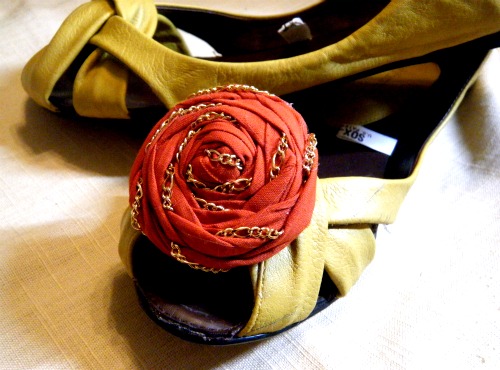
DIY Fabric Ranunculus Tutorial

The best thing about this tutorial is that petal size doesn’t have to be completely precise or uniform. The worst thing about this specific tutorial? This style of flower can be quite time-consuming to create because of the prep work and layering. (If you plan on creating many of these flowers I would suggest breaking up the workload into two parts for prep work and construction.)
Supplies:
Part I: Flower Center & Prep Work (I don’t have many photos of this, but it is rather self-explanatory)
Starter “Petals” (see photos 1&2)
Getting to this step is very simple. Similar to the garden rose tutorial, you will start out by cutting a strip of fabric. The only difference here is that your “petals” will be much shorter and smaller.
As I had mentioned before, this step doesn’t have to be 100% precise from flower to flower (I typically eyeball it based on experience). However, since many of you “need” specifics, I would imagine the petal cut dimensions would be ~1″ wide x 0.75″ high (I found it important to have petals wider than they are tall).
The full length of the petal strip can vary because you can add more than one together to create the desired effect. Here I used two short strips for a total of ~16 “petals” (8 per length). Once you are finished cutting, carefully heat seal your strips with a flame.
Flower Center (see photo 3)
Using bits of felt scraps, fold, roll, and stitch to form a small ball. The size can vary a bit depending on how large you want your finished product to be. (If you are planning on making a large, full flower you can save time by creating a larger center vs. using more layers of petals.)

Stitch Starter Petals to Center (photos 4, 5, 6)
To start, run a basting stitch through the “petal” strip and pull to scrunch (photo 4) so that your petals will easily form around the “ball” while stitching. Begin stitching your petals to the “ball” using a needle and thread. I prefer to work stitches into the base each petal by using a long button-hole style stitch as I go around (photo 5). Once your strips of “petals” are stitched you should had a center that looks like the photos 6 &7 .
Part II: Adding The Individual Petal Layers and Prep Work ( Again, I don’t have many photos of this)
Outer Petals Prep (see photo ![]()
For the outer layers of your flower, you will need a variety of individually cut petals (all to be flame sealed) in various progressively increasing sizes as seen in the image below.

Again, this doesn’t have to be precise, but petals should be short and flat similar to the shapes above and in photo 8.

Stitching The Outer Petals (photos 9-18)
Begin by stitching the first petal to the center you have already created. Next, layer on the second petal so that you are half overlapping with the one before it (photo 9). Continue the layering process all the while making sure to secure each petal with 1-2 stitches (I prefer to do a back-stitch through each to ensure it’s secured) . See photos 10-12.
Continue the process of layering and add larger petals as you go along. With each layer (see photos 13-18) watch your flower “grow”!

Before you know it, you will have a pretty ranunculus to be used as you please.

Happy crafting!!
strongem
�����: ����� �� ����� ����� �� ���� |