Без заголовка |
|
Без заголовка |
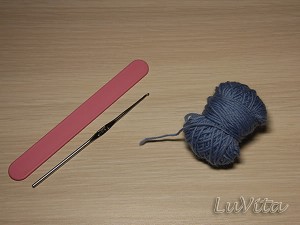
Нам понадобится шпатель (металлический, деревянный, пластмассовый, или палочка от мороженого, или пилочка мелкозернистая, хотя ей не очень удобно = ), линейка, толстый карандаш... ); пряжа и крючок, в соответствии с толщиной нитки.
|
Без заголовка |
|
Без заголовка |
|
Без заголовка |
|
Без заголовка |
Вязаные цветочки можно использовать где угодно и как угодно: и как брошку, и как украшение на шляпку, юбочку... Насобирала в этом замечательном блоге несколько разных вариантов цветочков со схемами. Делюсь найденным, может кому пригодятся схемки и идейки.


|
Без заголовка |
|
Без заголовка |
Тестопластика. Биокерамика. - ОЧЕНЬ ИНТЕРЕСНЫЙ САЙТ!!!!!! ССЫЛКА - В КОНЦЕ.
Рецепт соленого теста.
Объемные пропорции. Для простых моделей.
200 гр. = ( 1 СТАКАН ) = муки
200 гр. = (0,5 Стакана) = соли
125 мл. воды
! Обратите внимание, соль тяжелее муки, поэтому по весу они одинаковы, а по объёмы соль занимает примерно в два раза меньше.
Для тонких рельефных фигурок добавить на выбор:
- 15-20 г (столовую ложку) клея ПВА или
- крахмала ( столовую ложку)
- клей для обоев (предварительно его размешать с небольшим кол-вом воды)
НАПРИМЕР:
Крепкое тесто для крупных изделий:
200 гр. муки
400 гр. соли
125 мл воды
Тесто для тонких работ:
300 гр. муки
200 гр. соли
4 ст.л. глицерина (можно приобрести в аптеке)
2 ст.л. клея для простых обоев + 125-150 мл воды предварительно смешать
Для замеса лучше использовать миксер – это упростит задачу, да и тесто получится качественнее.
* ЦВЕТНОЕ ТЕСТО:
|
Без заголовка |
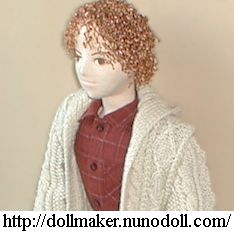
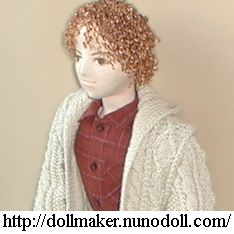
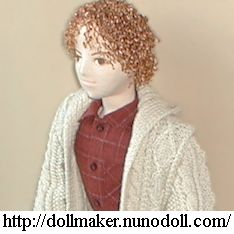
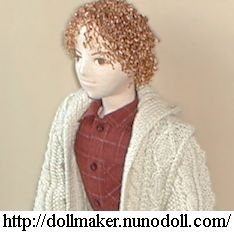
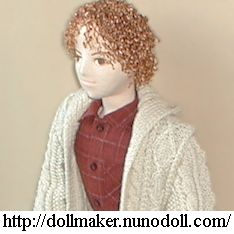
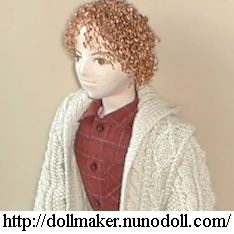
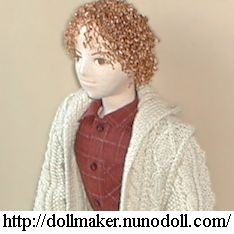
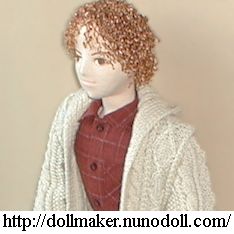
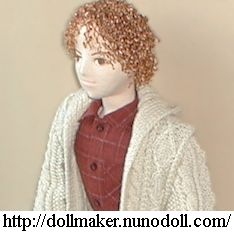
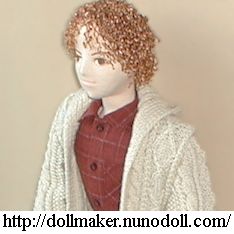
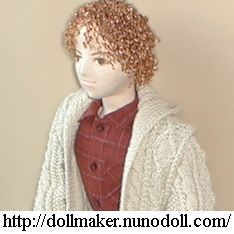
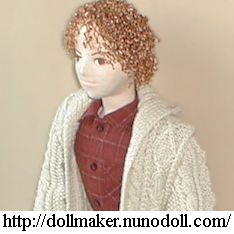
糸、毛糸、毛足の長いシール等が髪として使えます。
今回は、手芸店で売られているひもを、ほどいて使いました。
ウェーブが出るので、ヘアスタイルが少々まずくてもごまかせます。
分量は材質や太さに左右されます。多めに準備しましょう。
Серия сообщений "Текстильный. мальчик":
Часть 1 - продолжаем кит. тему
Часть 2 - кит. ноги
Часть 3 - кит. голова
Часть 4 - руки кит.
Часть 5 - уши и волосы
Часть 6 - кит тело
Часть 7 - одеваем кит.
...
Часть 14 - малыш кит.
Часть 15 - Аниме
Часть 16 - кимоно кукле
Серия сообщений "мягкая игрушка":
Часть 1 - мягкая игрушка
Часть 2 - Без заголовка
...
Часть 37 - Без заголовка
Часть 38 - Без заголовка
Часть 39 - Без заголовка
Часть 40 - Без заголовка
Часть 41 - Без заголовка
...
Часть 46 - Без заголовка
Часть 47 - Без заголовка
Часть 48 - Без заголовка
|
|
Без заголовка |
http://annwood.net/blog/2011/02/24/paper-mache-teacup-pattern/
A paper mache teacup pattern to mark the 5 year anniversary of my blog, my experiment. A perfect time to say thank you and give you a present.
There is a template you can download here. And lots and lots of photos and instructions. If you do make teacups I’d love to see and you can upload a photo here if you like or leave a link to your photo in the comment section below.

What you need:
Click the photos for larger images.


Cut out the templates for the teacup, handle and bottom and trace them onto your cardboard. I had the best results with a Kashi frozen pizza box. Cut out your pieces and very lightly and gently score the the teacup where the dotted lines are on the template with the BACK of your exacto knife.


Make a very tiny snip - really tiny -just a 16th of an inch or so where the sections meet. Next bring the bottom sections together one at a time and tape together on the outside (the printed side). Then turn it over and taper the bottom inside. Do this for each section – always taping both sides…….


When the bottom sections are all taped join the top together and tape – inside and out. Next push the seams out from the inside and tape on both sides – go all around the teacup – shaping the seams with your fingers and taping both sides.


Tape in the bottom. It should be looking pretty teacupish now. If you would like a base you can make a little ring of cardboard and tape it in place or trace the bottom onto some thicker cardboard and cut it out just a little larger and glue or tape it to the bottom.


Your ready for paper mache! I usually start with the bottom and one layer is fine but you can do as many as you like.


You don’t have to paper mache the handle – you can paint it or glitter it or something. If you do paper mache it use very tiny pieces of paper and curl it into a handle shape before it dries. I tried something new on the black teacup above – painting paper mache while it’s wet - and I like the effect. I used black newspaper and then black watercolor over the wet paper.


When your teacup has dried glue your handle in place and decorate as you please. I painted a little ship on a stormy sea on one and I like putting a dusting of mica or glitter on the inside - it’s fancy.
The End!

I hope you make teacups!
|
Без заголовка |

Here is the foil body form, the head which I put on a Q-tip stick for easy handling, and some clay. This mini was made with FIMO. The finished size is only about 4 inches long, so the only armature I'm going to use is for the torso & a small ball for the head. The limbs are solid clay. |

using an acrylic roller to roll out some flat pieces for the body |

build up small thickness of clay on the body until you have the plumpness you desire. |
 |
 |
 |
 |
 |

This very cool little tool is a LaCrosse comedone extractor! You can usually find them on Ebay, and Canadians drugstores carry them more than American ones do, I've been told :-) My good friend Sherry Rawn of Sculpty's Babies sent this one to me. |

You'll find all sorts of tools around the house for sculpting mini dolls. I use my exacto blade for a lot of things. |
 |

Here I'm using a Crewel Embroidery needle to make details on the hands. |

The eye end of the needle makes great little nails! |
 |
 |
 |

This tool is my Kemper Wipe-Out tool. I use it for a lot of things, but making creases, fat rolls and wrinkles is easy with it. |
 |
 |
 |
 |
 |
 |
 |
 |
| Starting on the Head and Face Now:
Be sure to map out the places on the face, referring to the proper proportions for the age child you are making. |
 |
 |
 |
 |
 |

Add little rolls and balls of clay to fill out fat padding as you go along. |
 |

adding more fat pads as needed |
 |

I use a cut-off cotton swab and insert about 1/2 inch up into the head. This makes a good handle while you're sculpting, and it will give you a support for the neck when you attach it to the body. |
 |
| Time to attach the head to the body
Make a hole with a sharp object (I use a sewing awl) into the neck and insert the cotton swab stick into the hole. Press down gently until the head is seated properly on the shoulders. Babies often don't have much neck showing. |

Now smooth the neck clay up and form a small neck with tiny rolls. |
 |

Adding enough clay to hide the arm attachment and make a nice soft little shoulder. |
 |
 |
 |
 |
 |

Baked and colored, no hair yet. |
взято тут - http://hunnybunsnursery.com/SculptingTutorials/tutorialminipg1.htm
|
Без заголовка |
|
находитель новых программ |
|
Без заголовка |
 Если Вам требуется изменить размер фото или вырезать из него только какой-то определенный участок,а подходящей программы на компьютере нет,то тут Вам на помощь придет сайт Web Resizer,на котором это можно сделать легко и просто. Читать дальше как это сделать > > >   |
| Здесь еще уроки Из блога Егоровой Татьяны |
|
Без заголовка |
Существует огромное количество доступных онлайн ресурсов, позволяющих вам вносить изменения, улучшения и забавные детали в ваши фотографии, не прибегая к помощи программ, подобных Photoshop. Хотите поместить свой снимок на обложку журнала, на долларовую купюру или просто поднять себе настроение? Теперь это возможно с помощью нескольких нажатий на кнопки мыши в течение, буквально, секунд. Вот перечень, на мой взгляд, лучших (кликайте мышкой по картинкам).
|
Без заголовка |










 Различным текстом можно писать на этом сервере, не нужен фотошоп. Быстро и легко! Можно писать как на русском, так и на английском языке (копируете код и к себе в дневник).
Просто пройдите: вот Сюда!
Также можно сделать аватар со своей подписью, ЮЗЕРБАР..
Различным текстом можно писать на этом сервере, не нужен фотошоп. Быстро и легко! Можно писать как на русском, так и на английском языке (копируете код и к себе в дневник).
Просто пройдите: вот Сюда!
Также можно сделать аватар со своей подписью, ЮЗЕРБАР..


 | |
|
Без заголовка |

Серия сообщений "COREL":
Часть 1 - ДЕЛАЕМ КЛИПАРТ В ПРОГРАММЕ COREL .
Часть 2 - КАК ПРАВИЛЬНО СОХРАНЯТЬ СВОЙ КОЛЛАЖ,КЛИПАРТ В CORELE.
...
Часть 54 - УРОК -КАК СДЕЛАТЬ КОЛЛАЖ "ЗЕЛЕНЫЙ МИР"
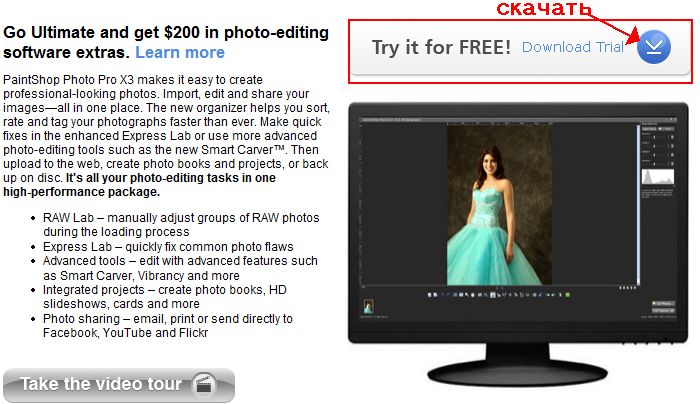
Часть 55 - Corel PaintShop Photo Pro X3 13.0.0.264 ML / RUS 2010
Часть 56 - Установка и регистрация Corel
Часть 57 - Установка Corel Paint Shop Pro Photo X2 и Х3
Часть 58 - Для COREL(как установить кисти в корел)
...
Часть 69 - Градиенты для Corel PSP
Часть 70 - Выставляем скорость смены кадров в Jasc Animation shop.
Часть 71 - Градиенты "Кофе" для PSP
|
Без заголовка |
|
программа для создания геологического дерева |
|
|
ищем картинки |

|


 ...
...