-
Запись понравилась
-
0
Процитировали
-
0
Сохранили
-
Это цитата сообщения
ФОТОКРЕАТИФ [
Прочитать целиком + В свой цитатник или сообщество!]
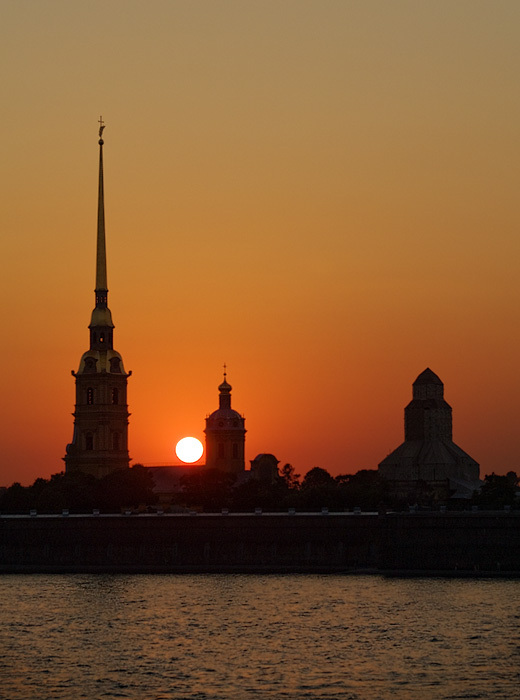
как улучшить качество снимка
не успел перевести этот урокна русский язык. я в восторге от результата! всем брать себе!!!
-----------
Hi guys.
I?ve been getting many emails where people are asking me how
I work my photos
so I thought you?d like a tutorial.
Well, this is the first time I do a tutorial. I hope
it makes sence. If you find this helpful
I ?ll try to find a photo that needs a massive
work, and do another one, with more steps and screenshots.
This tutorial is made with Photoshop version 8.0, and a basic
knowledge to do this tutorial helps.
STEP 1
duplicate layer, name it sky
STEP 2
with layer we called sky, go to
IMAGE - AJUSTMENTS - LEVELS
and put in the numbers
68
1,38
255
go to IMAGE - AJUSTMENTS - hue saturation
-12
-55
0
STEP 3
name the background layer mountain (turn off the sky layer)
go to IMAGE - AJUSTMENTS - LEVELS
49
1,03
217
STEP 4
turn on sky layer, and with that layer selected, erase everything but the sky
STEP5
duplicate sky layer, name it blur
go to filter - blur - gaussian blur 8,4%
STEP 6
erase everything but the blue tones with a soft brush to make the clouds in focus
and bring down the opacity of the brush at some points
STEP 7
merge sky layer and blur layer and name it sky
at the sky layer go to:
levels
44
1,00
255
hue-sat and change Cyans, blues and master.
Cyans
-5
-38
0
blues
-7
-28
0
master
0
-18
0
STEP 8
go to mountain layer
levels
31
1,00
255
at last I put on a radical gradient
with 50% opacity, to do the vignette
(make new gradient from gray to white, with
opacity at ca 70% on the gray part)
This is what I basically do, with some
images I duplicade layers again and again
to ajust the levels, and the hue sat untill I?m
happy. I sometimes use gaussian blur at the sky
if it?s noise after all the ajustments, and then
erase the clouds part to get the focus.
This photo has notes. Move your mouse over the photo to see them.