кошелек из джинсов |


Метки: кошелек из джинсов переделка |
игрушка Кит из джинсов |

Метки: игрушка джинсы переделка |
Процитировано 1 раз
Сумка из джинсов с карманом на клапане |
источник: http://www.noodle-head.com/2010/01/tutorial-messenger-bag-from-cargo-pants.html
-
front flap (this is where the cargo pocket comes in handy - cool pockets you don't have to sew!) 10" wide x 13" tall, round the corners by tracing the edge of a small bowl (or roll of tape in my case) -
front and back of bag 10.5"wide by 11.5" tall -
side gusset (cut 2) 12" x 2.5" -
bottom gusset 11" x 2.5" -
strap 44-52" long by 2.5" wide (leaving this measurement up to you on the length, whatever you feel comfortable with) I ended up piecing my strap together because I didn't end up with a piece long enough.
Let me know if you have any questions!
|
Пасхальный зайчик |
Итак, понадобится лоскут ткани 9х28 см :
(размеры могут немного варьироваться - я бы посоветовала сделать пробный вариант, а затем уж либо удлинить заготовку, либо поменять ширину)
Сложить полосу вдоль пополам, с одной стороны заложить вовнутрь уголок:
Плотно перетянуть ниткой ушки и сделать несколько витков ниткой:
Завернуть вовнутрь плотный шарик из ваты или синтепона, опять перетянуть и зафиксировать ниткой - заячья голова готова:
С противоположной стороны чуть подвернуть край и скрутить валик в два-три оборота. Кончики валика перетянуть ниткой:
Нижний валик подтянуть к голове, перемотать, прокладывая нитку крест-накрест - см. фото:
Заяц готов:
Вот и все. Осталось покрасить яйца :))
А еще можно скрутить зайчиков поменьше и спрятать внутри конфеты :).
Метки: пасха поделки корзинка из ткани |
костюм питера пена |
http://www.makeit-loveit.com/2009/10/peter-pan-costume.html
I can’t even believe how big my little guy is getting…..and to see him as Peter Pan, just about dropped me to the floor. Oooooh, I just wanted to nibble those chubby cheeks and raspberry that round little belly…….and keep him nice and young. Yum.
(Do you think he’ll still be letting me munch on him in 5 years?)
.
.
.
Then cut a straight line up the back.
.
.
Then turn it back over to the front and cut out some sort of shape to the shirt, creating some sleeves…..but still leaving a good amount to the width, so that you’ll have some shirt to cinch up in the belt at the end.
.
Turn it inside out, sew up the sides along the new curves, and then turn it right side out again. Now, make diagonal cuts all along the bottom and sleeves.
That’s it. Nice and easy.
.
Now onto the belt. I used the tutorial here and made it out of felt about 1 3/4 inches wide. I just cut strips out of the those rectangle pieces of felt and sewed them together. I actually made the belt 2 layers thick…..and just sewed down the middle and sides to keep the 2 layers together.
.
Now time to make the knife for Peter’s belt. I cut out some shapes in felt to construct the knife. And each shape is 3 layers thick, except for the center one….it’s just 2 layers thick.
.
Then I stitched the blade layers in place and added some detail…..and did the same with the handle. Trim if necessary.
.
Sew the blade and the handle together.
.
Then lay the last section under and over where the blade and handle meet. Sew all the way around it, securing the knife together as one piece. Then I sewed a little loop onto the back of the handle, so that it could slide onto the belt.
.
Then I made some pants using the the tutorial here. However, I made the legs a lot more narrow, so that it would look more like leggings.
.
Okay, onto the hat. This may seem a bit confusing….because all I have are shapes to give you. But I cut out a triangular shape with the top of the triangle more towards the back………. and the bottom of the triangle a bit curved. Then I cut a bottom brim section like I did below. I cut two of the triangle section ant two of the brim section……they are stacked right on top of each other.
.
Then I sewed all along the larger triangles, leaving the bottom edges open. And I sewed along the left edges of the 2 brim pieces. (Click to enlarge.)
.
Then I turned the hat right side out while leaving the brim inside out and lined up the back seams. Place the brim edge underneath the hat edge and overlap about a 1/2 inch. pin all the way around the hat on both sides.
.
.
.
Then I tacked the back of the brim into place on the back. Just to keep it from unfolding.
.
Then I attached some elastic to keep the hat in place while on Peter Pan’s head!
.
.
Now your whole ensemble is ready.
.
Now he’s ready to battle Hook.
.
Go get ‘em buddy.
Метки: костюм хеллоуин для детей |
Процитировано 3 раз
Понравилось: 1 пользователю
Шоколадно-кокосовая колбаска |
http://www.shate.ru/shokoladno-kokosovaya-kolbaska.html
Попробовала, вкусно :)
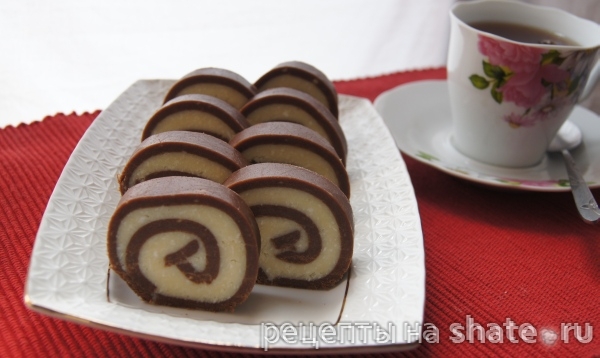 Магазинное печенье можно съесть за чаем, а можно потратить немного времени и сделать вот такую очень красивую колбаску. Получился просто волшебный десерт с тропическим вкусом.
Нам потребуется:
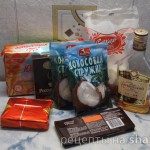
- простого печенья типа Юбилейное – 150 г
- какао-порошок – 2 ст.л.
- темный шоколад – 50 г
- вода – 100 мл
- коньяк – 2 ст.л.
- сахар по желанию – 2 ст.л.
для кокосового слоя:
- кокосовая стружка – 120 г
- сливочное масло – 100 г
- сахарная пудра – 100 г
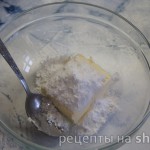 Размягченное масло смешать с сахарной пудрой.
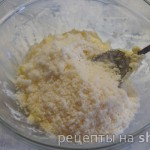 Добавить кокосовую стружку. Я половину количества стружки перемолола на кофемолке. Хорошо перемешать. Убрать в холодильник.
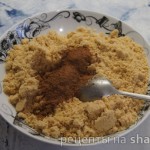 Печенье перекрутить на мясорубке или перемолоть блендером, всыпать какао-порошок. Хорошо перемешать.
 Шоколад растопить вместе с водой. По желанию добавьте сахар. Я не добавляла, чтобы не было слишком приторно. Выливаем горячее какао в шоколадную крошку. Туда же добавляем коньяк и хорошо перемешиваем.
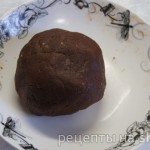 Получается мягкая теплая масса, похожая на пластилин.
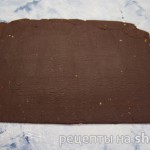 На стол расстелить пищевую плёнку или бумагу для выпечки. Шоколадную массу раскатайте в прямоугольник толщиной 5 мм.
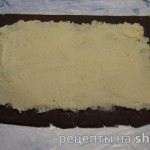 Сверху выложить кокосовую массу. Скатать в рулет и убрать в холодильник примерно на 6 часов.
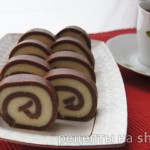 Охлажденный рулет порезать толщиной 2-3 см. Подавать к чаю.
|
органайзер из пакетов из-под молока |
попробовала. помучалась. получилось! :)
главное - рассчитать ткань. я вот хотела сделать побольше, на 8 ячеек, но не рассчитала и не хватило обрезочков похожей расцветки )
поэтому сделала на 4 ячейки одного цвета, и на 4 другого не доделала - нужно подумать про ткань на дно и внешние стенки.


|
Процитировано 1 раз
Понравилось: 2 пользователям
моя первая объемная открытка |


Метки: pop-up открытка |
Дневник Stesha00 |

|
|
| Страницы: [1] Календарь |


