3-D Box with Double Sliding Top. Tutorial By Tara Brown |
http://tarascraftstudio.com/?subscribe=already&paged=21
3-D Box with Double Sliding Top
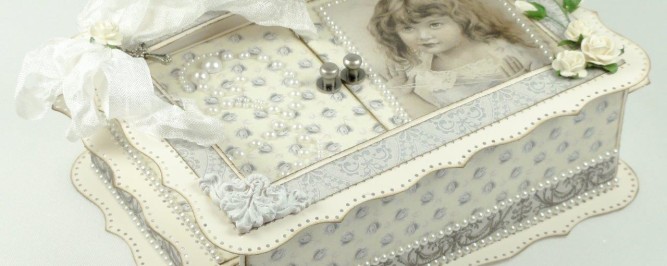
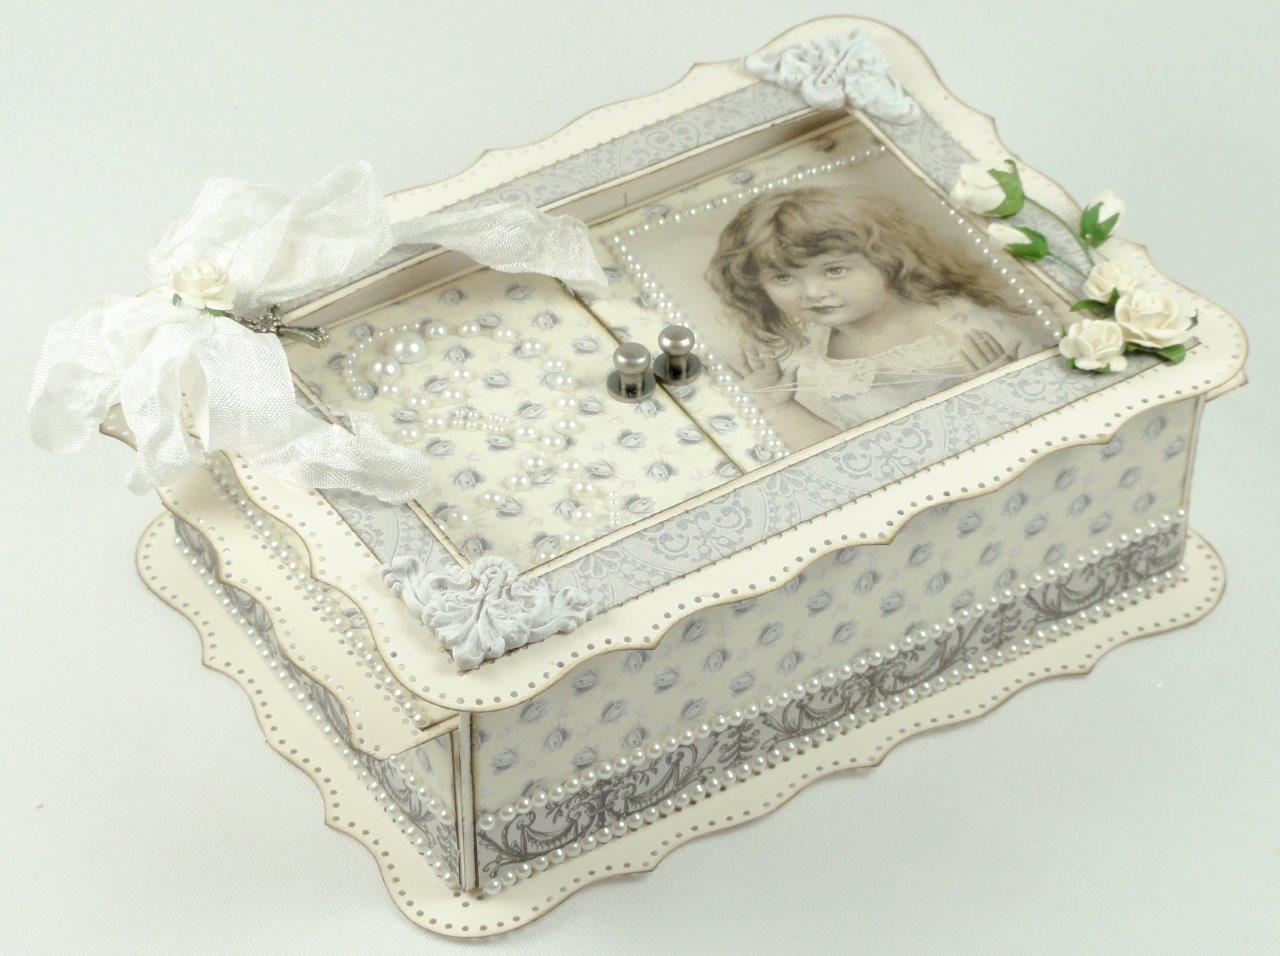
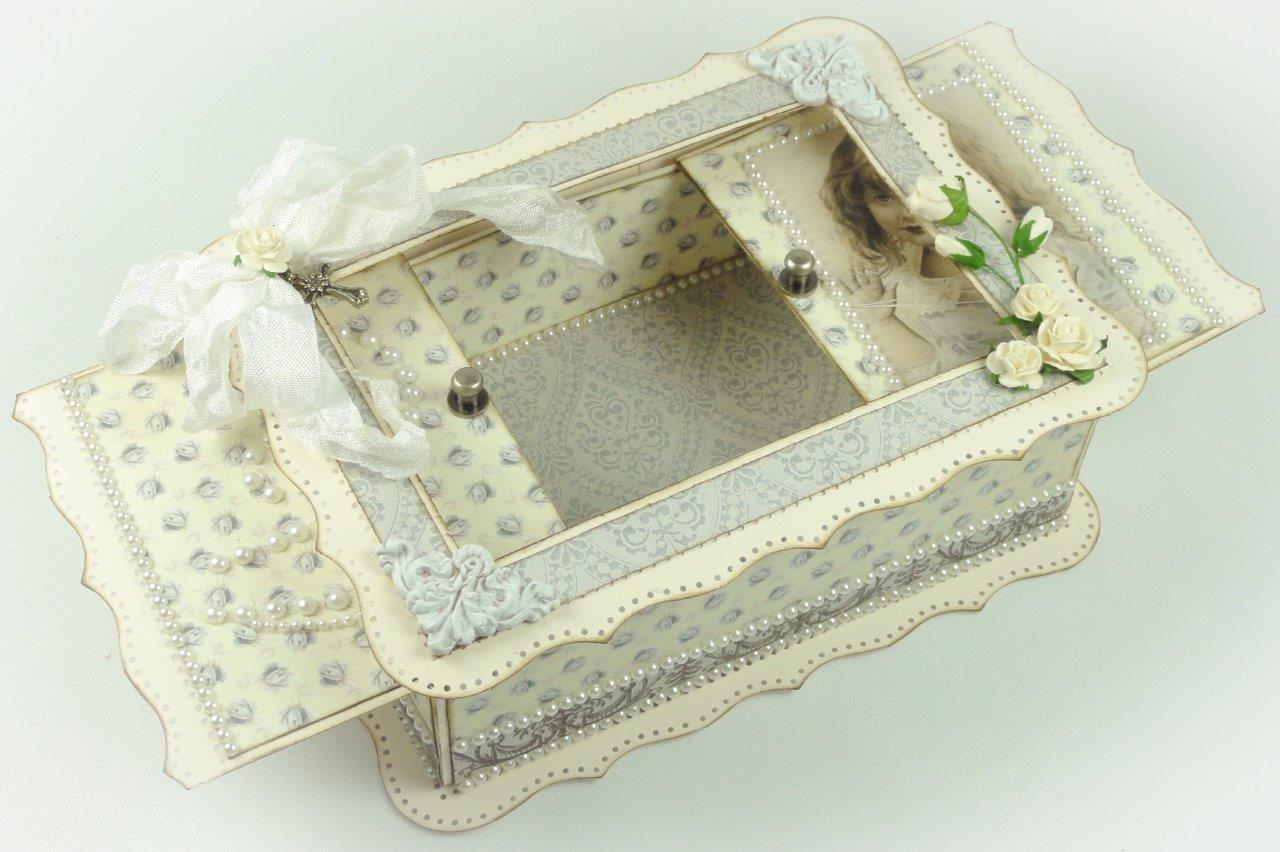
I was honored to have this project and it’s tutorial featured in the “Papers and Pixels” online craft magazine April 2013 edition. I’m posting two of these boxes today along with the tutorial. Both of these feature Pion Design papers from their new paper line “Alma’s Sewing Room.” This finished box measures 5”x 6 ¾” size and is 2” deep. It features a 3-D top with a two-piece sliding lid. These lid pieces slide in and out from the sides. The two boxes shown below were made using the below instructions. In addition, I’ve made two more that are slightly different so that you can see that you can get a different look by changing the box sizes and borders and I’ll post those boxes within the next few days. I hope you enjoy this project.
![Tara's Card Studio March 2013 Project Box 4 img 7[1]](http://tarascraftstudio.com/wp-content/uploads/2013/05/Taras-Card-Studio-March-2013-Project-Box-4-img-71.jpg)
![Tara's Card Studio March 2013 Project Box 4 img 11[1]](http://tarascraftstudio.com/wp-content/uploads/2013/05/Taras-Card-Studio-March-2013-Project-Box-4-img-111.jpg)
![Tara's Card Studio March 2013 Project Box 4 img 4[1]](http://tarascraftstudio.com/wp-content/uploads/2013/05/Taras-Card-Studio-March-2013-Project-Box-4-img-41.jpg)
![Tara's Card Studio March 2013 Project Box 4 img 3[1]](http://tarascraftstudio.com/wp-content/uploads/2013/05/Taras-Card-Studio-March-2013-Project-Box-4-img-31.jpg)
![Tara's Card Studio March 2013 Project Box 3 img 4[1]](http://tarascraftstudio.com/wp-content/uploads/2013/05/Taras-Card-Studio-March-2013-Project-Box-3-img-41.jpg)
TUTORIAL: 3-D BOX WITH DOUBLE SLIDING TOP
For the top to have a platform to slide on, the project requires two boxes; an outer larger one and an inside smaller one. Once you’ve become familiar with the instructions, you can customize the size and depth of the box, as well as use other borders.
MATERIALS:
3 sheets 12″ x 12″ cardstock Bazzill Smoothies Walnut Cream
2 sheets Pion Design paper Alma’s Sewing Room
1 package Tim Holtz Hitch Fasteners
TOOLS:
Martha Stewart Punch Around
the Page Cherish
Paper Trimmer
Scoreboard
ADDITIONAL ITEMS:
Glue, Decorative dies, Lace, Ribbon, Charms, Gemstones, Stamps, Flowers, Photos, Resin corners
Step 1:
Cut two pieces of cardstock measuring 5” x 6 ¾’. Use a Martha Stewart Cherish punch-around-the-page to form the top and base frames of your box.
![Tara's Card Studio March 2013 Box Tutorial img 1[1]](http://tarascraftstudio.com/wp-content/uploads/2013/05/Taras-Card-Studio-March-2013-Box-Tutorial-img-11.jpg)
![Tara's Card Studio March 2013 Box Tutorial img 2[1]](http://tarascraftstudio.com/wp-content/uploads/2013/05/Taras-Card-Studio-March-2013-Box-Tutorial-img-21.jpg)
Step 2:
Take one of the above punched cardstock frames and on the back side, measure and mark ½” from the inside border on all sides and cut out a center rectangle.
![Tara's Card Studio March 2013 Box Tutorial img 4[1]](http://tarascraftstudio.com/wp-content/uploads/2013/05/Taras-Card-Studio-March-2013-Box-Tutorial-img-41.jpg)
![Tara's Card Studio March 2013 Box Tutorial img 7[1]](http://tarascraftstudio.com/wp-content/uploads/2013/05/Taras-Card-Studio-March-2013-Box-Tutorial-img-71.jpg)
Step 3:
Cut a 4” x 5 ¾” piece of decorative paper to fit the top frame. On the reverse side, measure and mark 3/8” from the outside edge on all sides and cut out a center rectangle. Glue the decorative paper to the top cardstock frame.
![Tara's Card Studio March 2013 Box Tutorial img 8[1]](http://tarascraftstudio.com/wp-content/uploads/2013/05/Taras-Card-Studio-March-2013-Box-Tutorial-img-81.jpg)
![Tara's Card Studio March 2013 Box Tutorial img 9[1]](http://tarascraftstudio.com/wp-content/uploads/2013/05/Taras-Card-Studio-March-2013-Box-Tutorial-img-91.jpg)
![Tara's Card Studio March 2013 Box Tutorial img 10[1]](http://tarascraftstudio.com/wp-content/uploads/2013/05/Taras-Card-Studio-March-2013-Box-Tutorial-img-101.jpg)
![Tara's Card Studio March 2013 Box Tutorial img 11[1]](http://tarascraftstudio.com/wp-content/uploads/2013/05/Taras-Card-Studio-March-2013-Box-Tutorial-img-111.jpg)
Step 4:
For the outside larger box, cut a piece of cardstock measuring 8 ¾” x 9”. Place the 9” long side horizontally on your score board and score at ½”, 2 ½”, 6 ½”, and 8 ½”
![Tara's Card Studio March 2013 Box Tutorial img 12[1]](http://tarascraftstudio.com/wp-content/uploads/2013/05/Taras-Card-Studio-March-2013-Box-Tutorial-img-121.jpg)
Step 5:
Turn the cardstock around to where the 8 ¾” side is horizontal against the scoreboard. Score at 1 ½” and 7 ¼”. Notice that the sides are ½” shorter on two sides of the box. This provides the 3-D effect for your sliding top pieces.
![Tara's Card Studio March 2013 Box Tutorial img 13[1]](http://tarascraftstudio.com/wp-content/uploads/2013/05/Taras-Card-Studio-March-2013-Box-Tutorial-img-131.jpg)
Step 6:
Cut the tabs vertically on the 8 ¾” side as shown and assemble the box. The outer 1/2” scored panels will provide the support for the frame top.
![Tara's Card Studio March 2013 Box Tutorial img 14[1]](http://tarascraftstudio.com/wp-content/uploads/2013/05/Taras-Card-Studio-March-2013-Box-Tutorial-img-141.jpg)
![Tara's Card Studio March 2013 Box Tutorial img 16[1]](http://tarascraftstudio.com/wp-content/uploads/2013/05/Taras-Card-Studio-March-2013-Box-Tutorial-img-161.jpg)
Step 7:
Cut and glue decorative paper strips for the outside of the larger box measuring 1 7/8” x 5 5/8” size for the longer sides and 1 3/8” x 3 7/8” size for the shorter sides
![Tara's Card Studio March 2013 Box Tutorial img 17[1]](http://tarascraftstudio.com/wp-content/uploads/2013/05/Taras-Card-Studio-March-2013-Box-Tutorial-img-171.jpg)
Step 8:
For the inner smaller box, cut a piece of cardstock measuring 6 ½” x 8 ¼”. Score at 1 ½” on all sides.
![Tara's Card Studio March 2013 Box Tutorial img 18[1]](http://tarascraftstudio.com/wp-content/uploads/2013/05/Taras-Card-Studio-March-2013-Box-Tutorial-img-181.jpg)
Step 9:
Cut the tabs and assemble/glue the box.
![Tara's Card Studio March 2013 Box Tutorial img 19[1]](http://tarascraftstudio.com/wp-content/uploads/2013/05/Taras-Card-Studio-March-2013-Box-Tutorial-img-191.jpg)
![Tara's Card Studio March 2013 Box Tutorial img 20[1]](http://tarascraftstudio.com/wp-content/uploads/2013/05/Taras-Card-Studio-March-2013-Box-Tutorial-img-201.jpg)
Step 10:
Cut and glue decorative paper for the inside of the smaller box measuring 1 3/8” x 5 1/8” for the longer sides and 1 3/8” x 3 3/8” for the shorter sides and 3 3/8” x 5 1/8” for the box floor.
![Tara's Card Studio March 2013 Box Tutorial img 23[1]](http://tarascraftstudio.com/wp-content/uploads/2013/05/Taras-Card-Studio-March-2013-Box-Tutorial-img-231.jpg)
Step 11:
Center and glue the smaller box inside the larger one.
![Tara's Card Studio March 2013 Box Tutorial img 25[1]](http://tarascraftstudio.com/wp-content/uploads/2013/05/Taras-Card-Studio-March-2013-Box-Tutorial-img-251.jpg)
Step 12:
Apply glue to the ½” top panels and then carefully align and place the top cut-out frame onto these panels.
![Tara's Card Studio March 2013 Box Tutorial img 28[1]](http://tarascraftstudio.com/wp-content/uploads/2013/05/Taras-Card-Studio-March-2013-Box-Tutorial-img-281.jpg)
Step 13:
Make the double pull-out top by cutting a piece of cardstock measuring 3 7/8” x 7 1/8”. Cut this piece in half and then use the punch to make an edge border on both sides.
![Tara's Card Studio March 2013 Box Tutorial img 29[1]](http://tarascraftstudio.com/wp-content/uploads/2013/05/Taras-Card-Studio-March-2013-Box-Tutorial-img-291.jpg)
Step 14:
Cut and glue two pieces of decorative paper for the sliding top pieces measuring 3” x 3 ¾” each.
![Tara's Card Studio March 2013 Box Tutorial img 30[1]](http://tarascraftstudio.com/wp-content/uploads/2013/05/Taras-Card-Studio-March-2013-Box-Tutorial-img-301.jpg)
Step 15:
Center and glue the remaining base frame to the box bottom. Apply your decorative touches such as die cuts, hitch fasteners/knobs, flowers, gemstones, charms, lace, ribbons, stamps, and photos.
| Рубрики: | Скрапбукинг |
| Комментировать | « Пред. запись — К дневнику — След. запись » | Страницы: [1] [Новые] |


