-Цитатник

Тапочки крючком - мастер-класс!!! - (0)

Тапочки крючком - мастер-класс!!! Для изготовления нам нужно - стельки, пряжа, крючок, игла . ...

журнал - (0)

«1000» Фотографии в альбоме «1000» evg221079 на Яндекс.Фотках<>

Захаренко О. - Обувь для дома своими руками - (0)

Захаренко О. - Обувь для дома своими руками ...

Снуд звездочки - (0)

Снуд звездочки 1. 2. 3. 4. 5. 6. 7. 8. 9. 10. 11. 12. 13. 14. 15. 16. 17. 18.

Подборка.Пинетки.Кеды - (0)

Подборка.Пинетки.Кеды Вязаные пинетки-кеды.            &nbs...

 -Метки

англ. яз. аппетитными батик бисер блог блоги выкройки вышивка вязание вязание спицами вязание\спи год!!!! готовые декупаж дизайнерские для декупажа для дневника для дома для компа для лета для схем дневник женщинам журналы здоровье идеи идеи для дома из газет из картона интересности интерьер как вязать лицевую гладь без поворота спиц картинки кожа комментарии кулинария лицевая гладь макраме мастер - класс материалы и техники мебель мода мода 2014 мода 2015 мозаика мыло новый описание!!! печвок платье платья плетеные сумки rags2riches (подборка) поделки поделки из газет подробное приколы разное роза из картофеля рукоделие рулеты выпечка рулет сладкий бисквитный рулеты с рисунками свинина по-степному скрап смех соленое тесто сумки и багаж творим с детьми украшения из овощей украшение гарнир картофельный уличная мода улыбнемся фарфор формами! фотошоп числе чулочки вязаные спицами. шикарное шитье шьем энтоакустика

 -Поиск по дневнику

Поиск сообщений в татьянаяна

 -Подписка по e-mail

 
Комментарии (0)

КРАСИВЫЕ ПОКРЫВАЛА, СВЯЗАННЫЕ КРЮЧКОМ

Пятница, 30 Сентября 2011 г. 06:08 + в цитатник
Это цитата сообщения Ирина-ажур [Прочитать целиком + В свой цитатник или сообщество!]

КРАСИВЫЕ ПОКРЫВАЛА, СВЯЗАННЫЕ КРЮЧКОМ

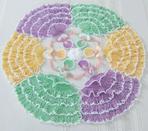
Такие покрывала могут стать украшением любой спальни.

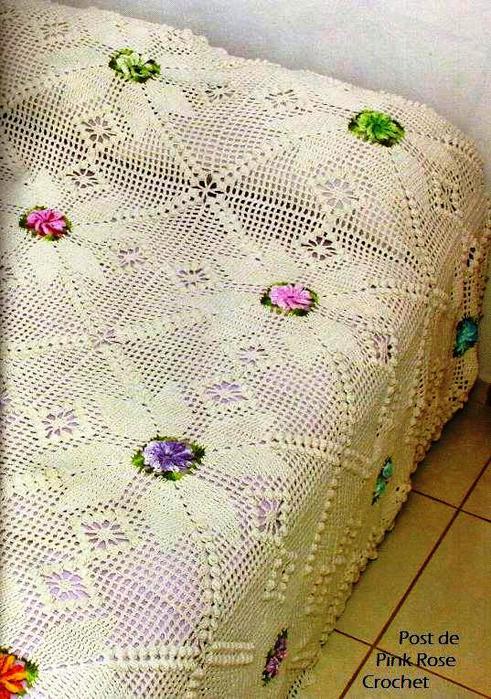
1 (491x700, 106Kb)

Читать далее...
Рубрики:  рукоделие/для дома

Метки:  
Комментарии (0)

Мохнатенький и пушистый! Веселый коврик.

Пятница, 23 Сентября 2011 г. 07:29 + в цитатник
Это цитата сообщения Трииночка [Прочитать целиком + В свой цитатник или сообщество!]

Мохнатенький и пушистый! Веселый коврик.Мастер-класс

Мохнатенький и пушистый! Веселый коврик.Мастер-класс.

Этот вид рукоделия позволяет создавать чудесные пушистые предметы интерьера, делающие Ваш дом уютнее и индивидуальнее. Весёлый коврик, сделанный вручную, не оставит равнодушным никого! А этот мастер-класс научит Вас этому только на первый взгляд сложному творчеству!


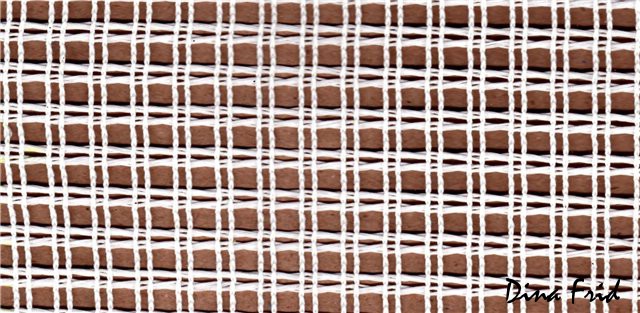
 ковровая канва


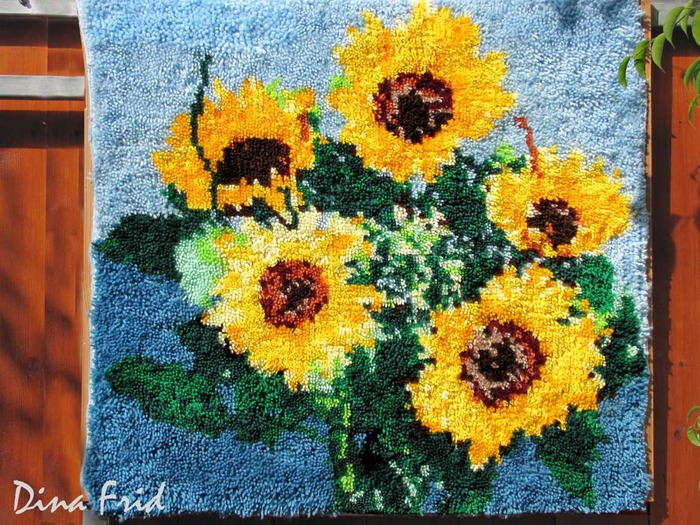
На фотографии Вы видите мой коврик ручной работы "Подсолнухи" (размер 80x80 см)

Такой коврик необычайно прост в изготовлении. Вы с лёгкостью справитесь с его  созданием, только нужно научиться завязывать узелки. А дальше - уже дело времени и терпения.

Вам потребуются:

  1. ковровая канва (или какая нибудь плотная сетка с квадратными ячейками);
  2. любые остатки цветной пряжи;
  3. специальный крючок с лапкой (если найти такой нереально, можно воспользоваться обычным, вязальным, но это гораздо менее удобно
  4. Ковровую канву с крупными ячейками можно найти во многих магазинах для рукоделия, она продаётся на метраж в рулонах шириной метр.


специальный крючок для ткания ковра и схема завязывания им узелка на ковровой канве


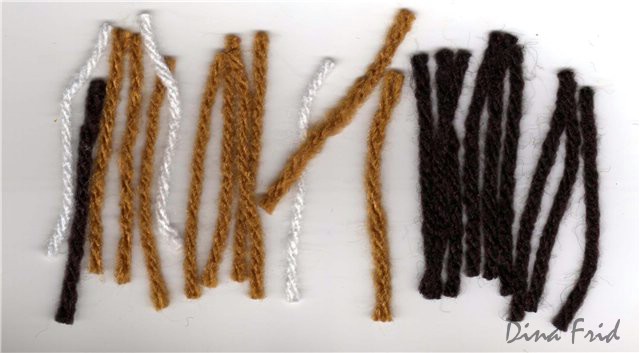
Нитки для изготовления ковра ручной работы предварительно подготавливаются. Нужно их нарезать на отрезки равной длины. Проще всего сделать это так: намотать пряжу на картонку шириной  7-8 см, потом снять и разрезть сверху и снизу (можно только сверху или только снизу, в зависимости от нужной Вам длины нитей), по принципу помпона.

нарезанные для ковроткачества нитки
Читать далее

Рубрики:  рукоделие/для дома

Метки:  
Комментарии (0)

журналы

Вторник, 23 Августа 2011 г. 11:05 + в цитатник
Это цитата сообщения Vassya [Прочитать целиком + В свой цитатник или сообщество!]

dlya doma

pleasantry

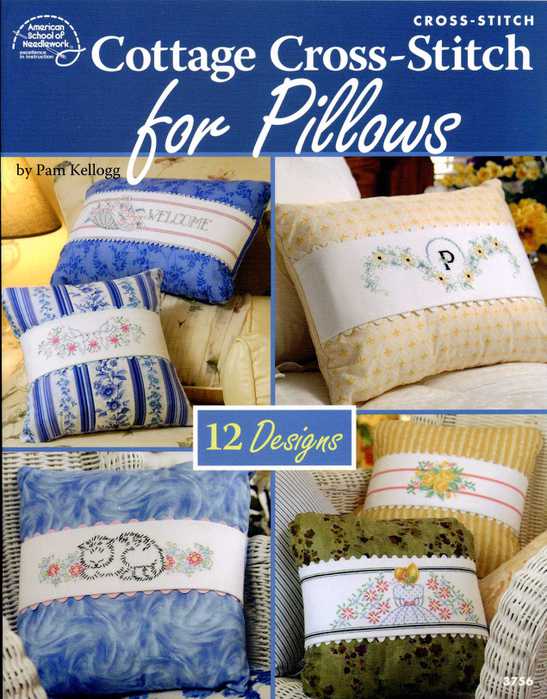
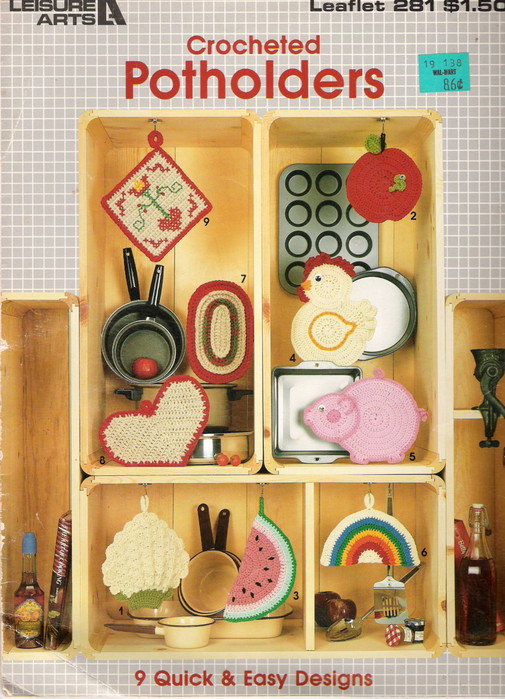
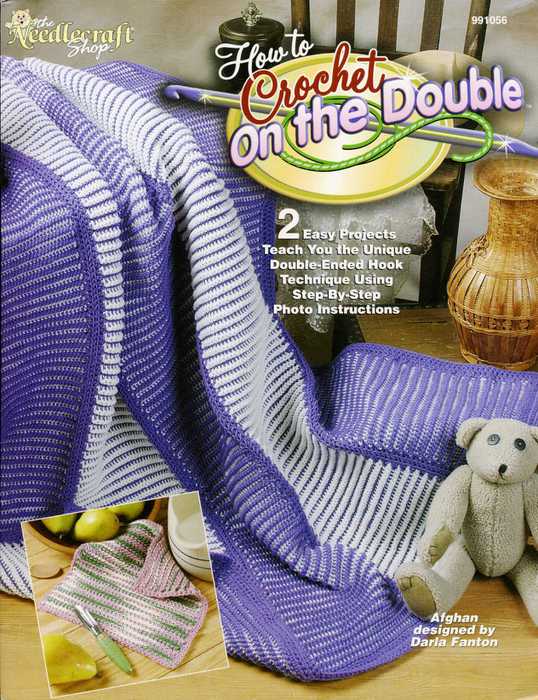
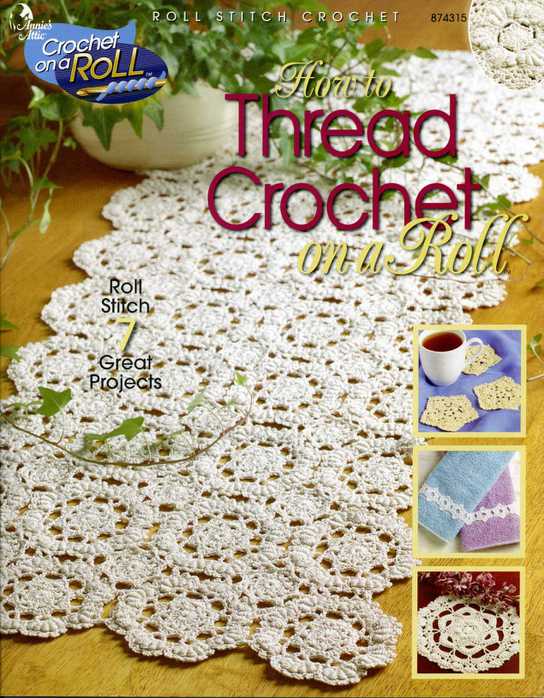
Crochet On The Double FC (538x700, 76Kb)How To Thread Crochet On A Roll FC (544x700, 72Kb)http://depositfiles.com/files/salraph29

=================================================================================================


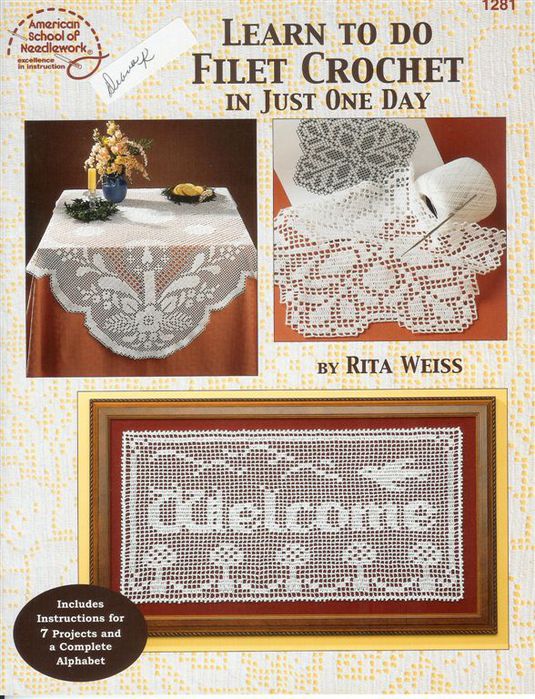
Превью FC (450x401, 58Kb) LearnToDoFiletCrochet_Page_01 (535x700, 116Kb)http://turbobit.net/vnoejkcnqjin.html

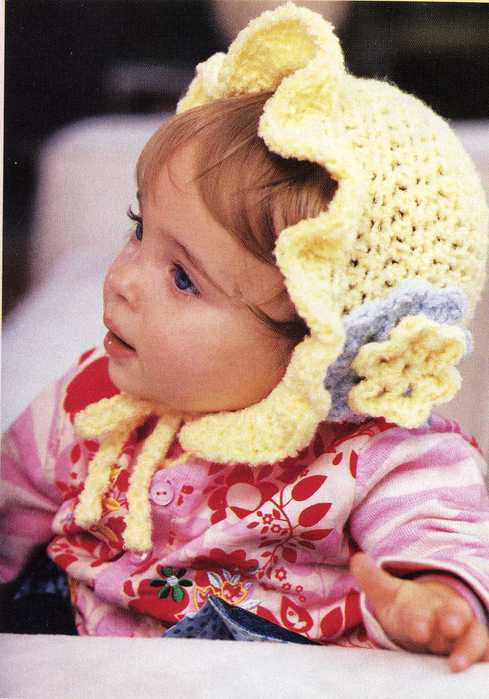
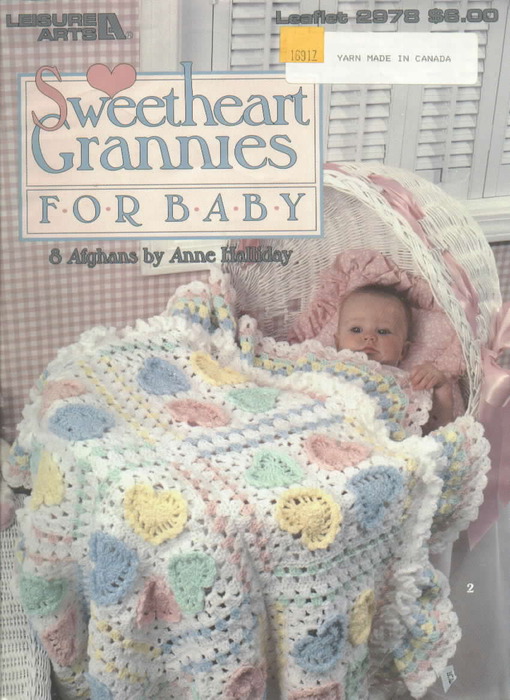
Превью Sweetheart Angels (524x700, 125Kb) 1 (489x700, 36Kb)sweetheart grannies for baby (510x700, 124Kb)http://turbobit.net/zni6uil4h0yd.html


============================================================================================

Превью A Day To Remember (150x240, 42Kb)Превью A DOZEN DOUBLE QUIC FC (160x209, 49Kb)Превью adozenrapidrippledishcloths_page_01 (128x165, 29Kb)Превью Adelina Rose Blanket (143x190, 20Kb)Превью AA Antique Crochet Pincushions - FC (233x320, 85Kb)http://turbobit.net/4px9tvn7mtjh.html

==================================================================================================

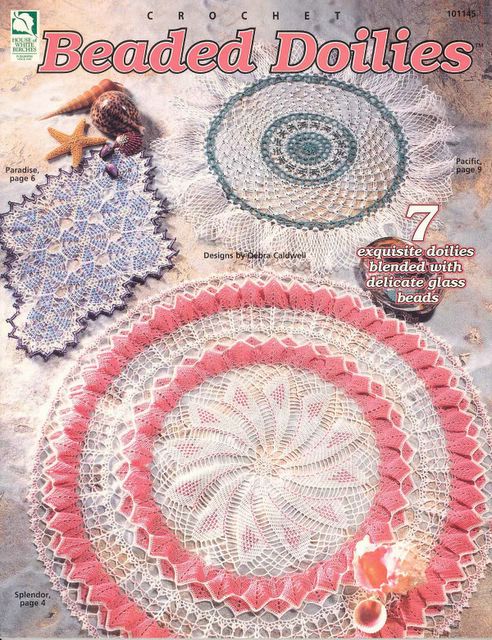
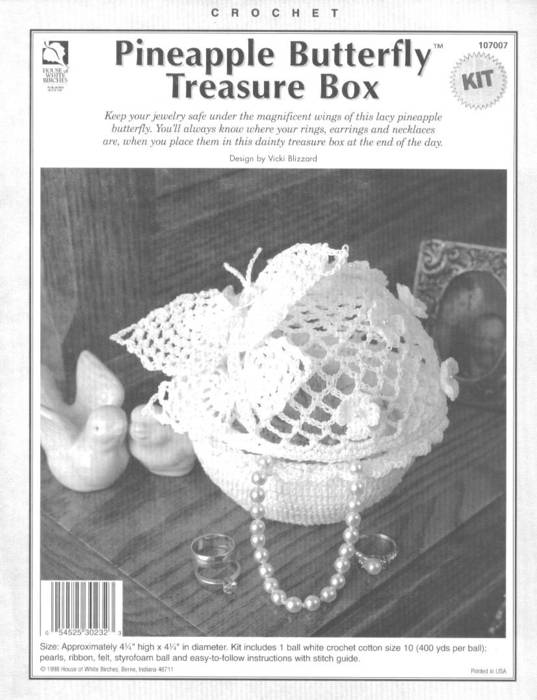
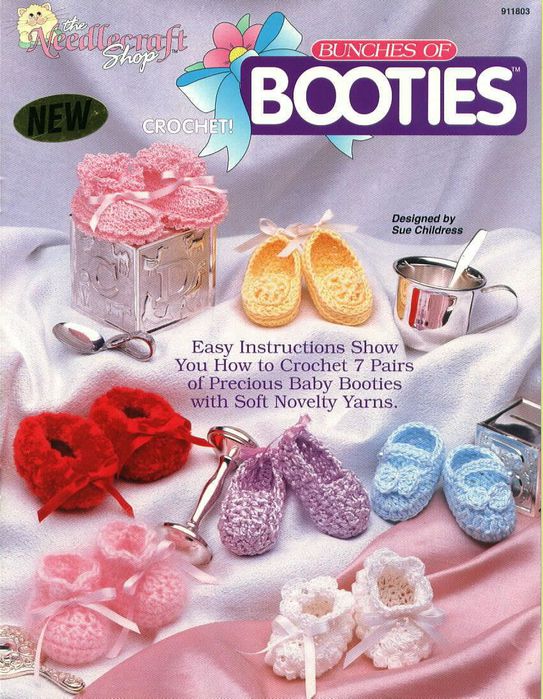
Превью Bootie Collection-fc (509x700, 36Kb) Beaded Doilies FC (492x640, 123Kb)Butterflytreasurebox (537x700, 49Kb)crochet BOOTIES fc (543x700, 98Kb)http://turbobit.net/lnj17746bg5q.html

===================================================================================================

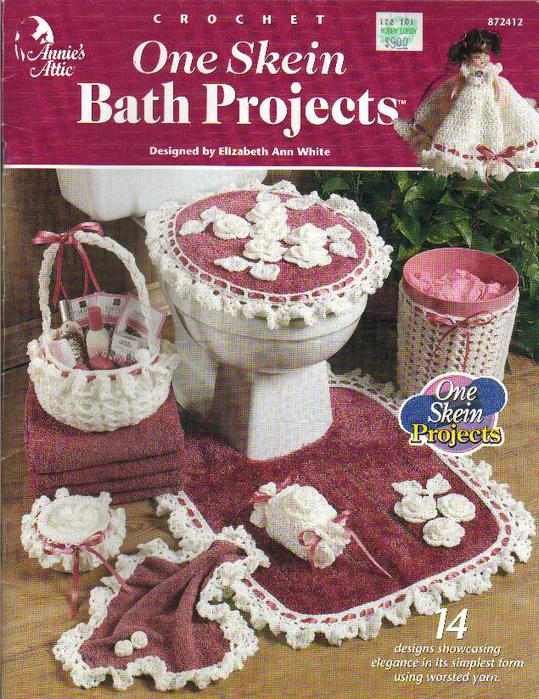
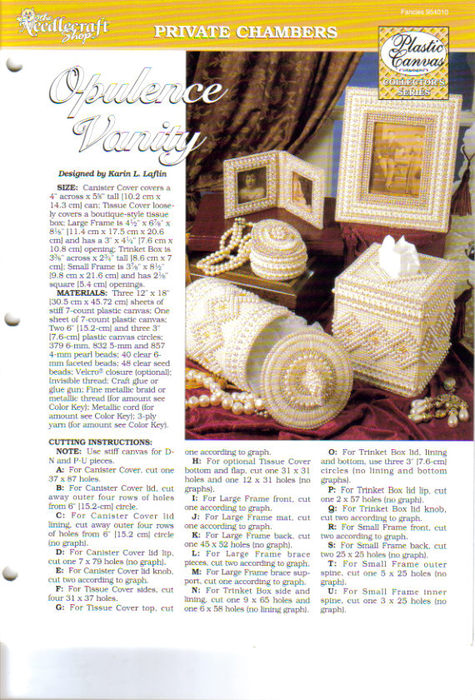
Превью 1 Skein gifts (1) (359x461, 54Kb)Превью FC (391x500, 68Kb) One Skein Bath Projects FC (539x700, 109Kb)opluence vanity fc (475x700, 120Kb)http://turbobit.net/mttpl3cdk1bu.html

==================================================================================================

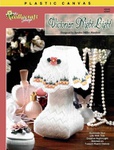
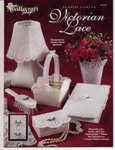
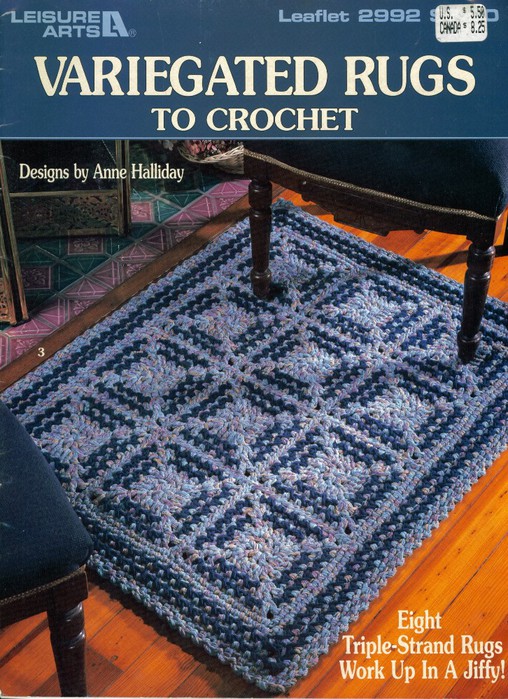
Превью Victorian Ice Village 18 FIN (368x480, 44Kb)Превью victorian%20nite%20light%20fc%2001 (381x500, 83Kb)Превью victorfc (537x700, 52Kb)Превью windy whirlies fc (492x640, 81Kb) Variegated Rugs to Crochet FC (508x700, 155Kb)

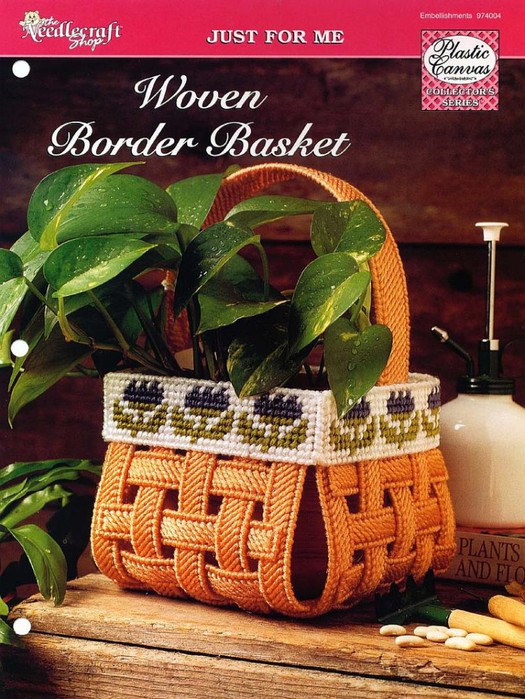
WovenBorderBasket_01 (525x700, 144Kb)Welcome Spring FC (500x680, 326Kb)http://turbobit.net/6z2vzoz7ref0.html

===================================================================================================

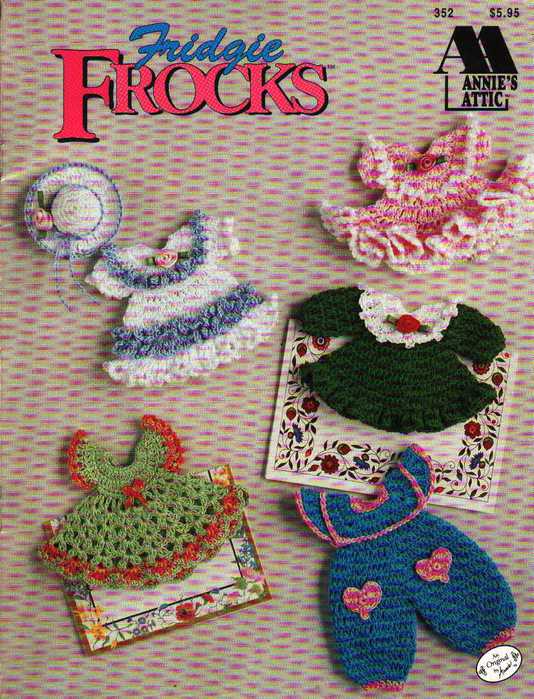
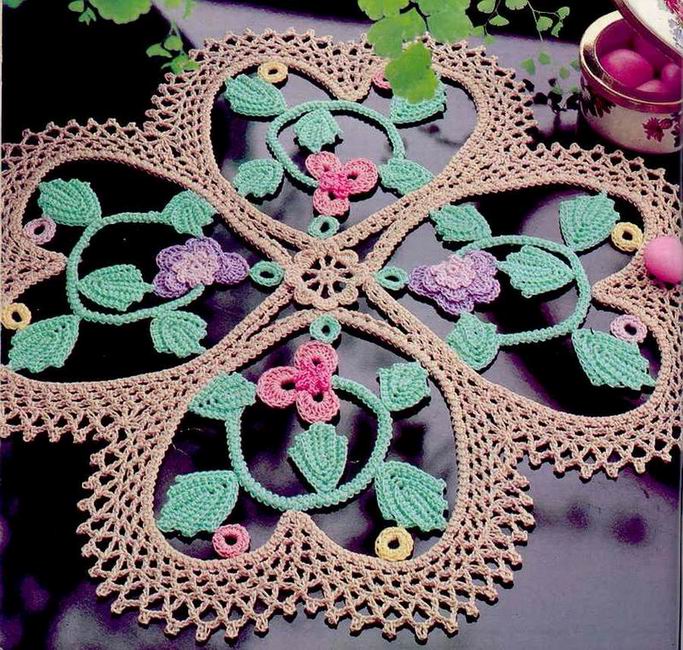
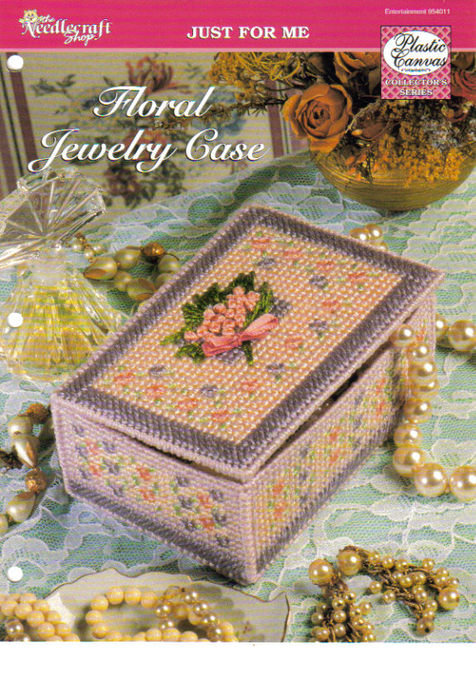
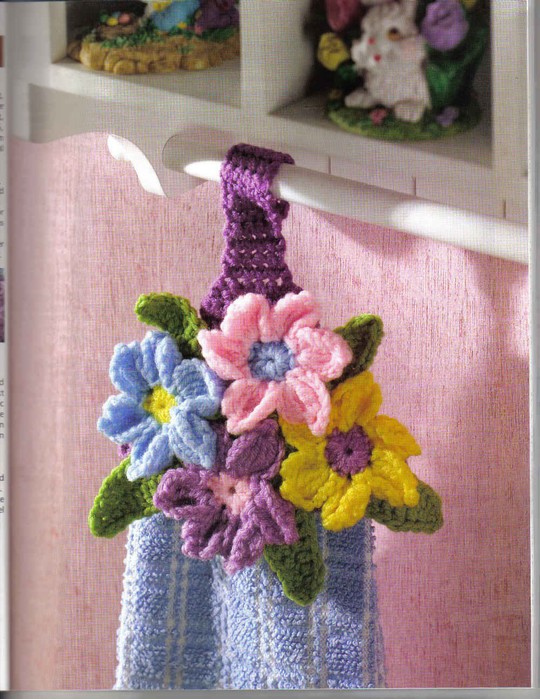
AA352_FridgieFrocks01(nop2-3) (534x700, 69Kb)Fancy Clover Doily FC (683x650, 140Kb)floral jewelry case fc (476x700, 125Kb)Flower Garden Towel Topper (540x700, 118Kb)

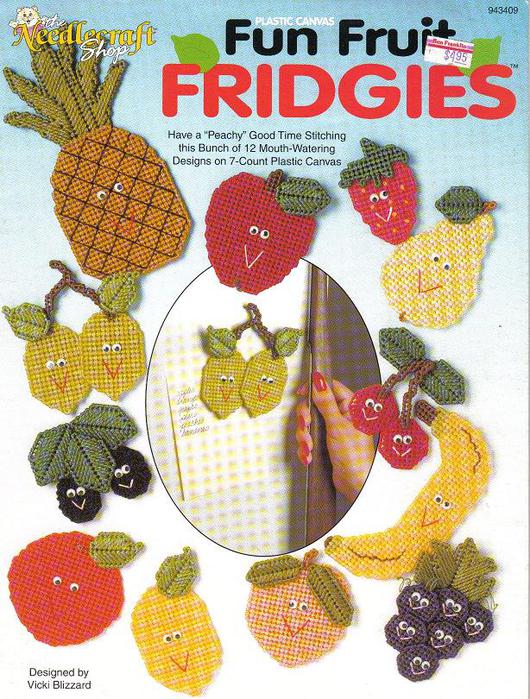
fun fruit fridgies (530x700, 100Kb)http://turbobit.net/mjuluucdl21l.html

====================================================================================================

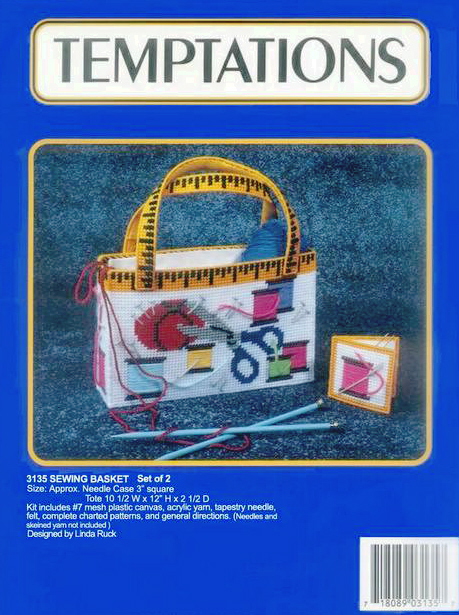
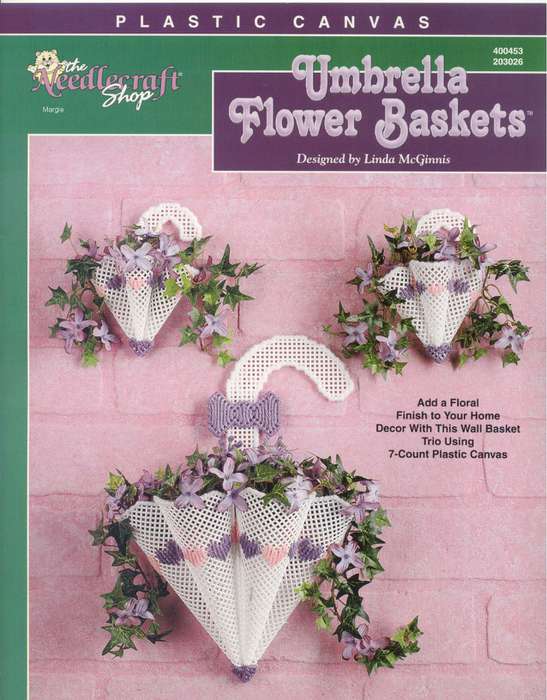
Превью FC (500x427, 76Kb)Превью Tooth Fairy Angel (489x640, 76Kb)Превью FC (366x500, 82Kb) Sewing%20Basket%201 (459x615, 201Kb)Umbrella Flower Basket 01 (547x700, 57Kb)http://turbobit.net/210k4it2i01s.html


============================================================================================

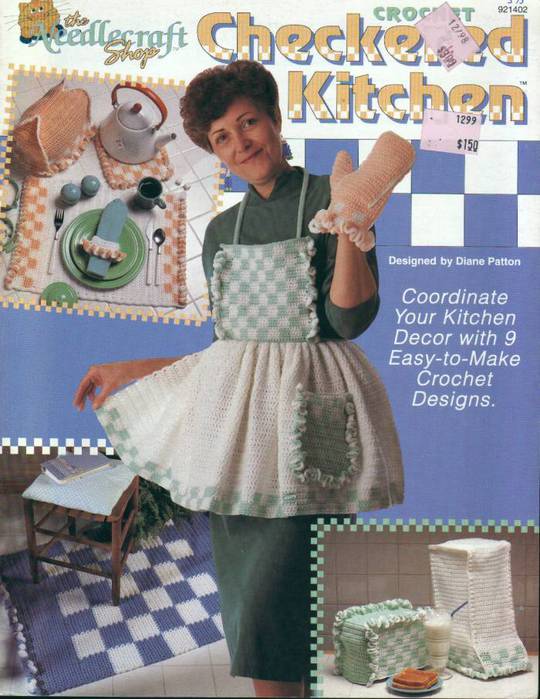
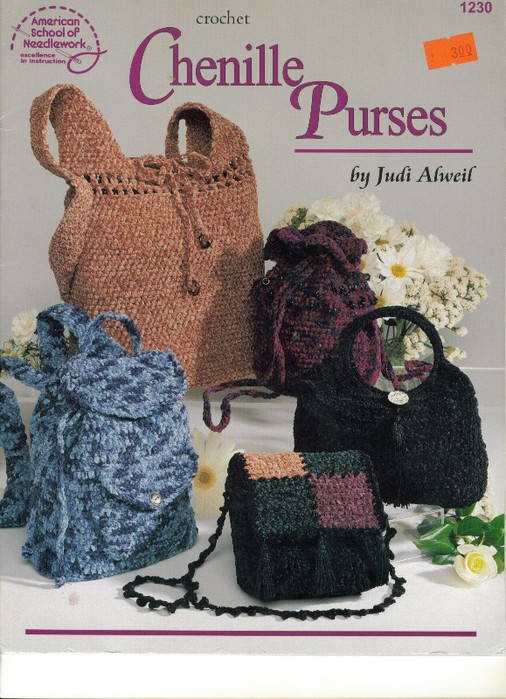
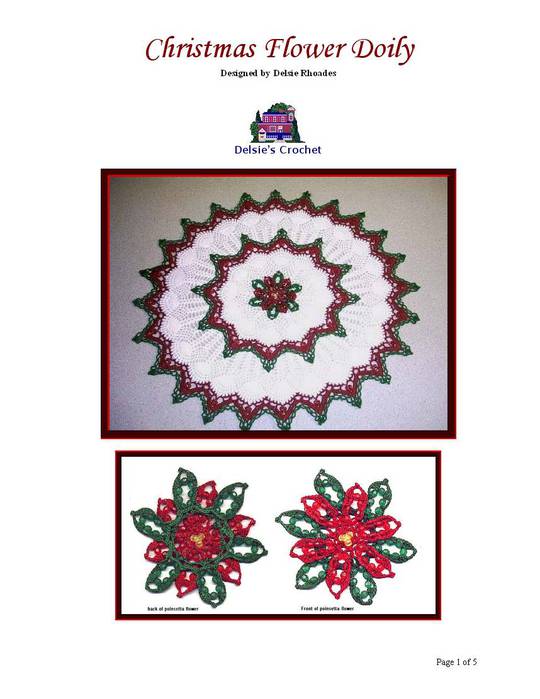
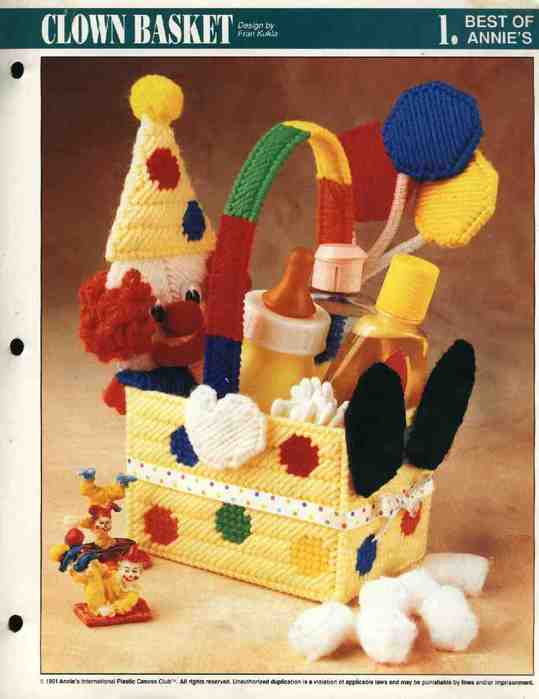
Превью Caps, Hats and Bonnets 00 FC (376x500, 87Kb)Превью Casserole Coasters FC (425x550, 96Kb) FC (540x700, 66Kb)Chenille Purses FC (506x700, 123Kb)Christmas Jar Lid Covers0 (568x700, 71Kb) ChristmasFlowerDoily0001 (540x700, 46Kb)Clown Basket-01 (539x700, 24Kb)Превью 01fc (400x549, 94Kb)Превью CrinolineLadiesCIRCLE1of4 (480x422, 45Kb)1 (547x700, 58Kb)

Превью Crocheted  Lampshade (377x581, 80Kb)scan0001_009 (505x700, 136Kb)http://turbobit.net/t55qzccyr2si.html

======================================================================================================

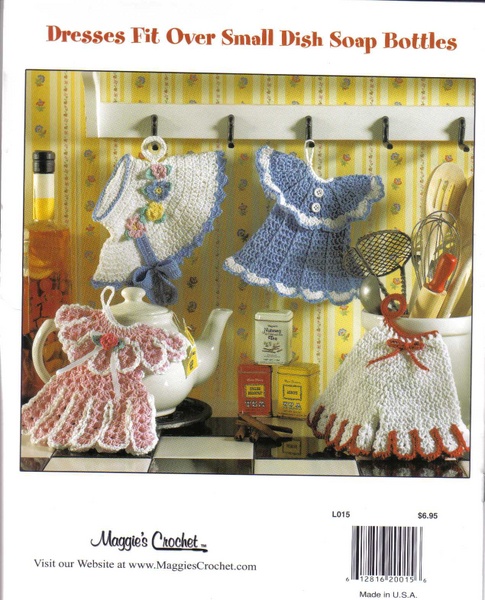
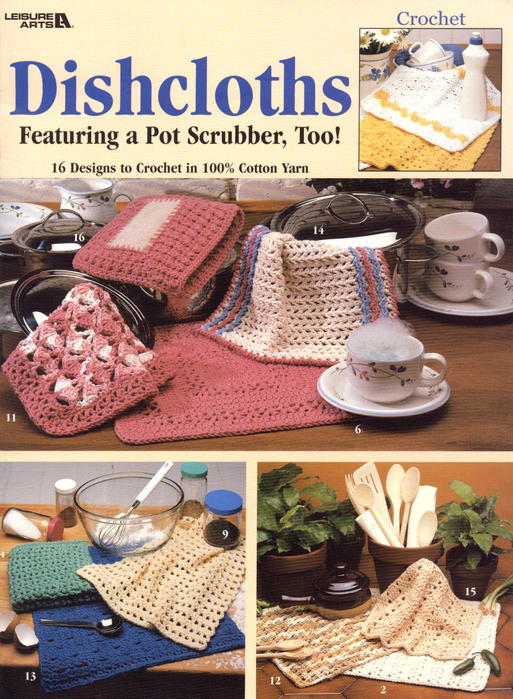
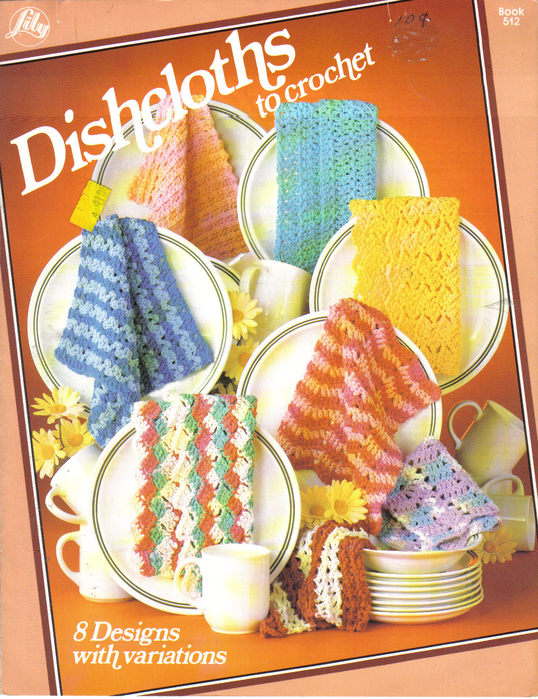
Превью Daddy time baby afghans (460x632, 78Kb) Dish Soap Covers (485x600, 131Kb)Dishcloths Featuring  Pot Scrubber 0fc (513x700, 93Kb)Dishcloths FC (538x700, 139Kb)http://turbobit.net/cvh2qucwxeb0.html

======================================================================================================

Превью Quilted Afghans 2 00fc (179x243, 55Kb)Превью 54844809 (164x225, 37Kb)Превью rainfc (183x239, 53Kb)Превью right on cue fc (360x522, 39Kb)Превью FC (250x250, 83Kb)Превью SV-FC (524x700, 81Kb)Превью Strawberry Sundress (635x582, 34Kb)Превью summertime favorites_NoRestriction0001 (171x215, 45Kb)http://turbobit.net/ygzlvhhawooc.html

=================================================================================================


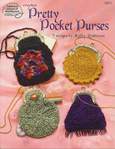
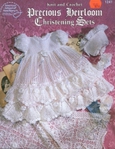
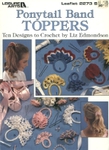
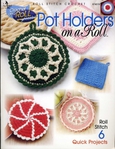
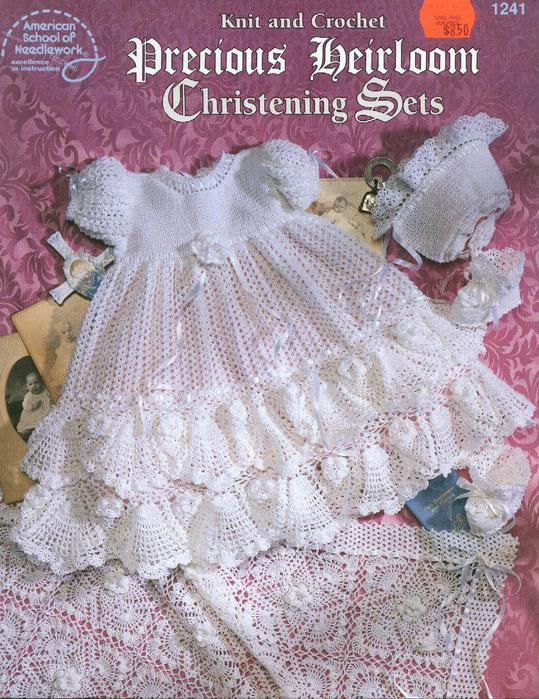
Превью Pocket Purses (500x647, 54Kb)Превью FC (500x316, 72Kb)Превью Копия ASN 1241-Precious Heirloom Christening Sets 01fc (168x218, 44Kb)Превью 1 (242x267, 88Kb)Превью LA_2273_Ponytail_Band_Toppers (153x210, 39Kb)Превью Копия Posy Toes (222x335, 60Kb)Превью Pot Holders On A Roll FC (254x329, 97Kb)Превью powderroomacc._fc (180x240, 48Kb) ASN 1241-Precious Heirloom Christening Sets 01fc (539x700, 104Kb)http://turbobit.net/d7m6aoauzj7l.html

==================================================================================================

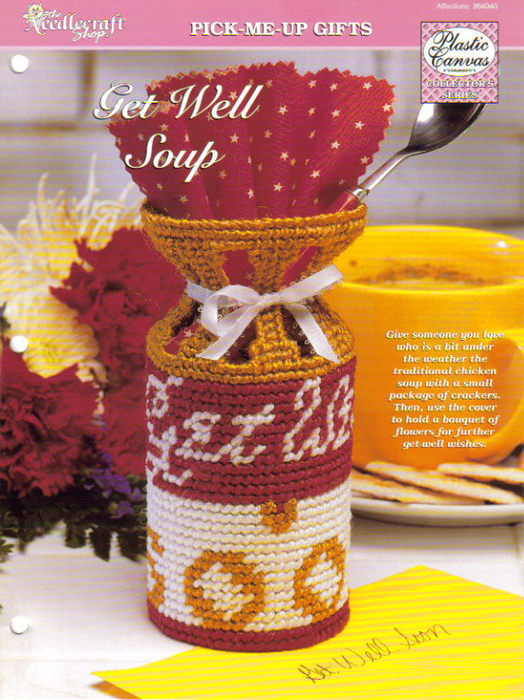
Превью Holiday Towel Toppers (424x550, 39Kb) get well soup fc (524x700, 119Kb)

Превью gafc (158x215, 40Kb)Превью Heart Doily (282x211, 57Kb)Превью IRISHROSECHRISTENINGSET2(PIC) (231x320, 74Kb)Превью The Needlecraft Shop - 973052 - Nature's Towel Toppers - 01 (180x240, 60Kb)Превью fc (195x268, 81Kb)

http://turbobit.net/j8tsjqwbg0b5.html

============================================================================================

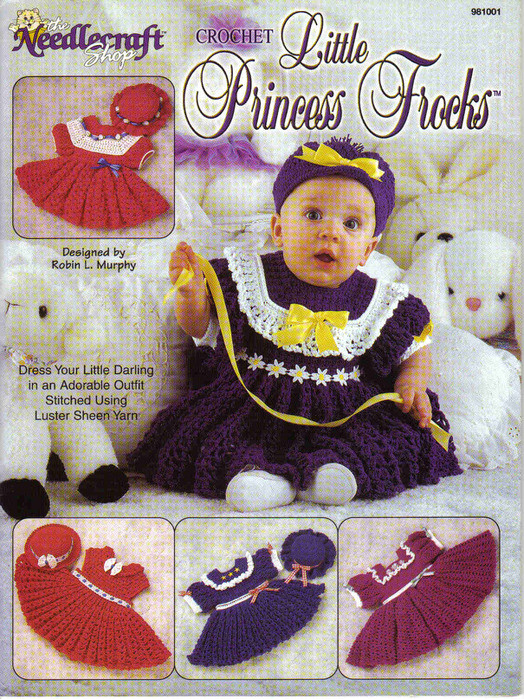
Превью little shoes~fc (562x495, 89Kb) frocks (524x700, 275Kb)Превью Scan5281, January 11, 2004 (170x219, 43Kb)Превью Kitchen Decor (162x250, 53Kb)Превью kitty treasure box fc (114x146, 21Kb)

Превью Lacy Lullabies (145x200, 31Kb)Превью LadybugCovers-01B (200x269, 58Kb)Превью Lemon Drops & Daisies FC  (145x200, 34Kb)Превью Little Kitchen Helpers (160x250, 47Kb)http://turbobit.net/qcf3c0cy6bq2.html

=============================================================================================


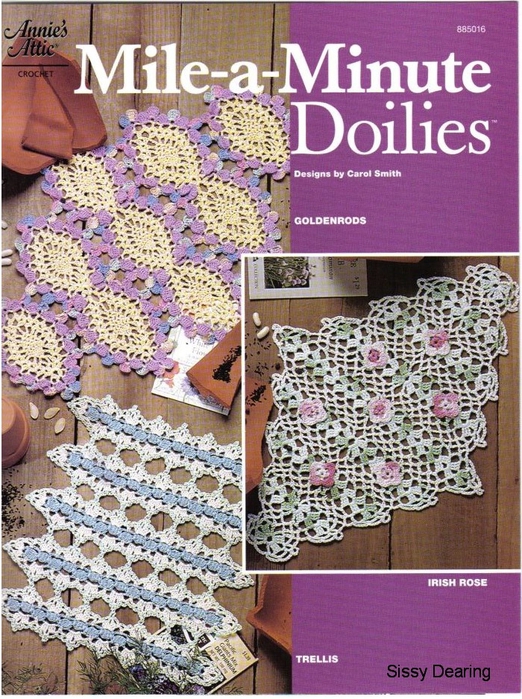
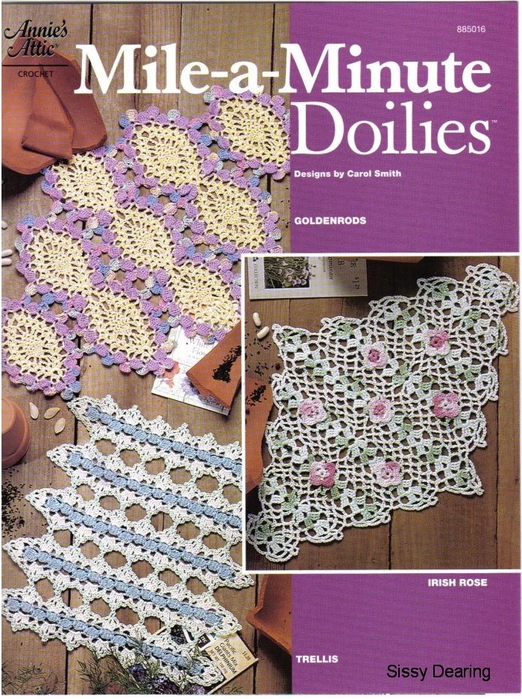
Превью Magic Wings Doily FC (600x450, 85Kb)Превью FC (264x154, 8Kb)Превью Patons 1238 (491x700, 46Kb) Mile a Minute Doilies FC (522x700, 376Kb)

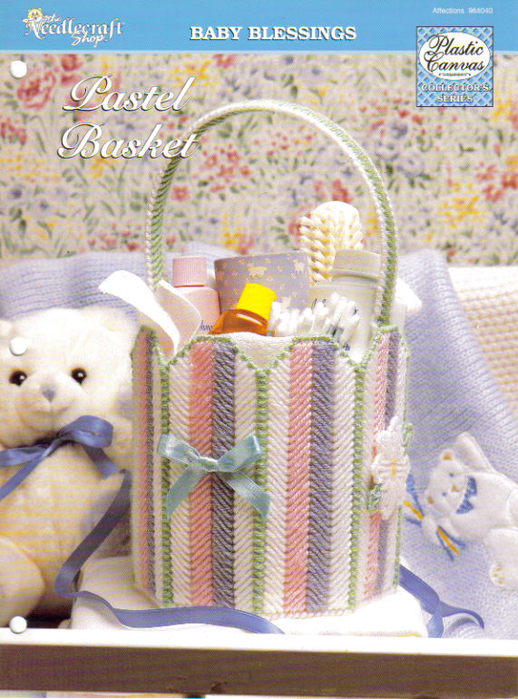
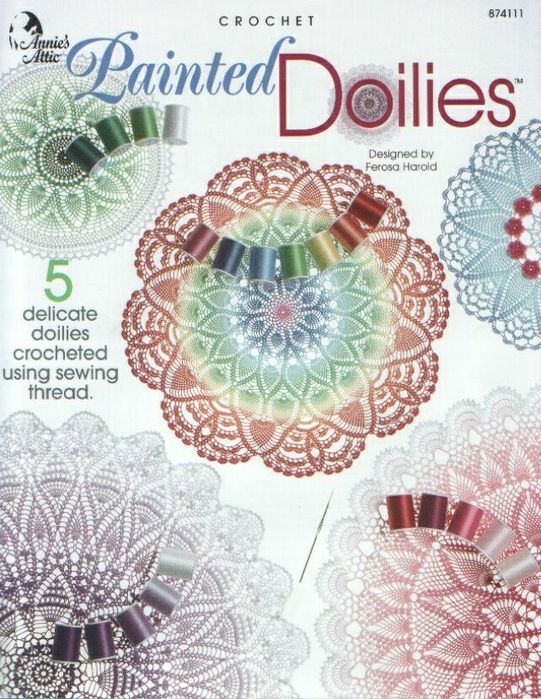
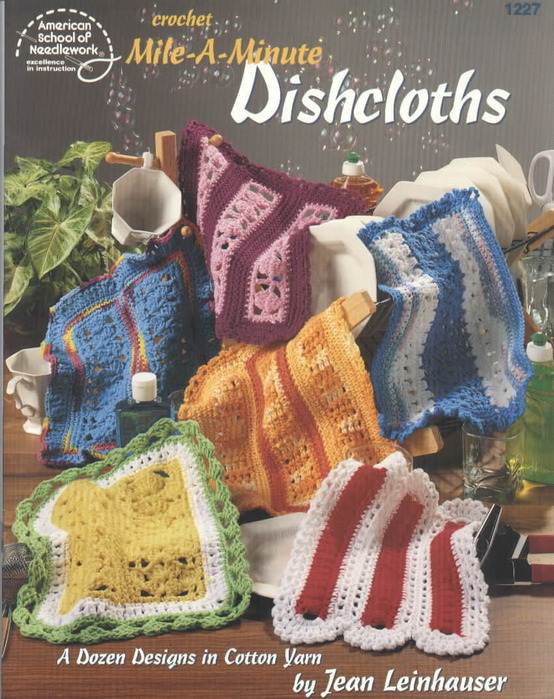
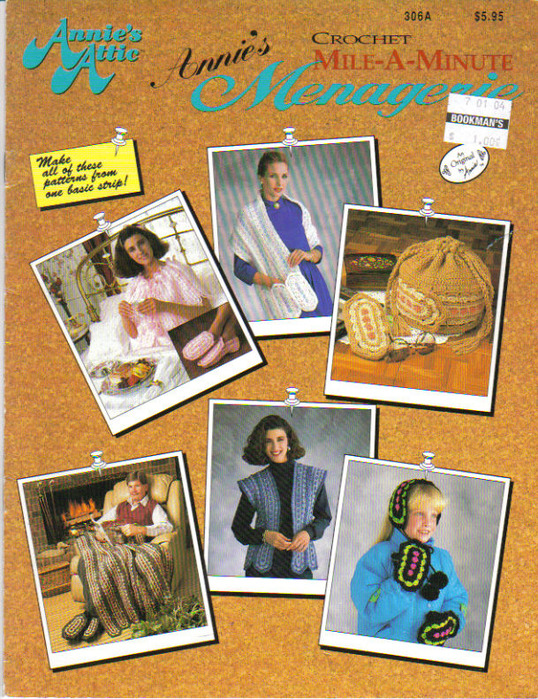
pastel baskets fc (518x700, 112Kb)Painted Doilies 00FC (541x700, 108Kb)MM Dishcloths (554x700, 157Kb)MM  Menagerie (538x700, 282Kb)


Mile a Minute Doilies FC (522x700, 376Kb)http://turbobit.net/pnzx6552n0dt.html


Рубрики:  журналы/книги

Метки:  
Комментарии (0)

Советы на каждый день

Пятница, 12 Августа 2011 г. 06:51 + в цитатник
Это цитата сообщения ЖЕНА [Прочитать целиком + В свой цитатник или сообщество!]

Советы на каждый день

Эти советы дают врачи и ученые, а проверить, помогают они или нет, каждый может на себе.

1. Если щекочет в горле...
...потереби и поцарапай свое ухо. Когда стимулируются ушные нервы, в горле рефлективно возникает мышечный спазм. Он облегчит неприятную щекотку.

2. Если тебе плохо слышно, что бормочет собеседник...
...к нему нужно повернуться правым ухом. Правое лучше улавливает быстрые речевые ритмы. А если хочется расслышать, что за мелодия играет тихо-тихо, повернись к источнику звука левым ухом. Оно лучше правого различает музыкальные тона.

3. Для мужчин: если страшно хочется писать, а туалета рядом нет...
...подумай о сексе. Секс и мочеиспускание несовместимы, поэтому терпеть будет легче.

4. Если боишься укола...
...кашляй во время введения иголки. Кашель вызывает внезапный кратковременный подъем давления в грудной клетке и спинномозговом канале. При этом подавляются болевые рецепторы.

5. Если заложен нос...
...упрись языком в небо, а затем нажми пальцем между бровями. В результате сошник -- трапециевидная кость, образующая заднюю часть перегородки носа, -- пошевелится и облегчит напряженность. Через 20 секунд нос начнет "откладывать".

6. Если по ночам мучает изжога...
...спи на левом боку. Исследования показали, что при таком положении человек меньше страдает от выбросов кислоты в пищевод. Пищевод и желудок расположены под определенным углом: когда ты лежишь на правом боку, желудок оказывается выше, а когда на левом -- ниже, и "затекание" кислоты из него менее вероятно.

7. Если болит зуб...

..облегчи свои страдания, не открывая рта. Разотри кубик льда на тыльной стороне ладони -- в V-образной перепонке между большим и указательным пальцем. Зубная боль уменьшится наполовину: стимуляция нервов на этом участке руки блокирует болевые сигналы мозга.

8. Если ты обжег палец...
...прижми к ожогу чистую подушечку пальца другой руки. Хотя лед быстрее снимет боль, при его прикладывании более вероятно появление волдырей. А при прикладывании пальца обожженная кожа просто вернется к нормальной температуре, и, может, дело обойдется без волдыря.

9. Если ты перепил до головокружения...
...положи руку на что-нибудь устойчивое. Часть внутреннего уха, которая отвечает за равновесие, -- купула -- плавает в жидкости, которая имеет ту же плотность, что и кровь. Алкоголь разбавляет кровь в купуле, она становится менее плотной и поднимается, "одурачивая" мозг. Тактильные ощущения дают ему другое впечатление, и мир встает на свое место. Причем ощущения именно от чувствительной руки: впечатления от того, что ногами ты стоишь на земле, недостаточно.

10. Если после бега колет в боку...
...Выдыхай, когда наступаешь на левую ногу. Большинство людей делает выдох, когда правая нога касается земли. Это создает давление на печень, которая находится справа, а она давит на диафрагму и вызывает боль в боку.

11. Если из носа течет кровь...
...положи кусочек ваты на верхнюю десну -- сразу за маленькую "уздечку" как раз под носом -- и как следует зажми ее. В большинстве случаев кровь течет из передней части носовой перегородки, и ее можно остановить, зажав именно этот участок.

12. Если сильно бьется сердце...
...подуй на большой палец. На частоту сокращений сердца оказывают влияние фазы дыхания: вдох вызывает угнетение блуждающего нерва и ускорение ритма, а выдох -- раздражение блуждающего нерва и замедление сердечной деятельности.

13. Если у тебя затекла рука...
...помотай головой из стороны в сторону. "Жизнь" вернется в руку менее чем за минуту. Часто подобные ощущения в руке -- результат защемления нервов в мышцах шеи.

14. Если ты никак не можешь донырнуть до дна бассейна...
...перед этим сделай несколько коротких вдохов. Тогда твой мозг будет думать, что у тебя в запасе больше кислорода (хотя на самом деле это не так, просто снизится кислотность крови), и подарит тебе дополнительные 10 секунд.

15. Если тебе нужно выучить что-нибудь наизусть...
...повтори этот текст перед сном. Поскольку твоя голова в основном упорядочивает воспоминания именно во сне, все, что ты пытался запомнить на ночь, с большей вероятностью запишется в долговременную память.

16. Если ты страдаешь от морской болезни...
... встань на нижнюю палубу и смотри на горизонт. Так немного облегчится противоречие между тем, что ты видишь вокруг себя и тем, что ты ощущаешь. Можно также съесть перед путешествием немного имбиря.


Рубрики:  рукоделие/для дома

Метки:  
Комментарии (0)

подушечка

Дневник

Суббота, 30 Июля 2011 г. 18:21 + в цитатник


Star Fruit Cushion Tutorial


20100211-StarFruitCushion


This cushion is really a large version of a Lotus Biscornu, and used May Britt’s Pincushion Tutorial as a starting point (with her permission). I thought it ended up looking like a cut piece of Star Fruit, hence the name. This cushion is about 14 3/4″ in diameter and about 7 1/2 ” high.


20100211-YouWillNeed


You will need:


15 x 6″ squares, in three different colours (it looks great if the 3 colours are similar, but progressively darker). If you have fat quarters on hand, you will definitely get 5 x 6″ squares from each fat quarter.


Approx 1/2 kg of stuffing (enough for an middle sized cushion)


3 buttons – 2 Large ones for the top and the bottom, and a third one (of any size) that you will use temporarily to hold things in place. My large buttons measure approx. 3 1/4″ or 3cm.


30″ of 6 stranded embroidery floss (or 60″ of dental floss, doubled over)


A very long needle (such as those used for doll making or upholstery)


A Pencil


A quilting ruler with grids marked in 1/4 inches.


A Sewing machine with a quarter inch foot. Thread your machine with polyester thread which is stronger than cotton, the firm stuffing will put the seams under a fair bit of stress.


General sewing supplies.


20100211-MarkDots


1) On the back of each square, in every corner, mark a dot 1/4″ in from each side. These dots will show you where to start and stop sewing.


20100211-Backstitching


2) Locate the 5 squares of fabric you have chosen for the top of your cushion (if you are using fabric with stripes, read step 6 before continuing). Place 2 of the squares right sides together, and stitch along one side, between the dots, with a 1/4″ seam allowance. Make sure you back stitch about 5 stitches at the beginning and end, but do not go past the pencil dots.


20100211-4Square


20100211-holdlayersaway


3) Sew 4 of the squares together with 3 seams, so they look like the photo above. Finger press each seam open as you go.


As you progress with this tutorial, sometimes you will need to hold other layers out of the way, as you stitch close to the starting and finishing dots.


You should be able to pull the other fabrics far enough out of the way, unless you have stitched past the dots.


20100211-addingthefifth


4) Pin the fifth square to one side of the gap in the other four, and sew together between the dots. 20100211-addingthefifth2


5) Pin this fifth square to the other side of the gap – it will help to fold the top as I have done above. Sew up this last seam and you top should end up looking like this below……


20100211-Top


6) Now it is time to locate the five squares of fabric that you have chosen for your underside.


20100211-Bottom


Repeat steps 1) to 5) with these pieces.


A Note About Stripes. I have used striped fabrics for the bottom of my cushion. If you are using them for the top or bottom of your cushion, a little attention to the stripe direction can make all the difference. As you sew the squares together, make sure that you orientate the stripes so that they run perpendicular to the stripes on the other square of that seam. e.g. If one side of the seam has horizontal stripes, turn your square so that the other side will have vertical stripes. If you do this for each of the first 4 seams, you will find that the final 5th seam works itself out, as you can see above.


20100211-attachingsides


7) Lay out the bottom piece as you see above. Pin the first of the side squares in exactly this position, and sew it in place (this is one of the stages where things can go awry with the shape).


20100211-attachingsides2


8 ) Lay it down again on your table top in the same position. The arrow above indicates where you will be sewing your next seam.


20100211-attachingsides3


You will need to fold the bottom like this to sew this next seam.


20100211-attachingsides4


You cushion bottom should now look like this (above).


20100211-attachingsides5


9) Orient your cushion bottom in the same way as the photo above, and pin the next side-square in the corresponding place. Sew this square in place, from dot to dot.


20100211-attachingsides6


10) The arrow (shown left) indicates where you will be sewing your next seam. You will need to fold your cushion bottom like this, (see below right) to sew this seam.20100211-attachingsides7


20100211-attachingsides8


After you have completed step 10), your cushion bottom should look like this (above).


20100211-attachingsides9


11) Add the remaining 3 side squares in the same manner, as indicated by the arrows above.


20100211-BottomnSides


The result should look like this (above).


20100211-BackofTop


12) Find your top piece, and place it right-side-down on your table in the same position as I have. On the bottom right square, mark a line 1/4″ from the bottom edge, that runs from the left dot, and is 1″ long. Do the same on the other side, from the right dot. These are sewing lines, and the space in between is a gap you will leave for turning right-side-out, and for stuffing the cushion. The gap will be 3 1/2″ wide – if you think your hand will need a wider gap, mark slightly shorter lines.


20100212-Bottonhalf


13) Joining the Top to the Bottom. Place the Bottom/Sides component of the cushion on your table, with the right side in, as shown above.


20100212-Halvesmeet2


14) With the top part right-side-in, place it on top, so that the “points” of the squares meet as shown above.


20100212-Halvesmeet


This will mean that the seam between the squares on the top piece is meeting the intersection of three squares on the bottom pieces.


20100212-Halvesmeet3


Pin the top and bottom/sides pieces all the way around, like so.


20100212-Start-here


15) Sew around the top in 5 sections. Follow the photo above for each section, back stitching at the start and end of each square segment.


20100212-Start-here2


When you sew the segment that has the gap-for-turning marked on it, follow the picture above. You will be sewing two separate sections with 4 lots of back stitching.


20100212-TurnedOut


16) Once you have finished sewing the Top and Bottom/Sides together, turn the cushion out the right way through the gap. Use the wrong end of a paintbrush, or other similar tool to push all the edges out.


20100212-TurnedOut2


It should look like this (photo on left).


20100215-fingerpress

17)Finger press back the 1/4″ seam allowance of the opening in the cushion, to get a nice clean edge (see above).


18) Start stuffing three of the “petals” furthermost from the opening. Pay particular attention to getting stuffing up into the points of the “petals”. Once half you cushion is firmly stuffed, put your cushion aside and locate you three buttons, embroidery thread and super-long needle.


20100215-Button-Threading


19) Thread your needle with the 30″length of 6 stranded embroidery thread. Knot the end. Take the large button you have chosen for the underside of the cushion, and bring the needle through one of the holes, from the back of the button to the front. *NB: If you are worried about the stress on the stranded cotton, you might like to use doubled, knotted dental floss if you have some*


20100215-ButtonThreading2


20) Near the knot, split the thread so that there are three stands on each side, and pass your needle through this gap.


20100215-ButtonThreading3


This will form a secure knot on your button.


20100215-ButtonThreading4


21) Turn your cushion face down on the table. Take the needle through a point just beside the 5 seam intersection, and draw it right through to the front of the cushion, bringing it up in the middle of the 5 seam intersection. While the cushion is only half stuffed, this should be easy enough to do.


20100215-ButtonThreading5


22) Thread the button you have chosen for the top onto the thread, and tie off your third temporary button, at the very end of the thread. This will prevent your thread from disappearing back inside the cushion while you continue stuffing.


20100215-Stuffing


23) Keep stuffing the other half of the cushion. Before it gets too firm you will need to pass the needle back through the cushion to the back again. To do this just cut off the small temporary button, and take the needle back through another hole in the top button and out through to back button again.


20100215-ButtonThreading6


Take two more passes with the needle – back through to the top and again to the back. Don’t knot off the thread, just leave the long tail and tie that extra button on the end of the thread again.


24) Keep Stuffing until the cushion gets really firm, remembering to stuff the “petal” points as firmly as possible.


20100215-Ladderstitch


25) The last “petal” will be difficult until you start closing up the gap. Take a small needle and thread (polyester for strength) and start ladder stitching up the gap, starting from the pointy end of the “petal”. As you sew, stop every few stitches to stuff more of the “petal” point. Melly has a great tutorial for Ladder Stitch. Keep stuffing and sewing until your cushion is very firm and your gap is closed.


20100215-Stuffed


You are nearly there! Your cushion should look like this (above).


20100215-Tyingoff


25) Cut off your extra button. Thread your big needle again, and take the thread to the underside of the back button, but not through the cushion again. Pull on the thread. Carefully and gradually, draw the two button closer together, changing the shape of the cushion.


20100215-Corn


*****************************************************************************


If the worst should happen, and you thread breaks, I have a little tip for you. Insert the needle into the cushion. Place a very small tin, under the cushion, where you have just inserted the needle. Use both hands to push down on the cushion, to send the needle back through the full width of the fully stuffed cushion – something to avoid if at all possible!


*****************************************************************************


26) Take your needle off the thread and wrap it around the underside of the button a few times.


20100215-Tyingoff2 20100215-Tyingoff3


27) Split the thread into two lots of three strands (see left).


28) Tie a knot with these two lots of threads.


20100215-Tyingoff4


29) Take the two threads to the other side of the button and repeat (above). Do this 5 or 6 times, alternating sides each time.


20100215-Tyingoff5


30) Bring both lots of threads together again and thread them back onto the needle. Send the needle through the cushion and out again nearby, hold the thread taught and cut the thread, where it exits the cushion. This will bury the thread tail, out of sight. Phew. Finally, you are done.


20100215-Finished2


Now you can sit back and enjoy looking at your sculptural creation. Please send me a picture of any Star Fruit Cushions you make with this tutorial, I would love to see them. Don’t hesitate to drop me a line if you have any questions. claire (at)matchingpegs(dot)com


20100215-Finished


If you would like to make one in another size, try May Britt’s tutorial for the pincushion size, or follow these instructions using 4 1/2″ squares for the middle sized cushion. In the near future I am going to try scaling it up even further and making it with upholstery fabric for a kids floor cushion or foot stool. Enjoy.


This entry was posted
on Monday, February 15th, 2010 at 2:16 pm and is filed under Tutorial.
You can follow any responses to this entry through the RSS 2.0 feed.

You can skip to the end and leave a response. Pinging is currently not allowed.


23 Responses to “Star Fruit Cushion Tutorial”


  1. Julie Says:


    February 15th, 2010 at 4:22 pm

    Your cushion looks gorgeous. Great tutorial, I have it saved for future reference, I wondered how you made it!!!


  2. libby Says:


    February 15th, 2010 at 5:01 pm

    I get it!!! now that I can see the tutorial I understand how it comes together!! Well done Claire, very easy to read and follow…. might have to make one now :) hmmm not on my UFO list lol


  3. Jennifer Says:


    February 16th, 2010 at 11:04 am

    Cool – just love these, will try one for the girls, they\’ll love it – especially to watch TV. Will keep you posted as to my success \”or lack of\” :-)


  4. Rachel L Says:


    February 16th, 2010 at 9:59 pm

    That’s a brilliant tutorial Claire! Really clear instructions, and the cushion looks fabulous – I didn’t realise it was going to be so big!

    Rachel x


  5. Lynn in Tucson Says:


    March 10th, 2010 at 2:16 am

    That is just lovely! Thank you so much for the tutorial.


  6. Tipnut Says:


    March 10th, 2010 at 4:50 pm

    What a cool project, thanks so much for the tutorial! This was submitted to me at Tipnut and I’ll be sure to feature it soon, great job!


  7. angelina Says:


    March 10th, 2010 at 8:46 pm

    hi, thanks for taking **so much time to get this tutorial. i am totally all over this! i just did my first semi tutorial pattern thing on my blog and it was no where near your hard work, however it completly wore me out. . . !


  8. Anne Says:


    March 11th, 2010 at 1:25 am

    Love it!!! I linked to your tutorial on Craft Gossip Sewing:

    http://sewing.craftgossip.com/tutorial-star-fruit-throw-pillow/2010/03/10/


    –Anne


  9. apple wrangler Says:


    March 11th, 2010 at 2:13 am

    i love love love this!!! tk you SO much! this will be the first couch pillow i tackle i think! ill let you know it turns out!:)


  10. Libuse Says:


    March 11th, 2010 at 6:29 am

    You are so clever. I love the look of those and I bookmarked the tutorial for future use. At the moment i don’t have sewing machine but your project is at the top of my to do list!!!! So so inspiring.


  11. terri sue Says:


    March 11th, 2010 at 2:35 pm

    this is so cleaver. i am trying to go for a year without spending any money except for necessities. my sons birthday is coming up as is my son-in-laws. i just showed this to my husband and he loved it. i want to make them out of material i have. my husband thought i should make our sons out of camo, he’s in the army. i think i’ll stick with my idea. it really has been fun looking for free ideas on line and using materials i have on hand. but as this is only march it will be interesting to see how i am doing towards the end ofthe year. thank you so much for the wonderful idea for the two hardest people i have to get presents for!


  12. elsa Says:


    March 12th, 2010 at 2:12 am

    oh my goodness! what a wonderful pillow and one of the best tutorials I’ve ever seen! REALLY! and I’m definitely wanting to make it for my kitties, think they would love it!

    thanks for being so generous and sharing your creativity!


  13. George Says:


    May 30th, 2010 at 8:46 am

    Oh my goodnes,

    Beautifull!

    thank you for this


  14. Phenocal Says:


    June 11th, 2010 at 10:54 am

    This is one of my best arts and crafts site.


  15. Barbara (Friday movie nights) Says:


    June 11th, 2010 at 6:15 pm

    Claire!!


    Have finally made a “cushion” (too small for a display cushion, too big for a pin cushion) following your tutorial. Presently up to step 15 – need to fill and then close. It was so easy to follow. Thanks so much.


  16. Vickie E Says:


    June 18th, 2010 at 10:37 pm

    very cool. I made the original sized pincuhion..yours is much cooler..


  17. Hicham Says:


    August 17th, 2010 at 5:30 am

    THANK YOU FOR THE VERRY HELPFULL TUTORIAL, ONE OF THE GREATEST I SAW AND GOOD EXPLAINED.


    GREETING FROM GERMANY ^^


  18. Edna Forbes Says:


    September 5th, 2010 at 6:50 am

    I would like to make this star pillow out of tapestry. it is so unique, thank you for sharing the directions so clearly. Could you let me know when you make the necessary changes for the other pillow?

    Edna Forbes emforbes1@suddenlink.net


  19. dendy Says:


    September 30th, 2010 at 10:56 pm

    amazing! very fascinating!


  20. Vee B Says:


    January 12th, 2011 at 2:27 pm

    Just finished this using 2 1/2″ squares,can’t wait to make a bigger one as a gift


  21. Goizalde Says:


    January 27th, 2011 at 7:52 pm

    Thanks a lot!! This tutorial is great, very thoroughly explained, and the cushions are beautiful. :) Mine is still in the process because I need to buy the stuffing material.


    I was wondering if you actually went on to try the floor cushion version of it. Maybe it would make a nice bean bag… What do you think? Would the shape be ruined? What size of square were you thinking about for it?


    I’ll spend some more time now reading through your blog. You’re SO creative. :)


  22. Naomi Gies Says:


    February 18th, 2011 at 5:29 am

    Hi, Just found this tutorial. Wow. That is one amazing pillow. I will be making it at some point (too many projects on the go for right now). Thank you so much for taking the time to make the tutorial. Have you actually made the floor cushion version yet?


  23. Staci Says:


    March 25th, 2011 at 10:04 am

    These are so cute! I’m including them in my Friday Favorites feature this week. The theme is fruit and I was happily surprised to be able to include star fruit! Thanks!


Leave a Reply


*


To prove you're a person (not a spam script), type the security word shown in the picture. Click on the picture to hear an audio file of the word.


Click to hear an audio file of the anti-spam word


Рубрики:  рукоделие/для дома

Метки:  
Комментарии (0)

абажур своими руками

Суббота, 30 Июля 2011 г. 14:53 + в цитатник
Это цитата сообщения alfa_betta [Прочитать целиком + В свой цитатник или сообщество!]

Лампа в винтажном стиле


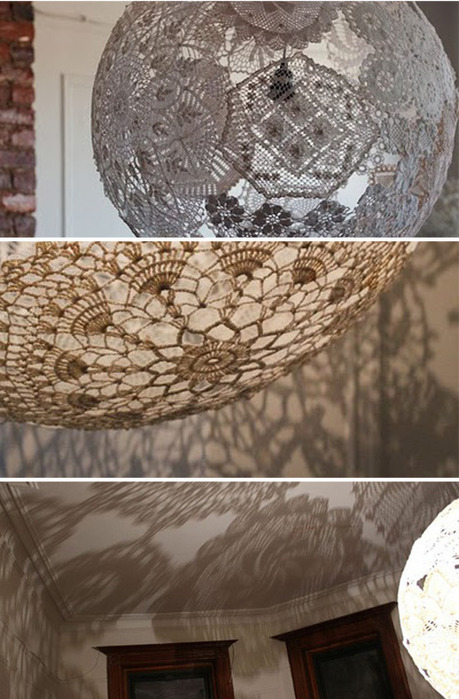
3984409_1 (459x700, 120Kb)

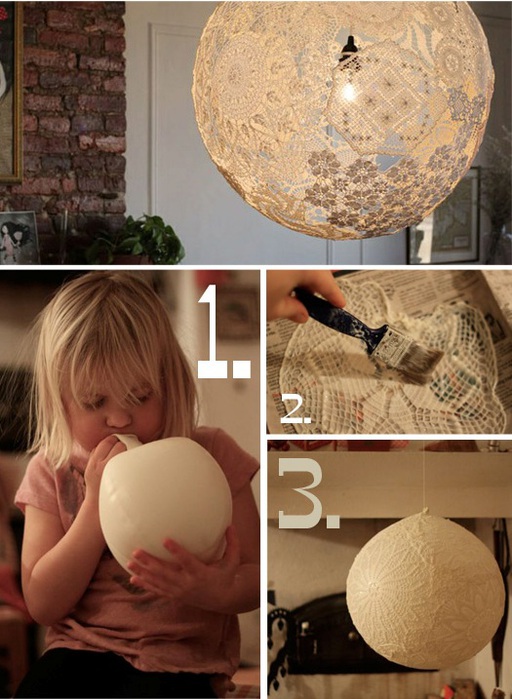
3984409_0_1_ (512x700, 124Kb)

Читать далее...
Рубрики:  вязание/крючком

Метки:  

 Страницы: [1]