Mozilla VR Blog: Visual Development in Hello WebXR! |
This is a post that tries to cover many aspects of the visual design of our recently released demo Hello WebXR! (more information in the introductory post), targeting those who can create basic 3D scenes but want to find more tricks and more ways to build things, or simply are curious about how the demo was made visually. Therefore this is not intended to be a detailed tutorial or a dogmatic guide, but just a write-up of our decisions. End of the disclaimer :)
Here it comes a mash-up of many different topics presented in a brief way:
From the beginning, our idea was to make a simple, down-paced, easy to use experience that gathered many different interactions and mini-experiences that introduces VR newcomers to the medium, and also showcased the recently released WebXR API. It would run on almost any VR device but our main target device was the Oculus Quest, so we thought that we could have some mini-experiences that could share the same physical space, but other experiences should have to be moved to a different scene (room), either for performance reasons and also due its own nature.
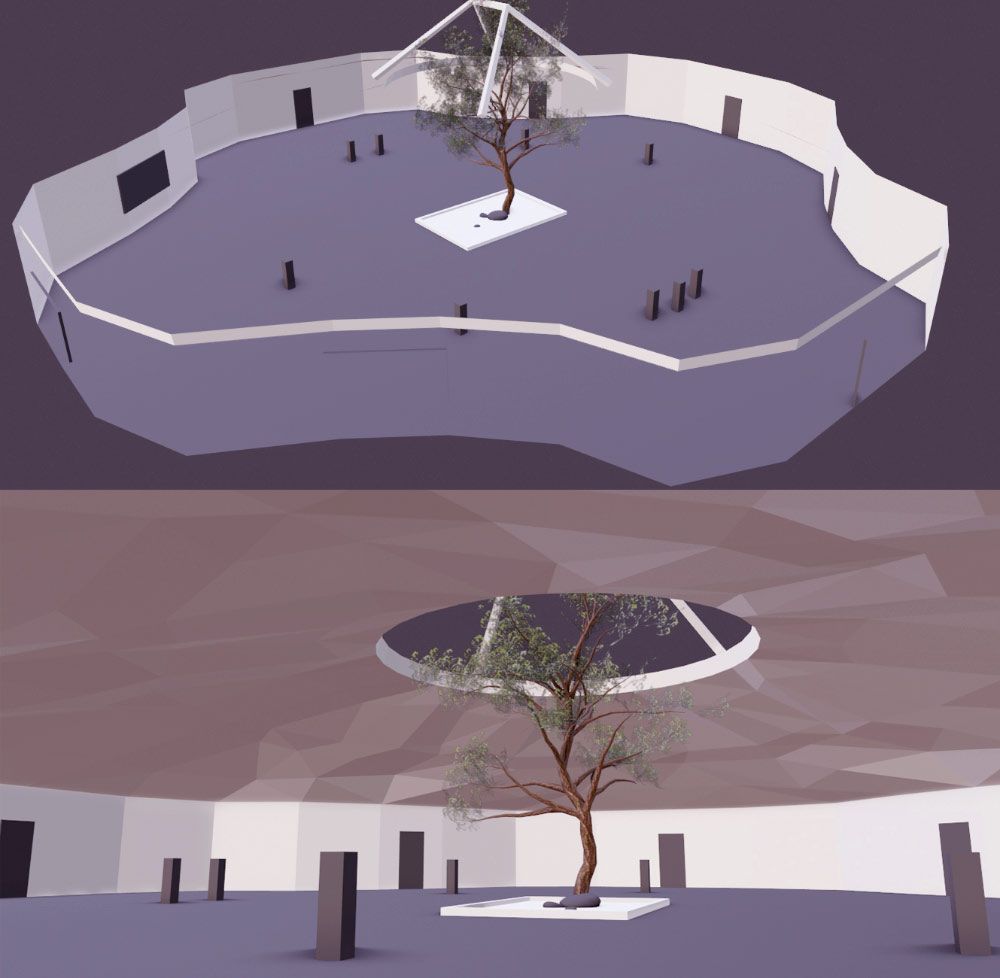
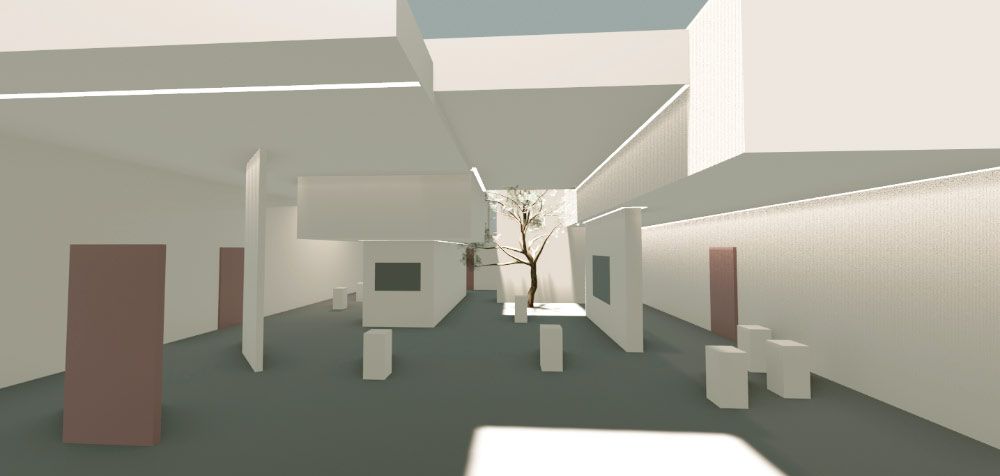
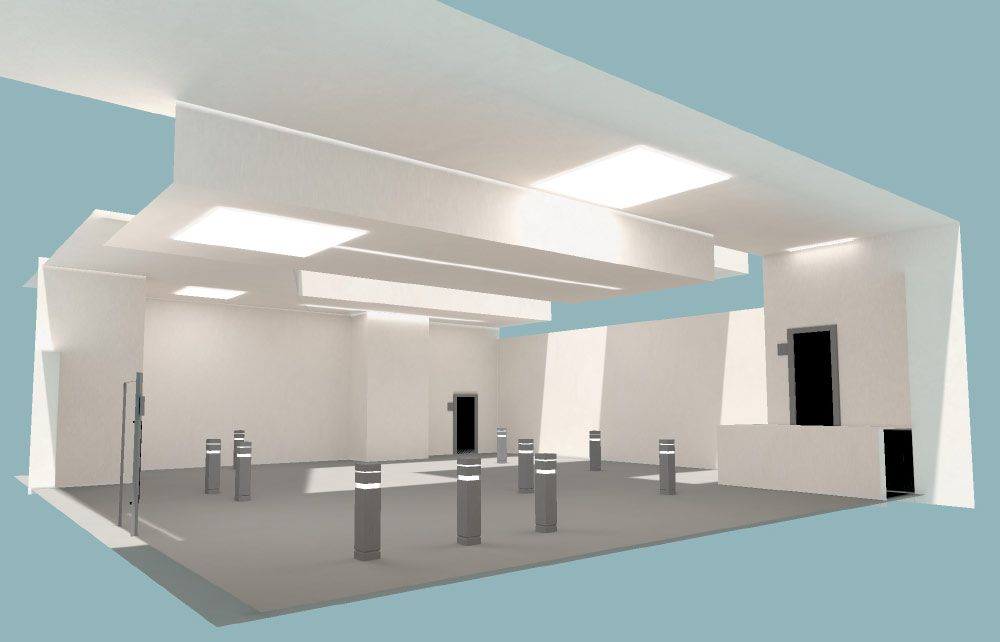
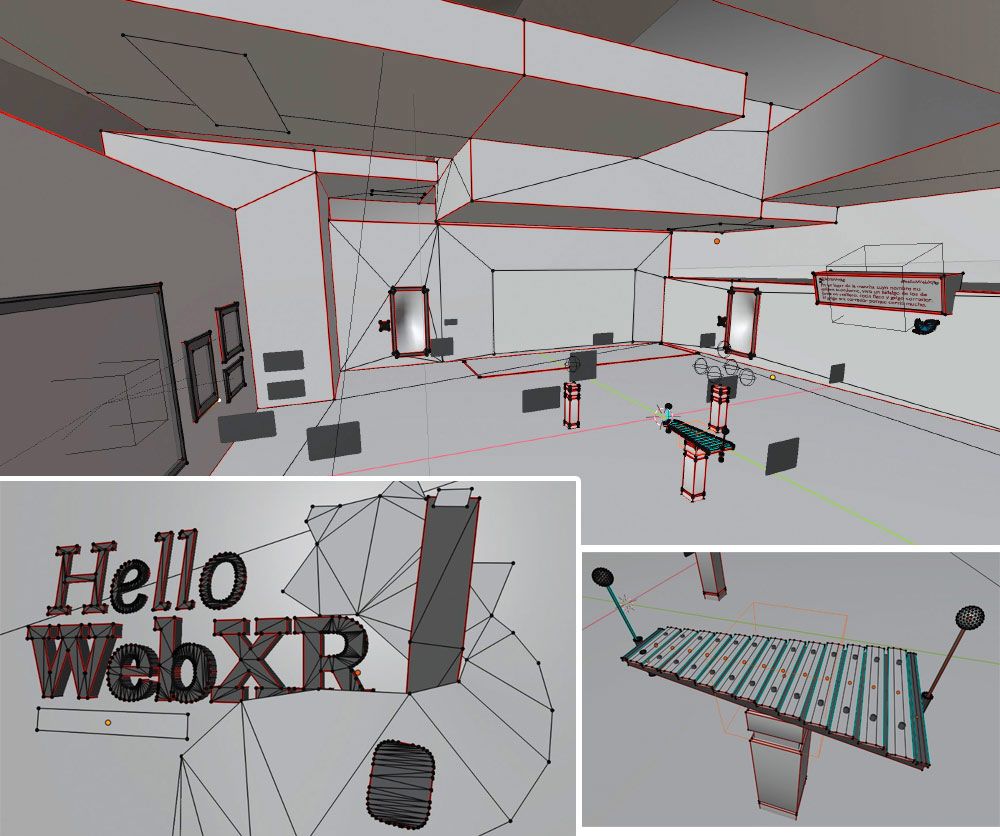
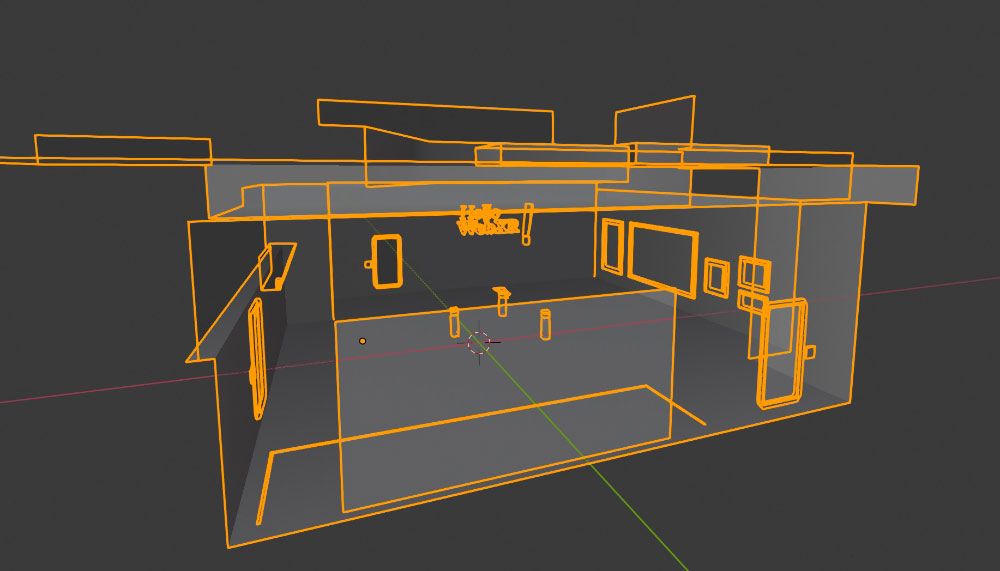
We started by gathering references and making concept art, to figure out how the "main hall" would look like:

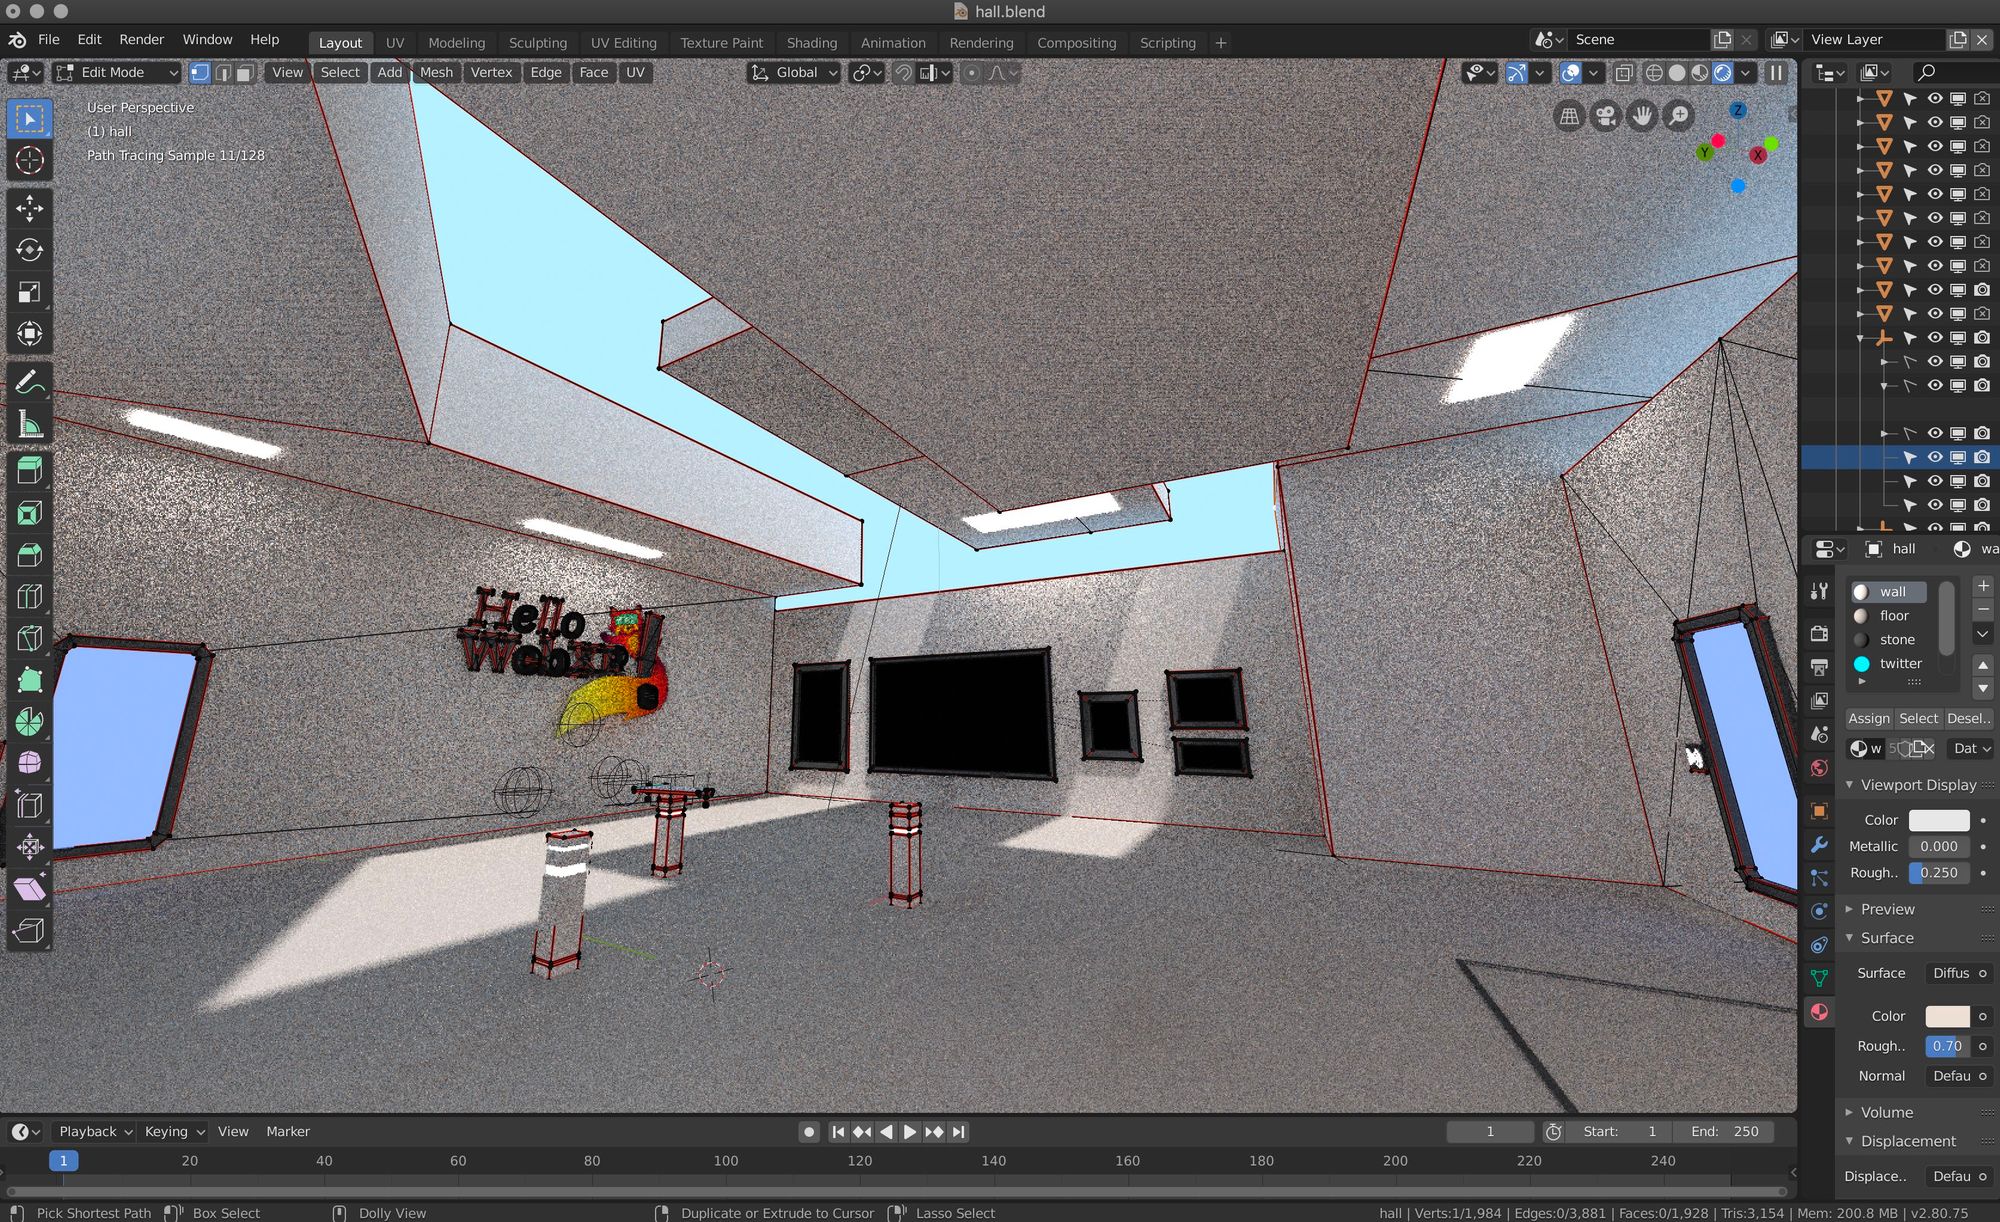
Then, we used Blender to start sketching the hall and test it on VR to see how it feels. It should have to be welcoming and nice, and kind of neutral to be suitable for all audiences.
3D models were exported to glTF format (Blender now comes with an exporter, and three.js provides a loader), and for textures PNG was used almost all the time, although on a late stage in the development of the demo all textures were manually optimized to drastically reduce the size of the assets. Some textures were preserved in PNG (handles transparency), others were converted to JPG, and the bigger ones were converted to BASIS using the basisu command line program. Ada Rose Cannon’s article introducing the format and how to use it is a great read for those interested.
glTF files were exported without materials, since they were created manually by code and assigned to the specific objects at load time to make sure we had the exact material we wanted and that we could also tweak easily.
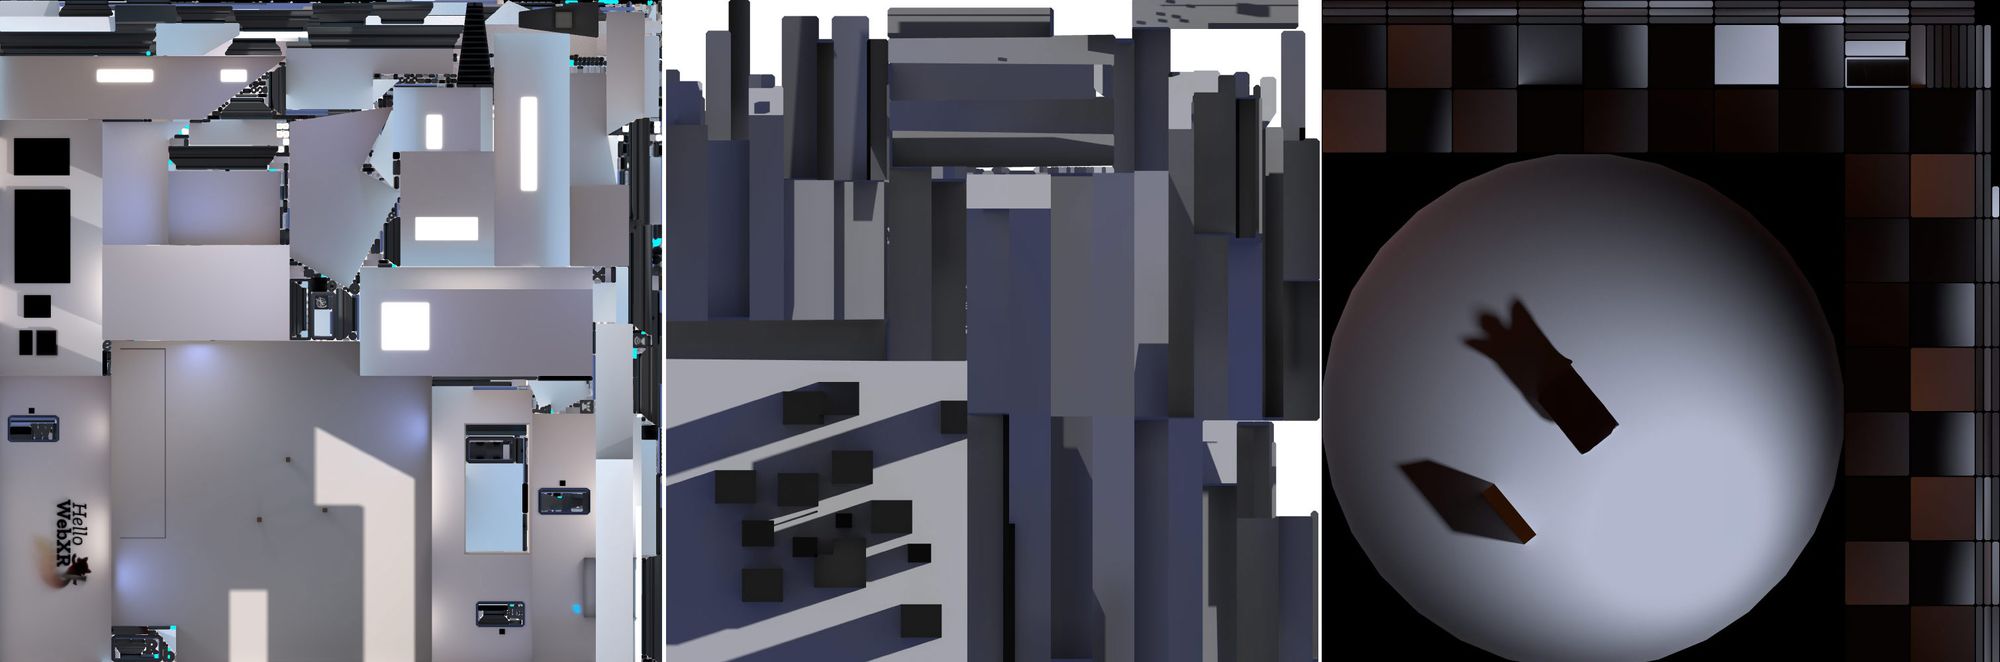
In general, the pipeline was pretty traditional and simple. Textures were painted or tweaked using Photoshop. Meshes and lightmaps were created using Blender and exported to glTF and PNG.
For creating the lightmap UVs, and before unwrapping, carefully picked edges were marked as seams and then the objects were unwrapped using the default unwrapper, in the majority of cases. Finally, UVs were optimized with UVPackMaster 2 PRO.
Draco compression was also used in the case of the photogrammetry object, which reduced the size of the asset from 1.41MB to 683KB, less than a half.
Some custom shaders were created for achieving special effects:
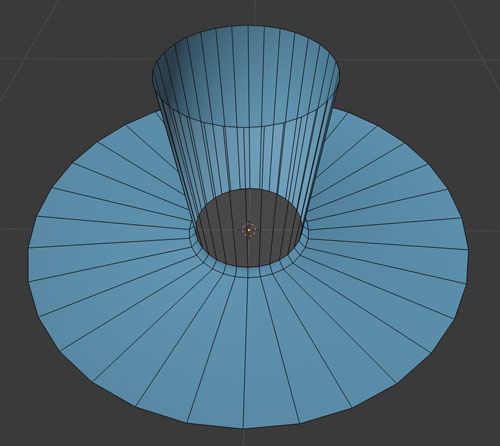
This was achieved offseting the texture along one axis and rendered in additive mode:
The texture is a simple gradient. Since it is rendered in additive mode, black turns transparent (does not add), and dark blue adds blue without saturating to white:

And the ray target is a curved mesh. The top cylinder and the bottom disk are seamlessly joined, but their faces and UVs go in opposite directions.
This is for the star field effect in the doors. The inward feeling is achieved by pushing the mesh from the center, and scaling it in Z when it is hovered by the controller’s ray:
This is the texture that is rendered in the shader using polar coordinates and added to a base blue color that changes in time:

Used in the deformation (in shape and color) of the panorama balls.
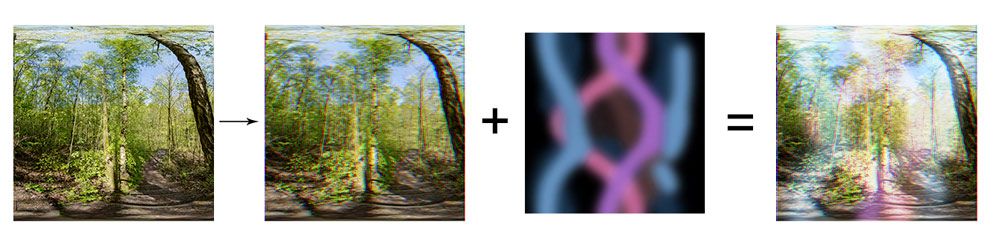
The halo effect is just a special texture summed to the landscape thumbnail, which is previously modified by shifting red channel to the left and blue channel to the right:
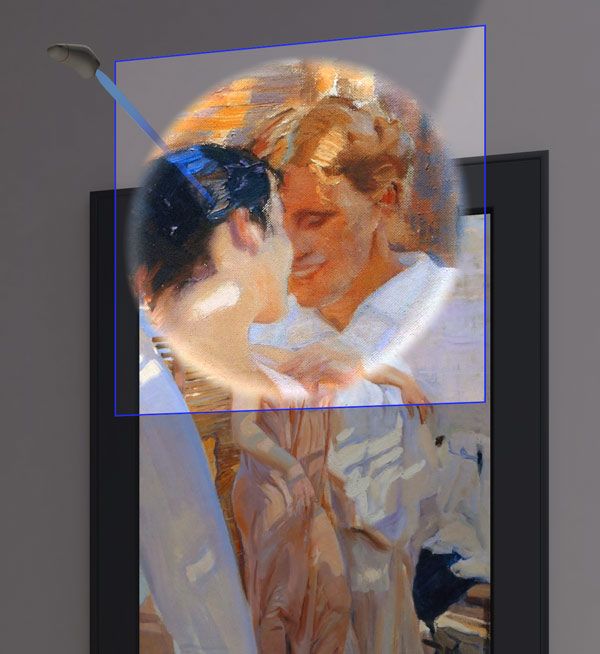
Used in the zoom effect for the paintings, showing only a portion of the texture and also a white circular halo. The geometry is a simple plane, and the shader gets the UV coordinates of the raycast intersection to calculate the amount of texture to show in the zoom.
Text rendering was done using the Troika library, which turned out to be quite handy because it is able to render SDF text using only a url pointing to a TTF file, without having to generate a texture.
Oculus Quest is a device with mobile performance, and that requires a special approach when dealing with polygon count, complexity of materials and textures; different from what you could do for desktop or high end devices. We wanted the demo to perform smoothly and be indistinguishable from native or desktop apps, and these are some of the techniques and decisions we took to achieve that:
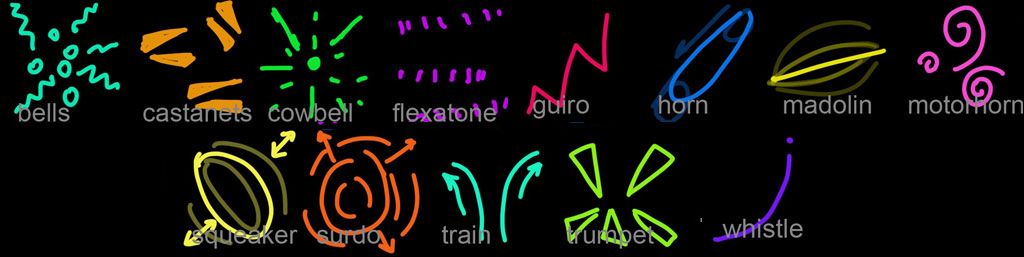
Each sound in the sound room is accompanied by a visual hint. These little animations are simple meshes animated using regular keyframes on position/rotation/scale transforms.
The first idea for the vertigo room was to build a low-poly but convincing city and put the user on top of a skyscraper. After some days of Blender work:

We tried this in VR, and to our surprise it did not produce vertigo! We tested different alternatives and modifications to the initial design without success. Apparently, you need more than just lifting the user to 500m to produce vertigo. Texture scale is crucial for this and we made sure they were at a correct scale, but there is more needed. Vertigo is about being in a situation of risk, and there were some factors in this scene that did not make you feel unsafe. Our bet is that the position and scale of the other buildings compared to the player situation make them feel less present, less physical, less tangible. Also, unrealistic lighting and texture may have influenced the lack of vertigo.
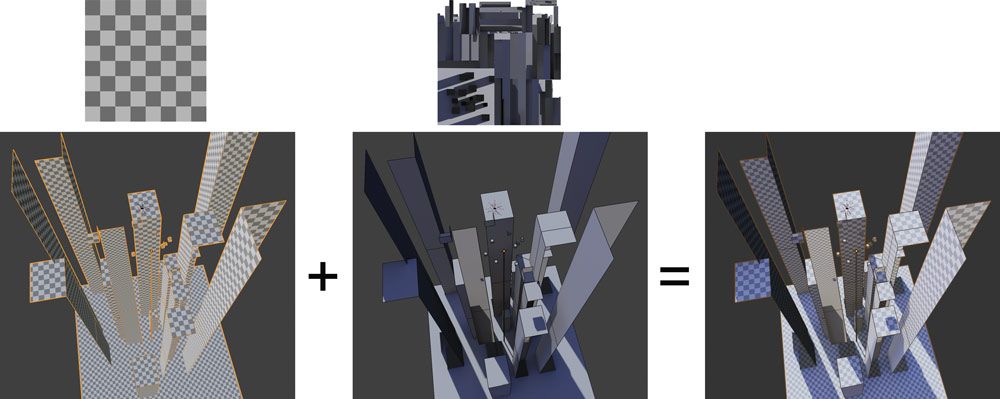
So we started another scene for the vertigo, focusing on the position and scale of the buildings, simplifying the texture to a simple checkerboard, and adding the user in a really unsafe situation.
The scene is comprised of only two meshes: the buildings and the teleport door. Since the range of movements of the user in this scene is very limited, we could remove all those sides of the buildings that face away from the center of the scene. It is a constant material with a repeated checkerboard texture to give sense of scale, and a lightmap texture that provides lighting and volume.
Things that did not go very well:
Things we like how it turned out:
We uploaded the Blender files to the Hello WebXR repository.
If you want to know the specifics of something, do not hesitate to contact me at @feiss or the whole team at @mozillareality.
Thanks for reading!
| Комментировать | « Пред. запись — К дневнику — След. запись » | Страницы: [1] [Новые] |


