Мужская поп-ап открвтка |


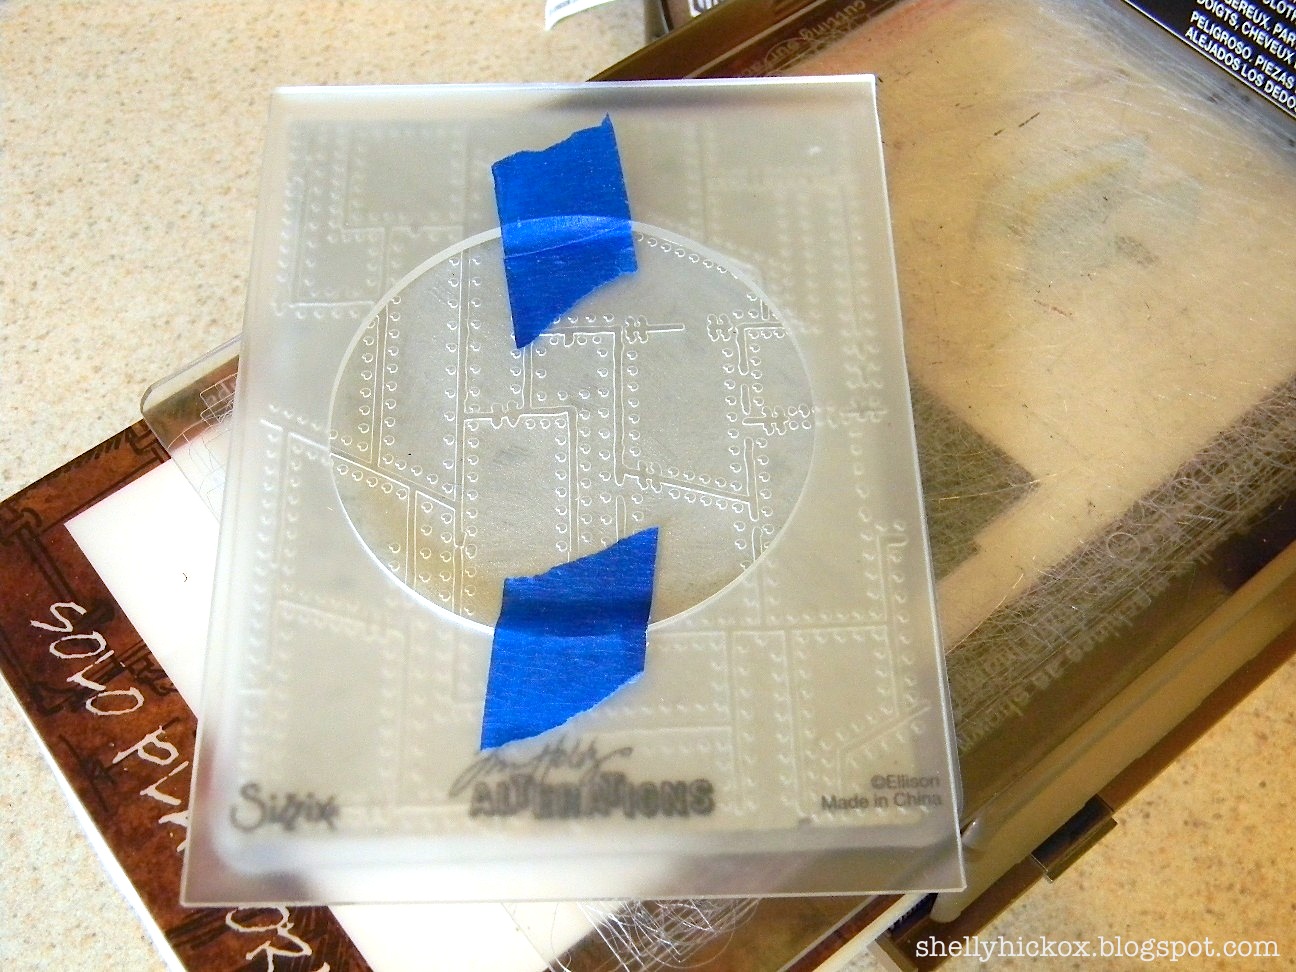
When cardstock is completely dry, insert it into the Riveted Metal Texture Fade, painted side up. Cover the top with the Embossing Diffuser that has the circle opening, centering the circle. I use painter's tape to hold it in place to ensure it doesn't shift while I'm embossing. Run it through your machine, with the Solo Platform, a cutting pad on the bottom, and the Diffuser on the top. The Diffuser replaces one of the cutting pads you would normally use.

After embossing, remove the paper from the Riveted Metal Texture Fade and insert it into the Diamond Plate folder. This time we'll use the circle Diffuser to emboss the center. The Diffuser allows you to only emboss in that area - the rest of the previous embossing will stay intact. Again, use tape to keep your Diffuser in place and run it through your machine.

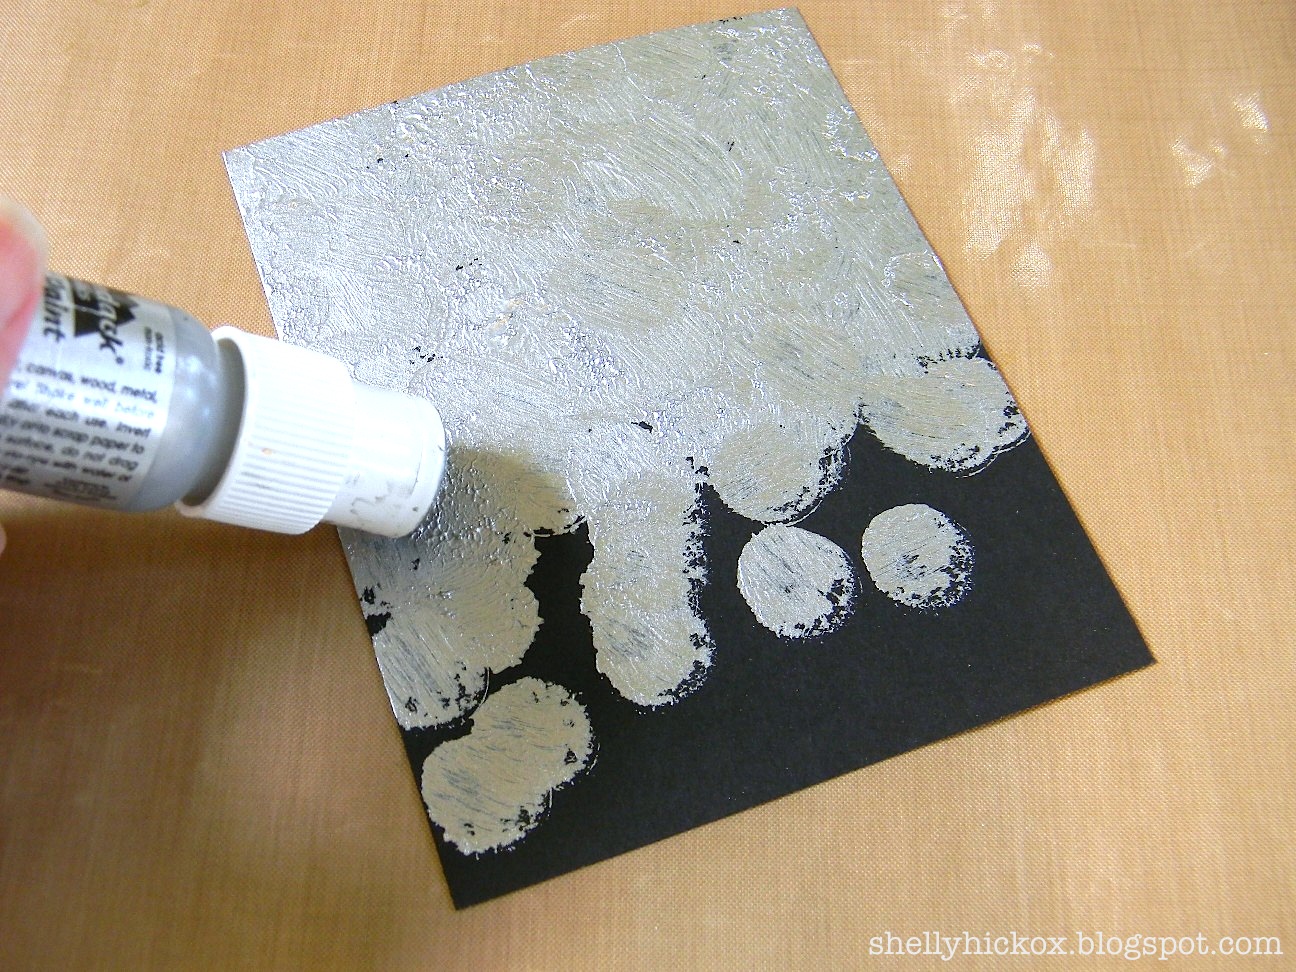
Remove the embossed paper and paint with black acrylic paint.

Immediately wipe away the paint, leaving some in the cracks and crevices. Set aside to dry. How cool is that embossed pattern?!
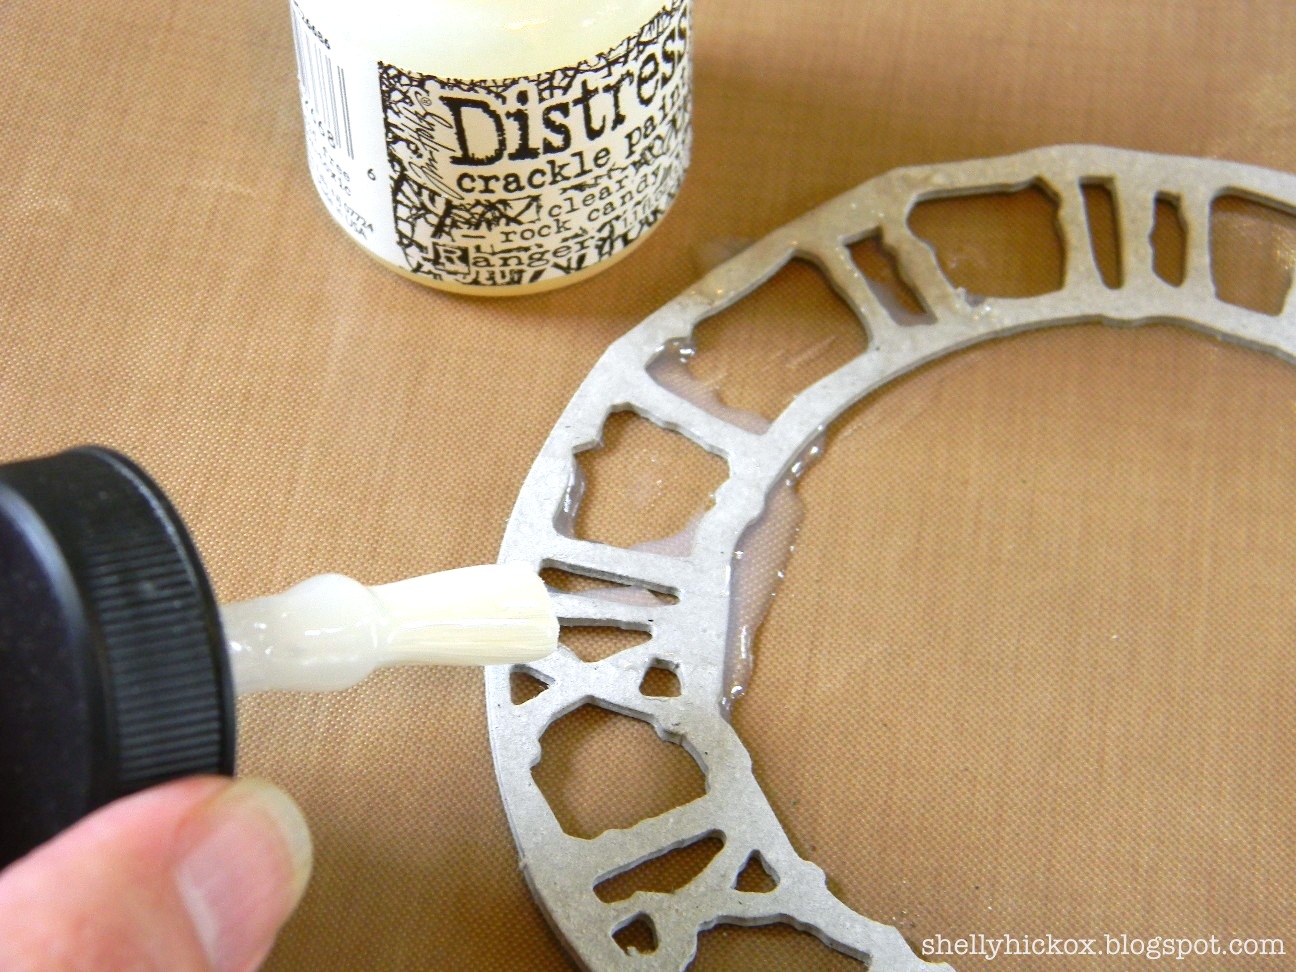
While your metallic panel is drying, cut a clock frame from Grungeboard using the Weathered Clock die. Paint it with a generous coat of Rock Candy Crackle paint. Let dry completely.
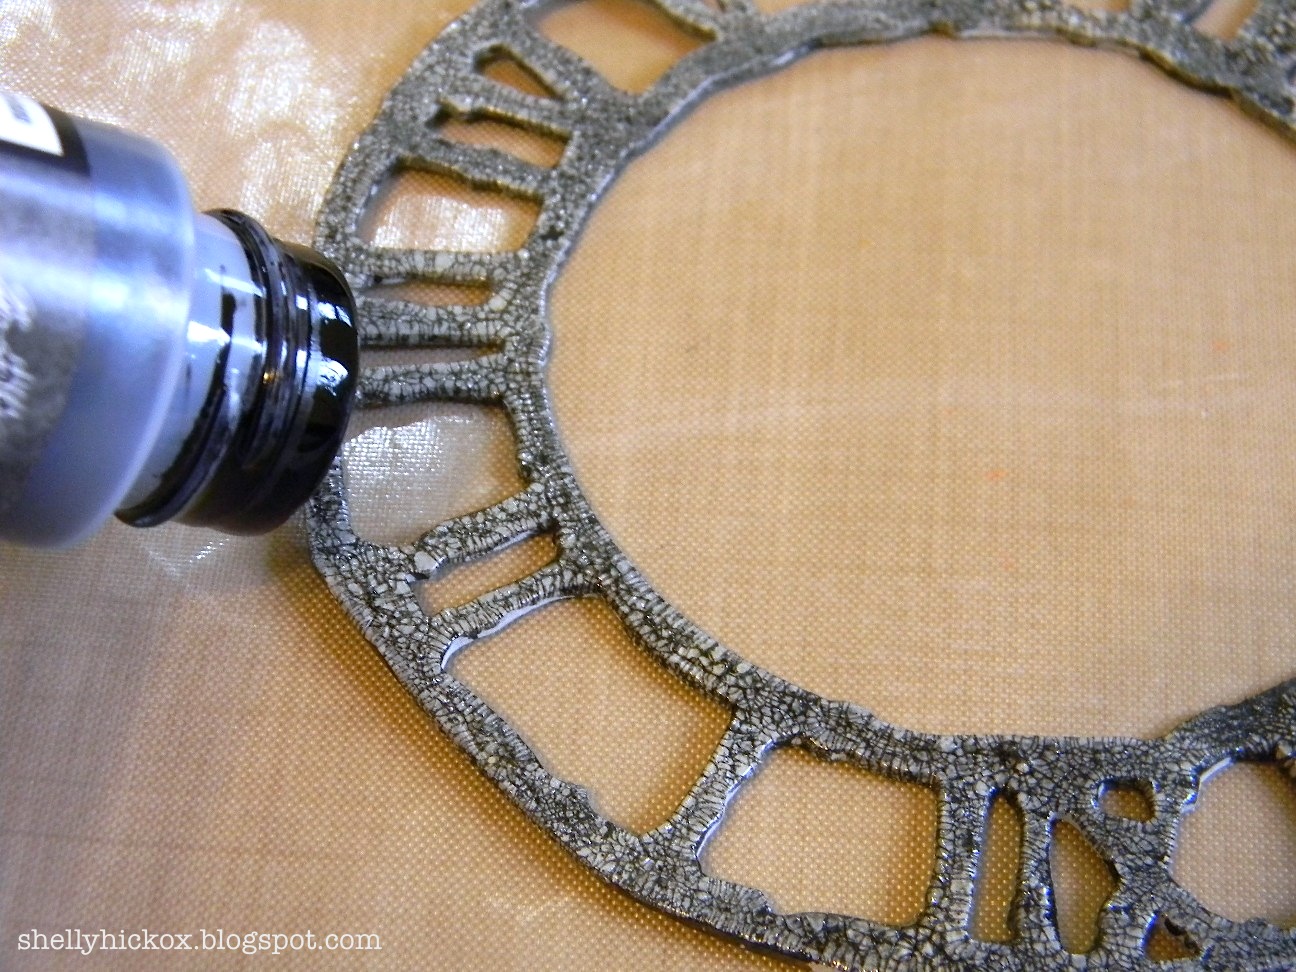
When dry, color with Black Soot Distress Stain, making sure you work it into the cracks. Dry with heat tool to set. Set aside.
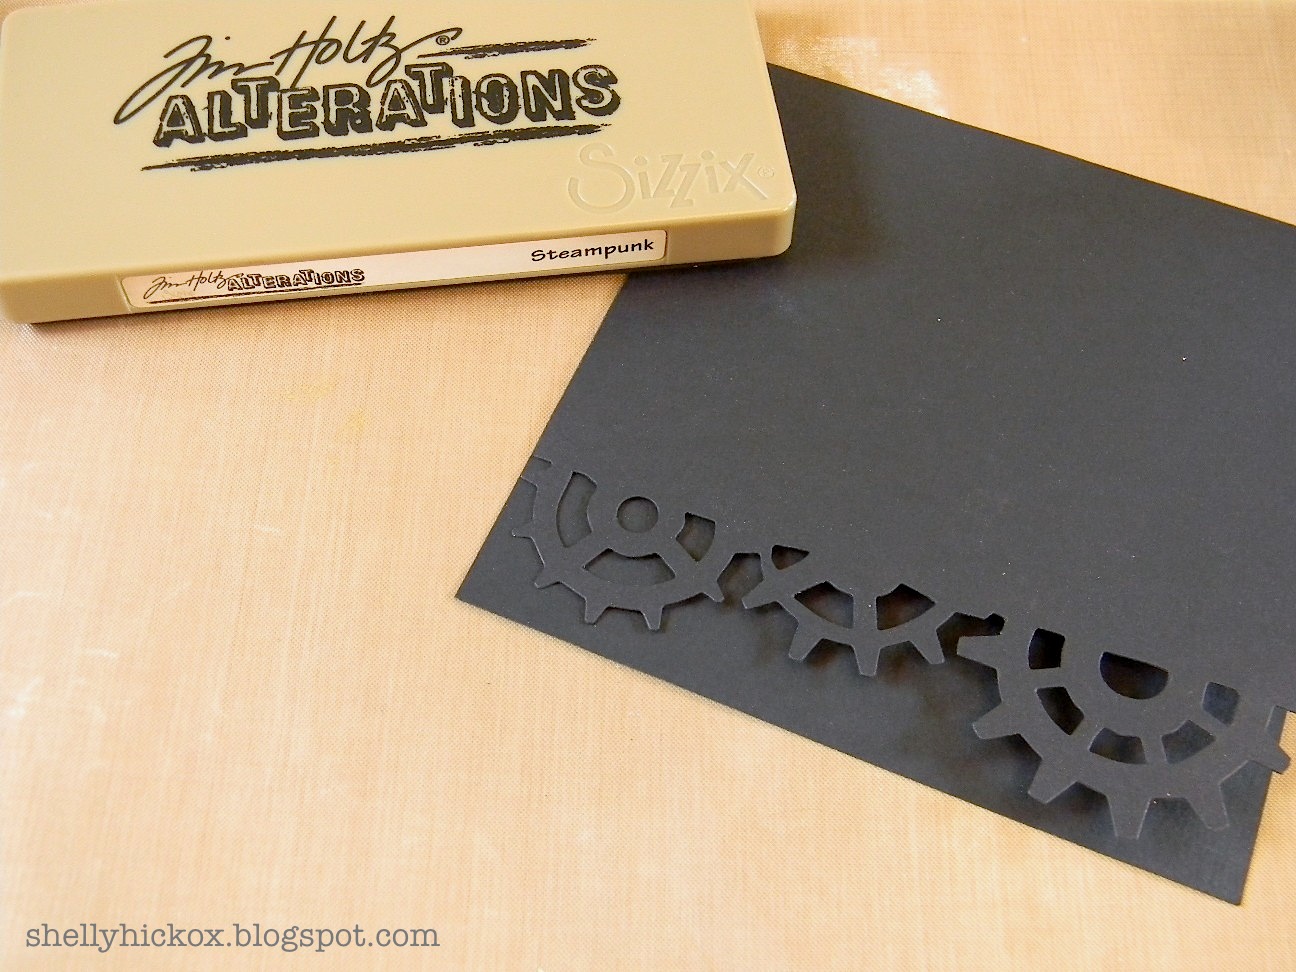
Now we're going to create our card base. Cut a 5.25" x 11" piece of black cardstock and fold in half, creating a square card. Using the Steampunk On the Edge die, die cut one edge as shown. This will be the front of your card.

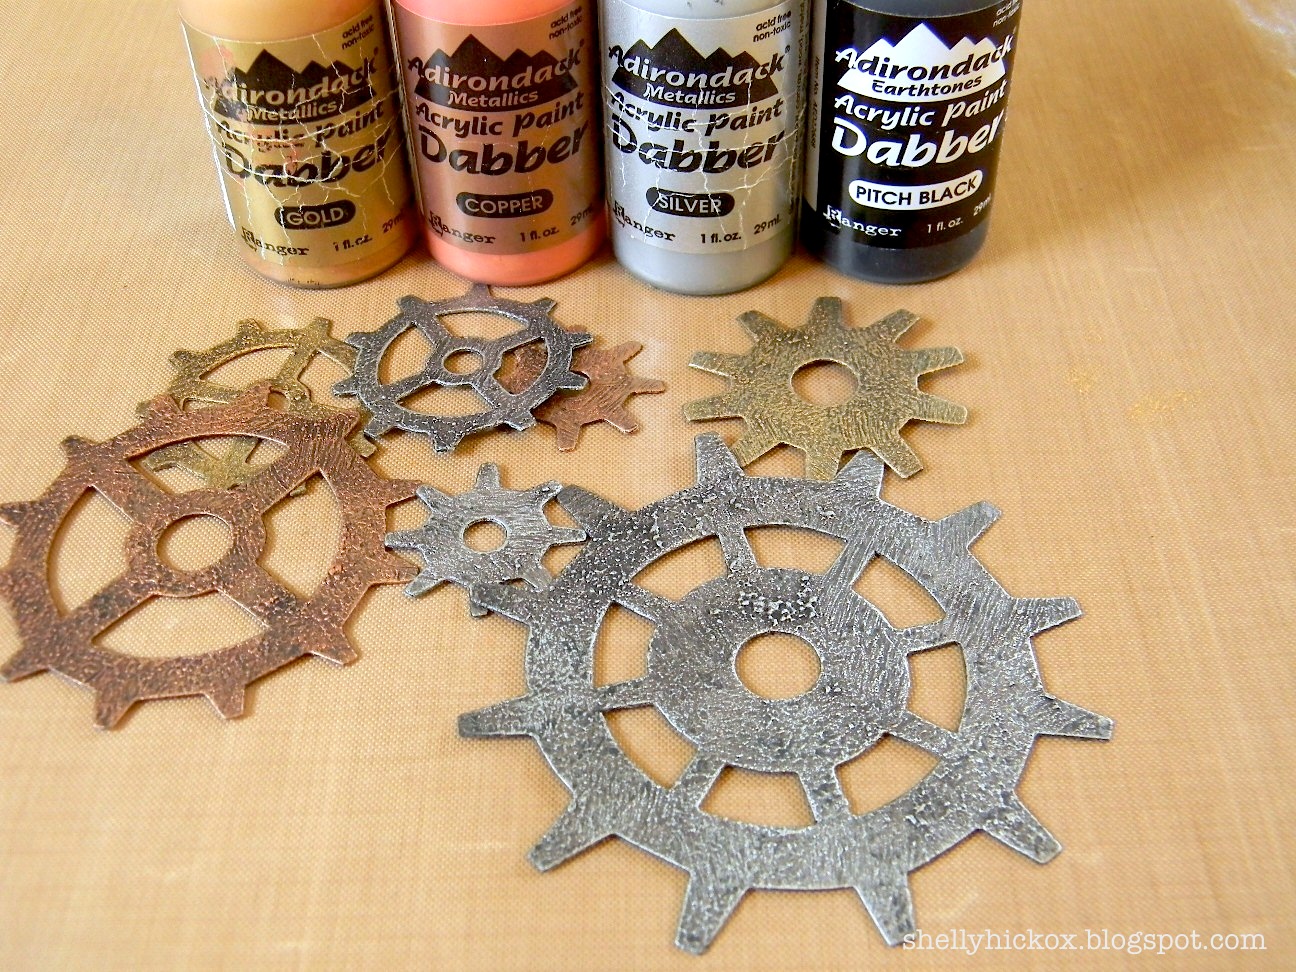
Using metallic paint, paint the cut gears, front and back. It doesn't matter if you get paint onto the card, it will be covered up. Let dry, and then antique with black paint, in the same manner as the embossed panel on the front.

Stamp men from Stampers Anonymous Steampunk collection on a manila scrap using black ink. Trim closely and ink edges with brown ink.

Now let's put it all together! First, adhere embossed metal panel to card front using Tape Glider. Next, add painted clock hands and a metal gear to the center, securing with a brad. Attach stamped men to the lower half of clock. Finally, secure a twine-threaded word band to the bottom using a Tiny Attacher and add washers to the corners with brads.

Next, we'll work on our pop-up element! Die cut a number of gears from black cardstock using the Gadget Gears and Mini Gears dies.
Paint one side with various metallic paints. When dry, antique with black paint, the same way the front panel was done.

Die cut the pop-up mechanism from patterned cardstock using the Spinning 3-D die. Fold using the instructions on the package or the video tutorial from Karen Burniston found here.

Open your card and cover the inside with a panel of patterned paper. Referring to the pop-up instructions, adhere the pop-up mechanism to the card.

Finally, add layers of gears to the mechanism, making sure that the card can open and close easily. Computer-generate a sentiment, print it on manila cardstock, and cut using the Small Ticket Movers and Shapers die. Add Idea-ology Alpha Cards to spell out DAD and adhere behind gears. Create a closure (pop-ups can get a little bulky) with a Hinge Clip, Swivel Clasp, Cash Key, and Gear.
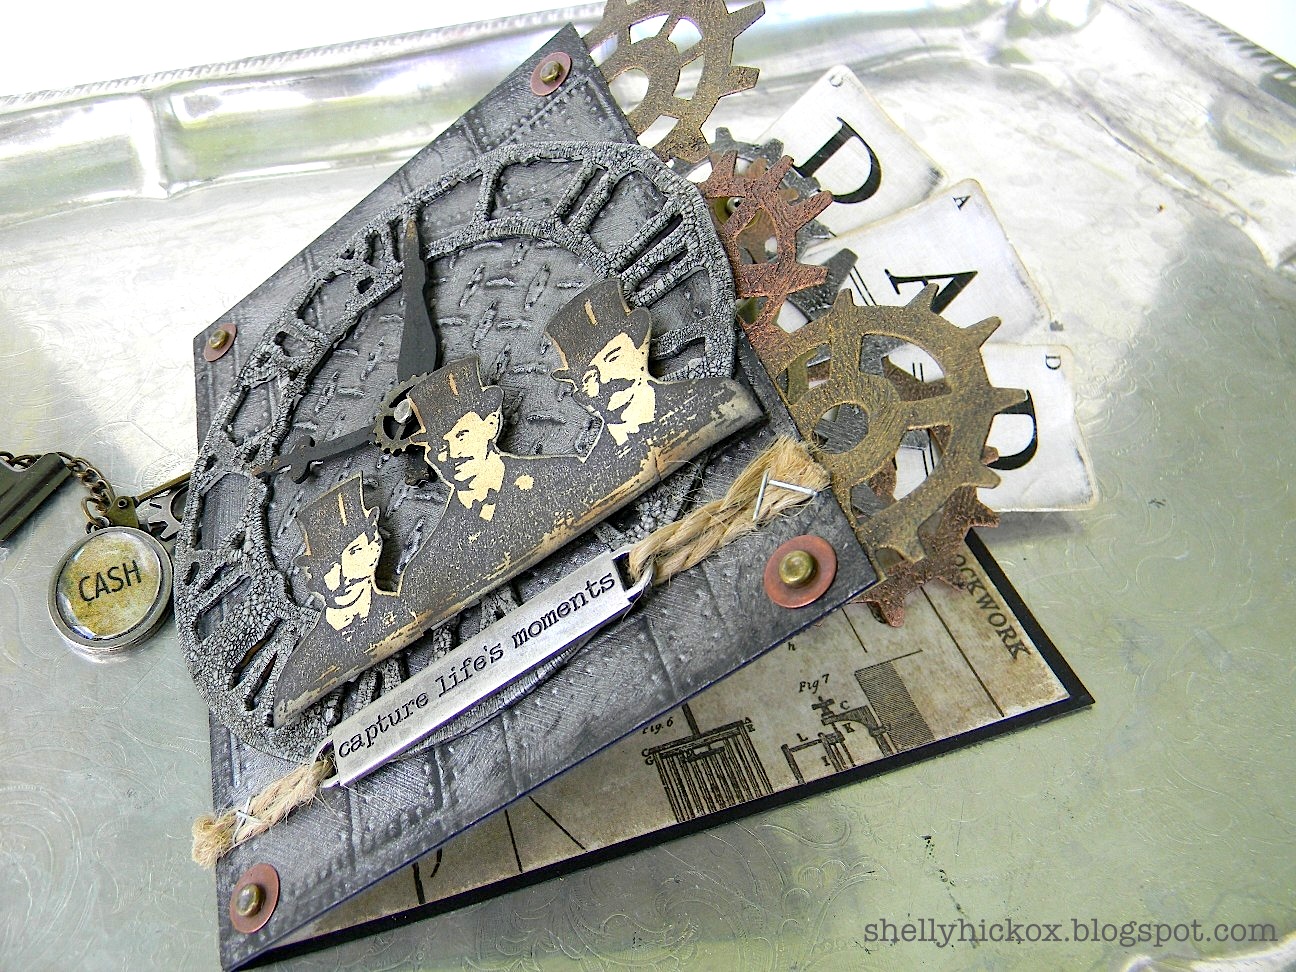
One of my favorite things about this card is how it just looks like a mass of gears from the front - I love the layered look from using the Steampunk On the Edge die. Painting the gears to match unifies the front and the center.
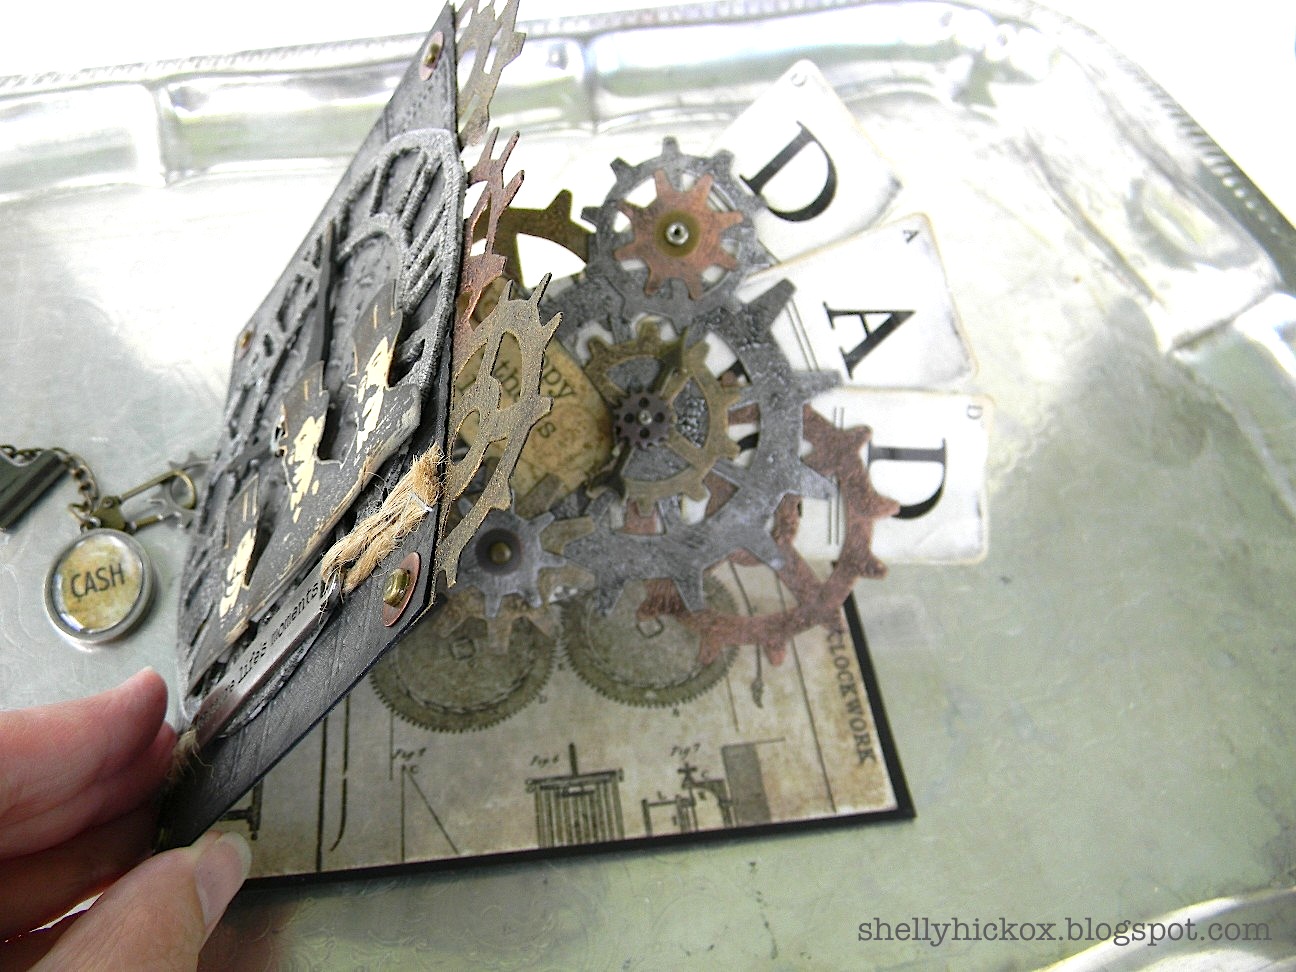
Oh my! Imagine the delight of the recipient when they see all those cool gears rising and rotating as the card is opened!

| Комментировать | « Пред. запись — К дневнику — След. запись » | Страницы: [1] [Новые] |


