МК волосы для куклы
МК волосы для куклы
Make Your Own Tibetan Lambskin Wigs
These patterns were designed to fit specific dolls in my own collection.
They should fit other dolls with the same head circumference.
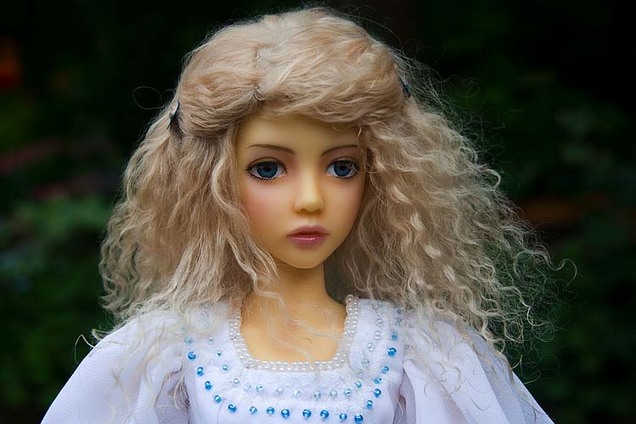
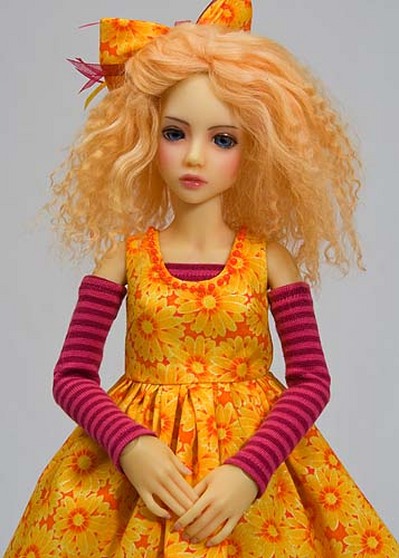
In this tutorial I will take you step by step through making this blonde wig for my Narae
*to download a pdf with the full-size patterns click on the patterns below.
1. Print and cut out the desired patterns. I would suggest making a
'test' wig cap out of felt to test the fit on your doll. If the felt wig
cap fits perfectly, you can proceed to make the actual wig.
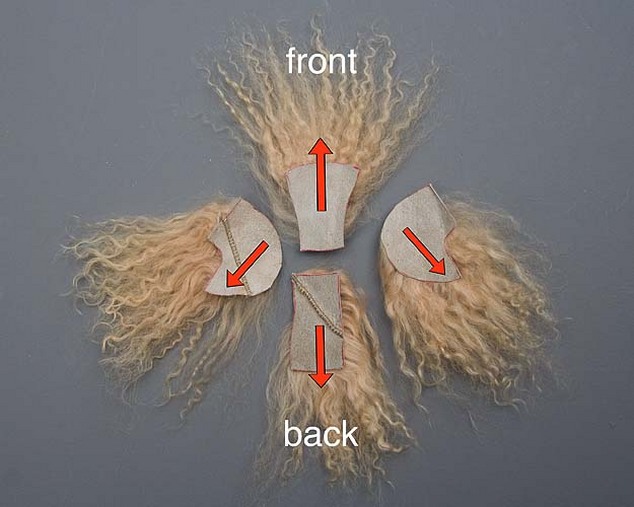
Place the patterns onto the back (skin side) of the Tibetan lambskin. It
is important to watch the direction of the hair on the lambskin. I make
sure the hair goes in the directions of the red arrows below. Trace the
patterns onto the back of the skin and cut out carefully just through the
skin with an Exacto knife or by taking tiny snips with a sharp scissors.
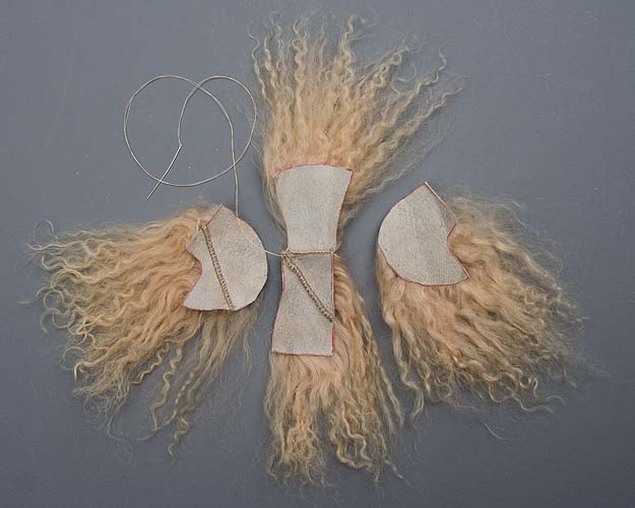
2. With a sharp, sturdy needle, and thread the same colour as the hair
hand-sew the top and back sections together at the center line.
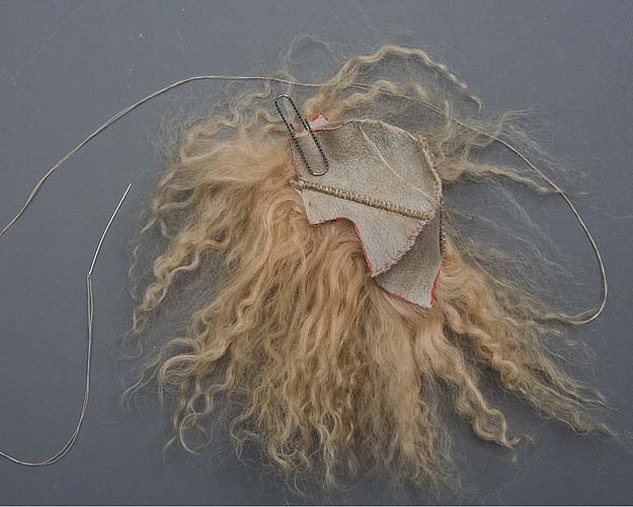
3. Fit center section to side section and hold in place with paper clips, then hand
sew the seam easing in any fullness on the wig sides. Repeat for second side.
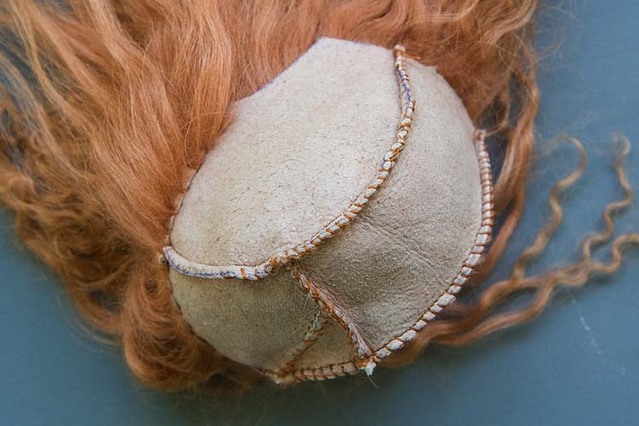
3a. Optional - after hand-stitching, go over seams with machine-stitching
1/8" from edge. This will make for a neater part on the right side.
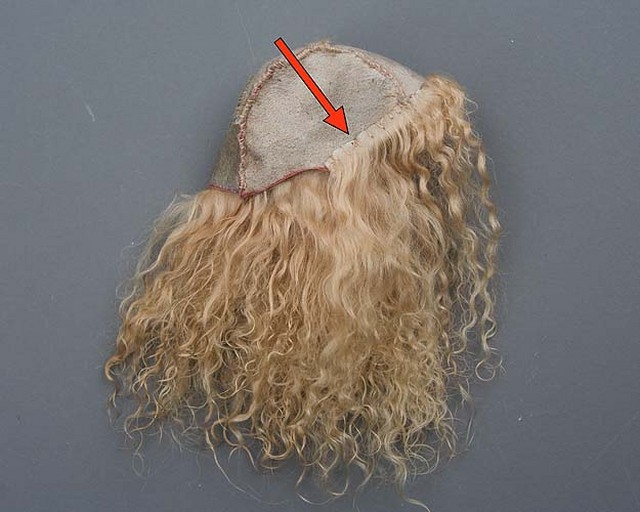
4. When both sides are sewn on, fold back the front seam allowance.
Using small stitches sew the front edge back inside wig.
*Option - Instead of stitching, you could use hot glue to secure the front edge
to the inside of the wig. But DO NOT use white glue for this step. You will need
to wet your wig to style it and white glue will dissolve and come undone.
5. Turn wig right side out and put on doll. Gently comb out. Remove the wig
from doll and wet the hair thoroughly. You can cut and style the wig, and
use any products that you would use on your own hair.
6. Let the wig dry.
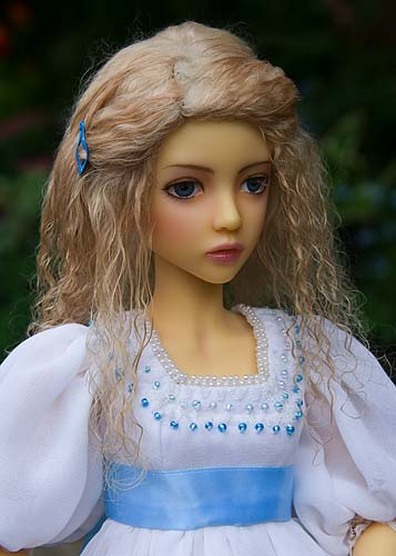
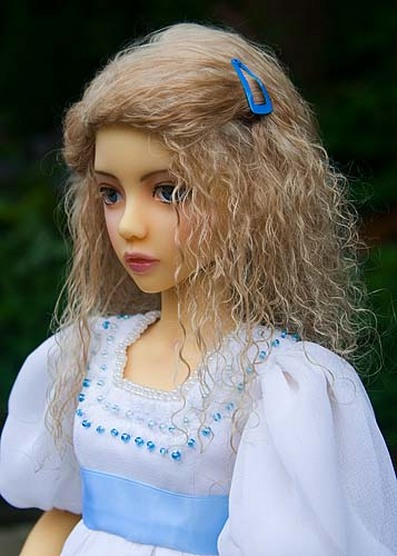
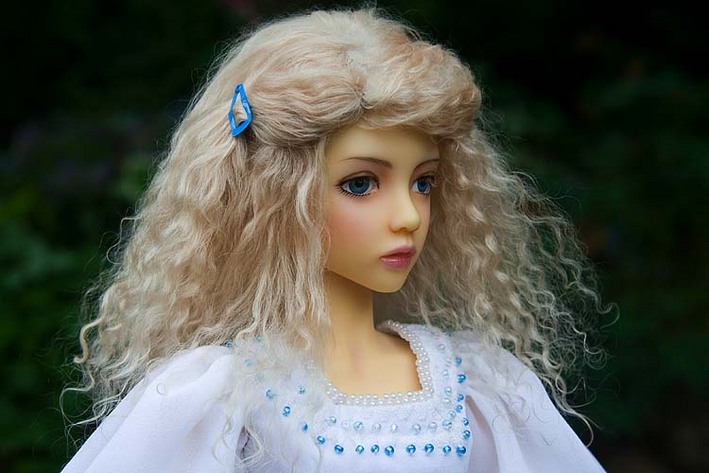
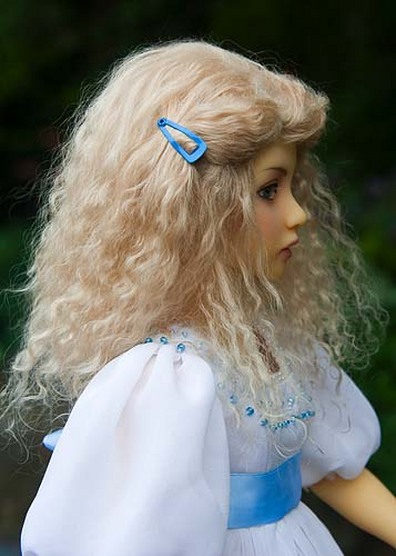
Narae with her new, lovely blonde wig....
7. After playing with your doll, if the hairs on her wig get too 'fly-away',
just dampen the hair a bit to bring it back under control.
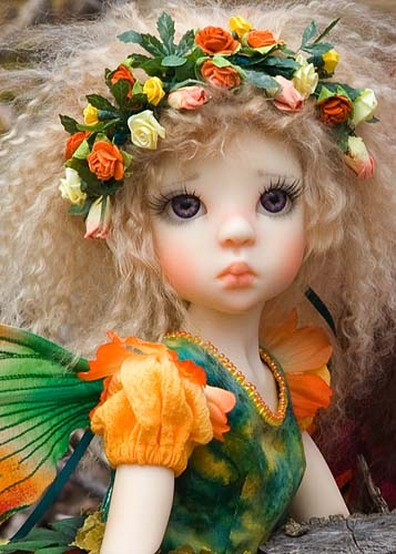
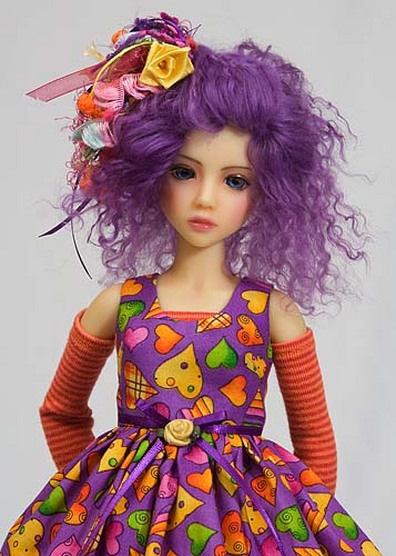
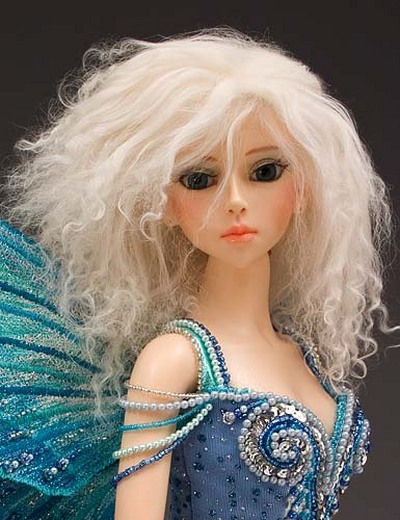
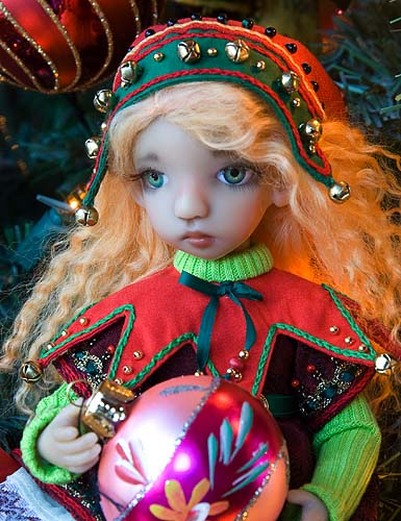
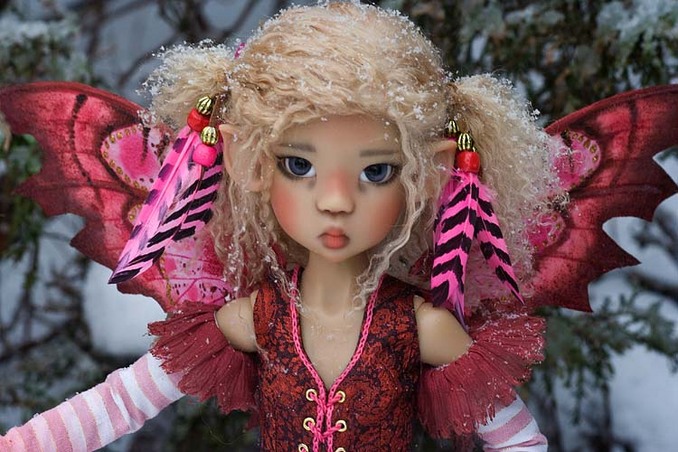
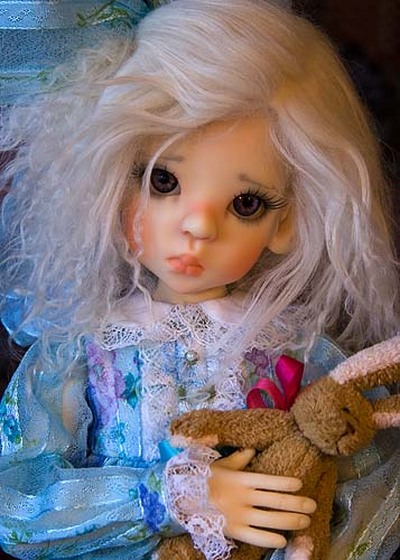
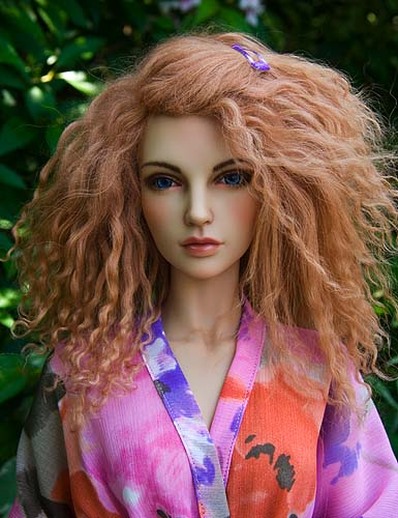
More wigs made with the patterns in this tutorial
The 8.5" pattern for Elfdoll and Kaye Wiggs MSD will also fit Iplehouse EID girls.
Источник
Серия сообщений "Куклы":
Часть 1 - Кукла повар из капрона. МК.
Часть 2 - Основы кукольной скульптуры.
...
Часть 9 - Кукольный каркас и тело (мини МК)
Часть 10 - Само очарование-куклы.
Часть 11 - МК волосы для куклы
Часть 12 - Сказочная карета из картона, проволоки и палочек от мороженого. МК
Часть 13 - Дед Мороз из ваты и полимерной глины. МК от Ольги Сыпковой
...
Часть 33 - Юбка для Барби
Часть 34 - МК платья для куклы в Викторианском стиле
Часть 35 - платье для дамы