Без заголовка |
|
Без заголовка |
|
Без заголовка |
|
Без заголовка |
|
Без заголовка |
|
Без заголовка |


Long awaited instructions and templates for making a beveled paper frame I've used for my quilling projects "Poppies" and "Dandelions and raspberries". To additionally illustrate the use of a frame like this, I've created a quilled passionflower, which isn't a thoroughly designed work, so be indulgent, please.
We're going to make a frame that is 2.5 cm (1 inch) wide and 2 cm (6/16 inch) deep. I'm sorry, but you'll have to use a ruler with metric system units for this project.
Measure the artwork to frame, add 10.5 cm at each side and cut out a rectangle of the dimensions you've calculated. Use heavyweight (240 gsm) cardstock paper.

Use one of the following methods to draw the lines: print out the template, cut it out and transfer onto the piece of cardstock you've prepared; alternatively, you may just draw the lines with a pencil according to the diagram above.
Download one of the PDF templates for the right paper size and print it out. Make sure you don't resize or scale the page when printing.
There's no need to download a template if you're not going to print it. Just draw the lines following the diagram above.
Notice that the corners are marked "top right", "bottom left" etc. Line up a cutout with a corresponding corner of the rectangle. Transfer the lines by pressing them into the paper, using a needle, or tracing the template around like shown in the photo. Using a pencil, mark with dots the points where the creases start.
After repeating the procedure for all the four corners, connect the dots with lines that go along the paper edges.

Carefully cut away the corners. Score the cardstock according to the crease lines and fold like shown below.


Start assembling the frame. If you don't use the back of the frame as a background, glue your picture down to the frame at this point. Then fold the border like shown in the pictures, simultaneously inserting the sides of a corner into each other.


Repeat for the rest of the corners. When done, carefully glue the bottom of the border to the back of the frame.
Have you noticed that little square I'd left in the corner? It folds into a triangle, goes inside the border and gives the frame extra rigidness. I must credit Svetlana for this idea.


This time I'd like to share with you a simple and easy way to make a paper picture frame, like the one shown in the photo above. Personally, I like using such paper frames for my quilling.

This is how the template for such a frame looks like. Please note, that not the absolute size but the ratios are important for this explanation. Using this template you can make a frame that has borders of equal width and height. The parts to be removed are marked in red, the inner bold rectangle shows the part of a picture that will be visible.

So, first measure a picture you'd like to frame. Add ten times the width of the frame border to both dimensions. For example, if your picture is 10x15cm with 1cm wide border, the resulting size would be 10+10*1 by 15+10*1 = 20x25cm. Draw a rectangle according to your calculations and cut it out. Then measure and mark the folding lines and corners as the template shows. Start measuring from the outer edges of the paper. Cut away the parts shaded with red.
To remind you, only the relative size of the parts is important. That is, if you want to make wider (and higher) borders, just multiply each number in the picture by the same factor.

Score the folding lines marked with blue dashes on the template. Use a special scoring tool, a thin embossing tool or simply a stick with rounded tip. Then fold as shown in the picture.
If you already have a picture to frame, glue it down now and then start assembling your paper frame.

Insert an end of each side border into its neighbor's end at the corners, one by one, like shown in the photos.


Generally, no adhesive is needed, but you may want to secure the frame with a small amount of glue.

If you want to make a frame with wide borders, the template will look like this (pay attention to the proportions):

And this one is for a deep frame, where the border's height is greater than its width.

The same principles apply for these templates as well: if you want another size, just multiply the numbers by a constant factor.
|
Без заголовка |
|
Без заголовка |
|
Без заголовка |


|
Без заголовка |
Очень понравились мне фиалочки в горшочках спицами. К сожалению описания нет..., автор Светана Забелина продает свой мастер-класс. Можете купить по ссылке livemaster.ru/item/5294493-materialy-dlya-tvorchestva-fialochki-master-klass. А здесь я просто хотела сохранить идеи для вдохновения)
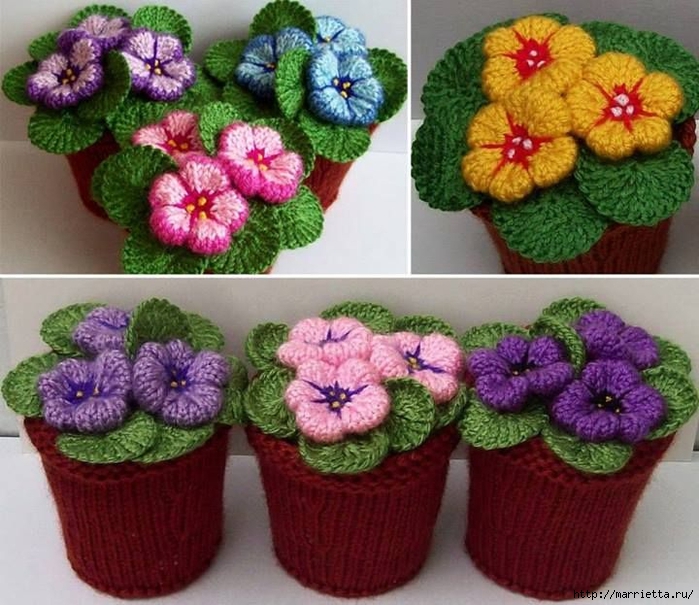
И прихватки понравились к 8-марта, тоже от Светланы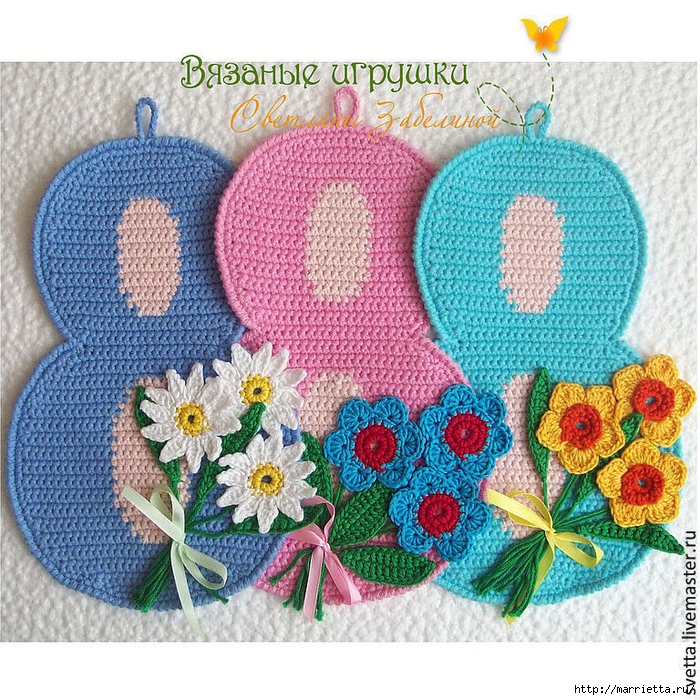
|
Без заголовка |
Украшение и декор предметов цветочками крючком
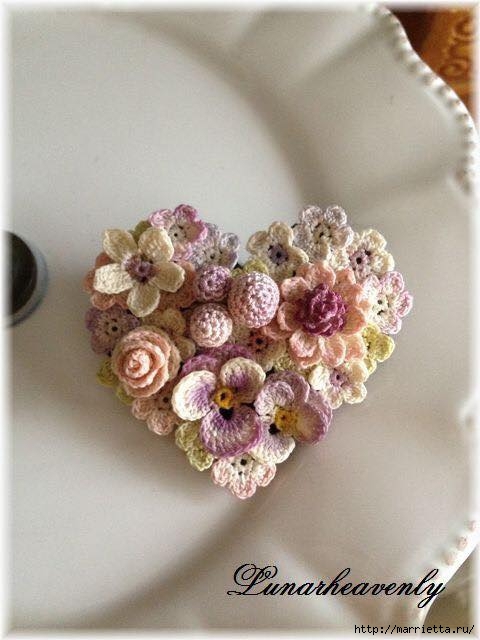
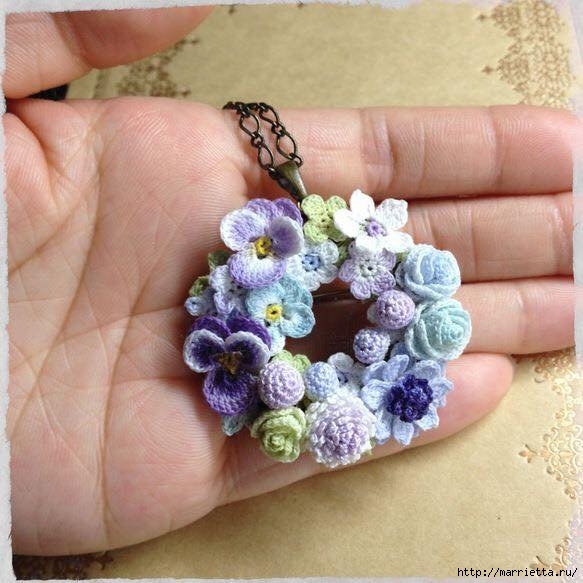
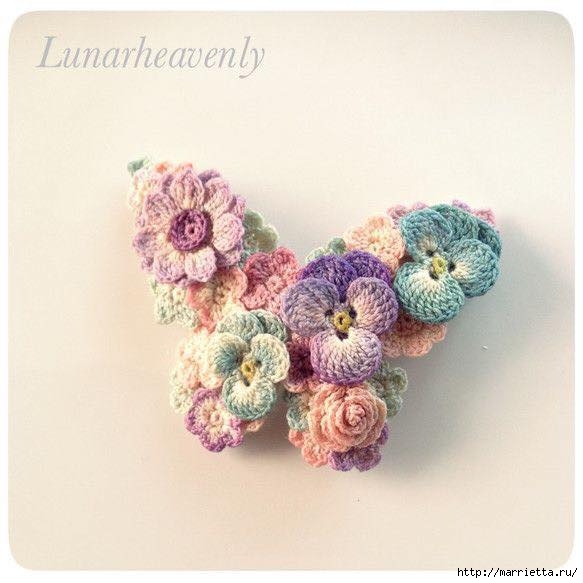
|
Без заголовка |
|
Без заголовка |
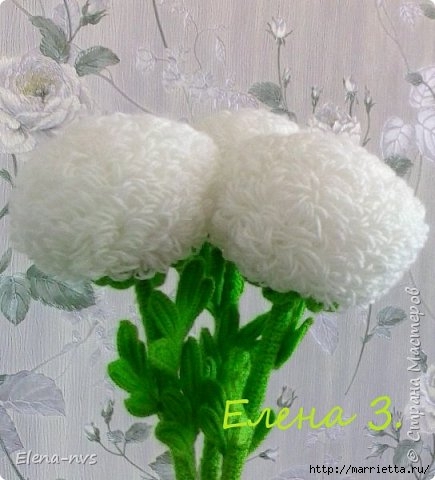
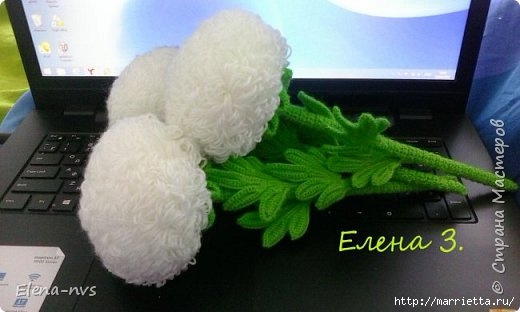
Белоснежные хризантемы связала крючком автор - Elena-nvs по описанию Катюни
|
Без заголовка |
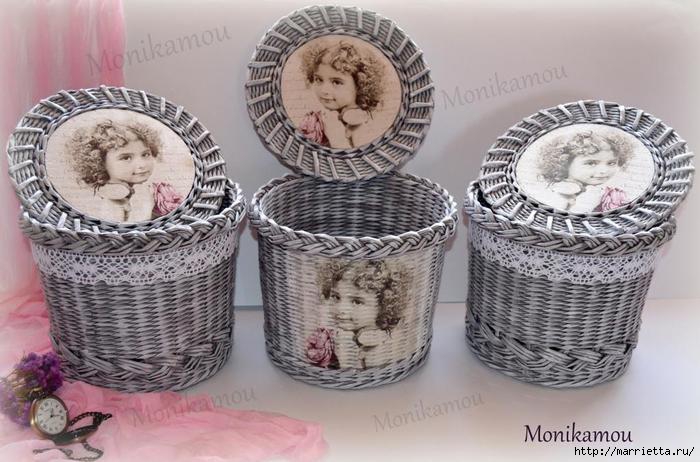
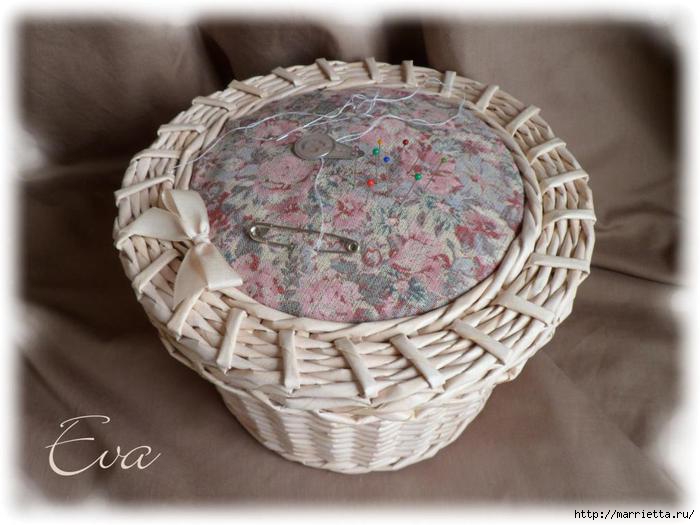
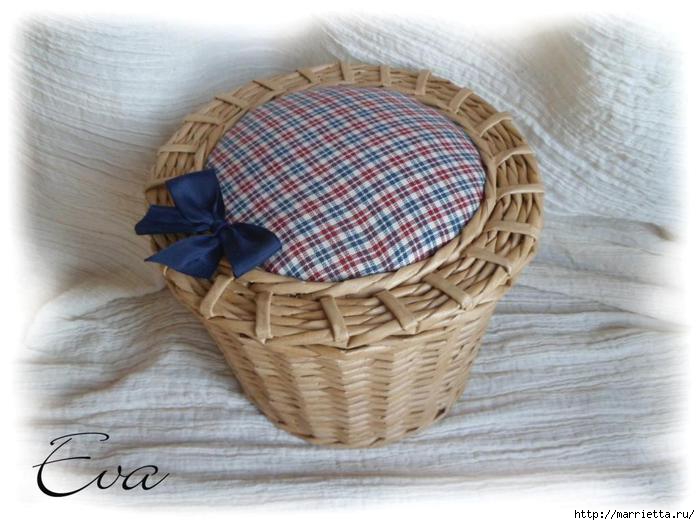
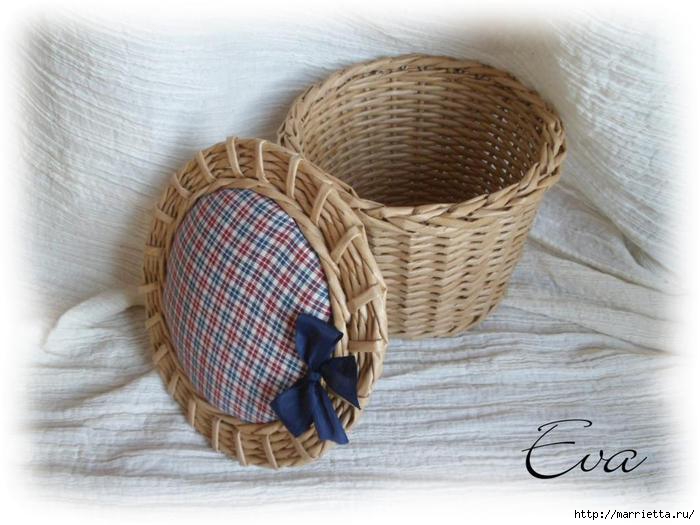
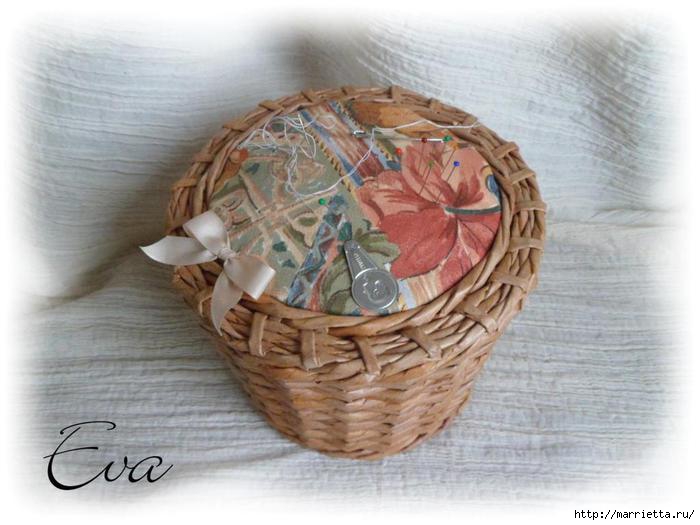
Дорогие любительницы плетенок из газет, представляю вам очередные работы чешских мастериц. Ниже размещаю мастер-класс от автора Milenka по плетению корзинки-игольницы для рукоделия. Отличная идея, получится удобная вместительная корзинка для клубков ниточек и других швейных или вязальных принадлежностей. Если у вас возникнут вопросы, спрашивайте в комментариях. Желаю всем успехов в творчестве!
|
Без заголовка |
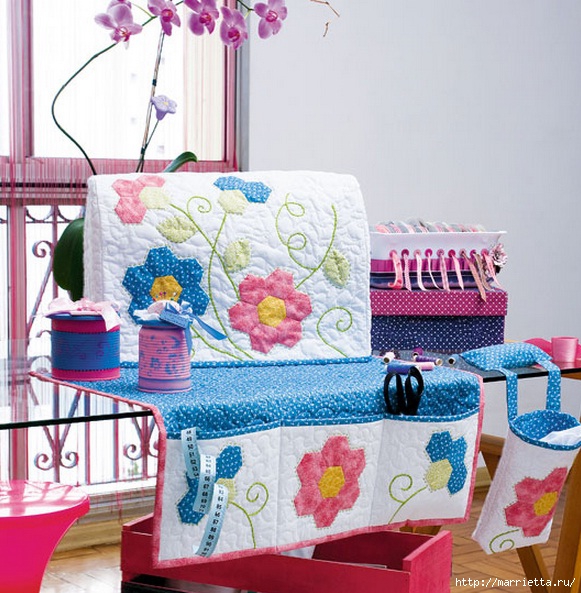
Если у вас есть швейная машинка, вы на ней часто шьете, то просто неприлично не подумать о пошиве для своей труженицы красивой одежки) Предлагаю вам использовать имеющиеся лоскутки и освоить технику пэчворк. Очень веселый и радостный вариант создания чехла для швейной машинки, скатерки с кармашками и сумочки для рукоделия
|
Без заголовка |

Вышивка крестом или гладью, которой так любили заниматься наши бабушки и прабабушки на досуге, остается актуальной и по сей день. Все, кто когда-нибудь пробовал вышивать на пяльцах, знают, насколько это кропотливая, требующая огромной усидчивости и терпения, работа. Однако сегодня эту работу с легкостью за человека может выполнить современная швейно вышивальная машина. Такое устройство является самым сложным из всего существующего швейного оборудования.
|
Без заголовка |
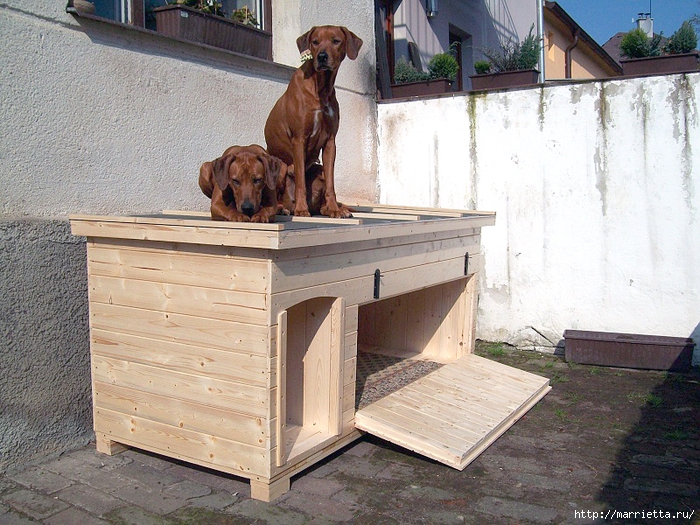
Как построить будку для собаки - досконально не расскажу, но кое-какую полезную информацию вы сможете найти в данной публикации. Уже скоро весна, многие поедут на свои дачи и земельные участки, которые чаще всего не обходятся без верного друга и сторожа - любимой собаки. Нашла чертеж с указанными размерами, может кому пригодится? Ниже еще есть фотографии пошаговой работы строительства мебели своими руками - будки для собачки.

|
Без заголовка |
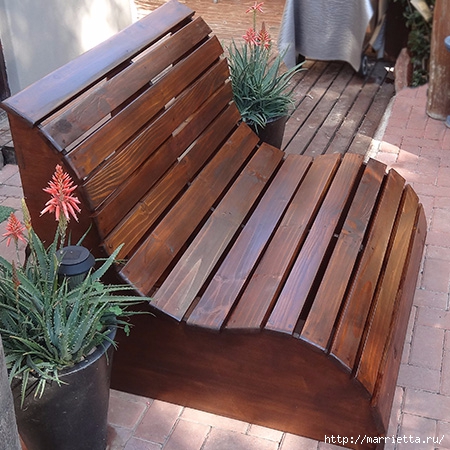
Ну почему я не мужчина с сильными руками и необходимыми инструментами))) Как же мне понравилась эта скамья манящей обтекаемой формы... Так и приглашает к себе присесть-прилечь) Да...., такая деревянная лавка способна украсить любой сад. Дамы, не хотите показать идею своим мужьям? Ниже прилагаю описание с необходимыми инструментами и материалам, может кому пригодится?
|
Без заголовка |
Доброго времени суток. Рассмотрим замечательный мастер-класс по созданию мимозы от рукодельницы Виктории Катамадзе. Акация серебристая в переводе с итальянского звучит как “mimosa“.
Одним из первых вестников весны является появление, в цветочных магазинах, букетов акации серебристой (как мы называем её-мимоза). С появлением в квартире мимозы ощущается запах свежести и весны!
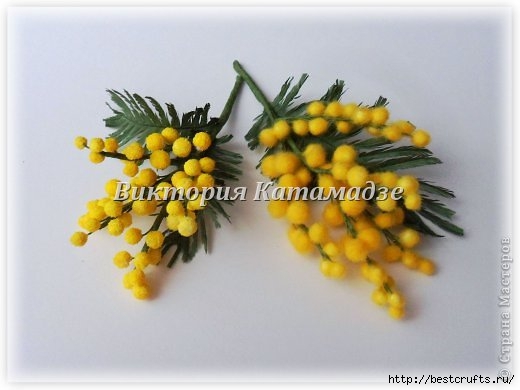
Вдохновением по созданию мимозы из шерсти и шелка послужил вот этот букет

|
Без заголовка |
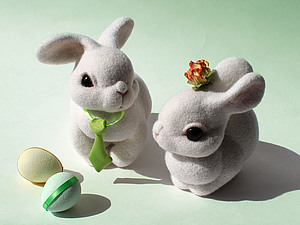
Здравствуйте! Неделя подготовки к светлой пасхе не оставили меня равнодушной. И поэтому я хочу поделиться с вами своим опытом по созданию весенних кроликов к святому празднику.
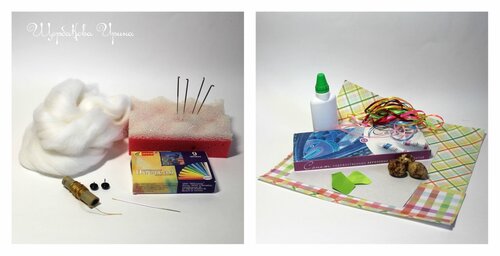
Итак, для изготовления кроликов нам понадобится:
Шерсть для валяния
Иглы для валяния №36,38,40
Губка или мат для валяния
Черные стеклянные глазки
Шнур для крепления глазок и головки (я использовала жилу)
Пастель для тонировки
Цыганская (длинная) игла
Стеклянная бусинка
Для аксессуаров:
Картон
Яркая бумага для Скрапбукинга
Клей
Ножницы
Пустые перепелиные яйца
Акриловые краски
Атласная лента
Яркая ткань для галстука и декоративный цветок
|