


Hi! ������! Here comes my tagcard tutorial. Here Comes My tagcard ��������. It is on how to make a card that you can put many tags in. ���, ��� ������� �����, �� ������ ��������� ����� ����� ����� I will also show a tip on how to make the tags. ����� ������ ���� ���������� ������ �� ��� ������� �����. Hope you will like it!:) �������, ��� �� ������ ����, ��� ���:)
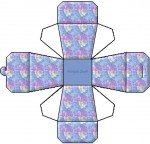
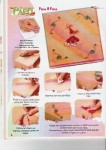
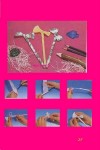
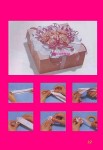
First you have to start with a bazzill paper measuring 30x30 cm. ������� ��, ��������, �������� ������ � ������ Bazzill ��������� 30x30 ��. Like the one under: ��� �������� ����:

I have a pen to mark out where to fold, and a cutter which folds the paper. � ���� ���� ������� ��� ������ ����� wherefores ��� ����, � ����� ����� ������� ������.
I start with folding the paper like you see on the next photo: � ������� �� �������� ������, ��� �� ������ �� ��������� ����������:

I fold it in the middle. � ������� ��� � ��������. And when it is folded it looks like this: � ����� �� ������ ��� �������� ��������� �������:

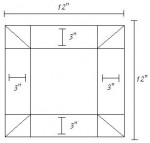
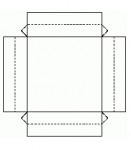
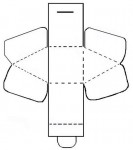
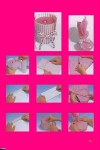
I open the paper again and start to measure where to fold on the other side. � �������� �������� ����� � ������� ��� ���� wherefores ��� ���� �� ������ �������. The card is going to have four sides, so I therefor have to devide 30 by four. ��������� ����� ����� ��� ������ ��������, ������� ��� ��� �, ��������, �������� ��������� 30 �� ������. So then I fold on 7,5 cm, 15 cm, and 22,5 cm like you can see on the photo under. ����� ������ ��� � �� 7,5 ��, 15 �� � 22,5 �� ����� �� ������ ������ �� ���� ����. The fold in the middle (at 15 cm) you have to take on the opposite side of the paper, because you are going to fold it the other way. ��� � ������� (�� ���������� 15 ��), ��, ��������, �������� ����� �� ��������������� ������� ������, ������ ��� �� ����������� � ��� ���� ��� ������ ����.

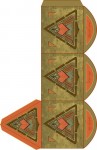
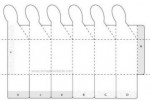
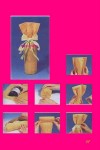
When you are finished folding, the paper looks like this. ����� �� ��������� ��������������, �������� �������� ��������� �������. Like a small accordian:) ��� ����� Accordian:)

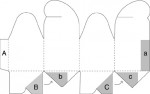
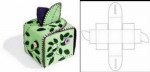
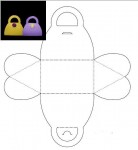
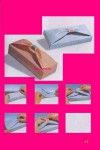
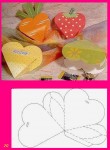
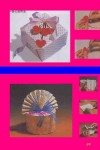
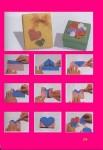
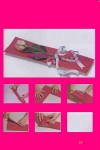
It is now time to make the pockets to put the tags inside. ������ ������� �����, ����� ������� ��� ������ �������� ���� ������. You can cut of small parts of all four sides. �� ������ �������� �� ��������� ������ �� ���� ������� ������. And it is not nesassary to have any measurments. � ��� �� nesassary ��� ���� ����� ���������. I have just cut of paper very randomly:) But I will show you how I did it, so you have an idea. � ������ ��������� ������ ����� ��������:) �� � ������ ���, ��� � ��� ������, ��� ��� �� ��� ����.

I first started with two sides, and cut off a bit, and then I used a borderpunch on the remaining part, so the edge looked nicer. � ����� � ���� ���������, � �������� �������, � � ������ ������������ ������� ������ �� ���������� �������, �� ���� �������� �����. Then I started with the two other sides. ����� � ����� � ���� ������ ������. First I cut of a triangle. ������� � ������� �����������. I then took the cut-off part and placed it on the other side, so the side would look the same -only opposite from eachother. � ������ ������ ��������� ������ � �������� ��� �� ������ �������, ��� ��� ������� ����� ��������� �� �� �����, ������ ��������������� ���� �� �����.

Like this: ��� ���:

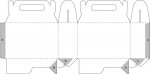
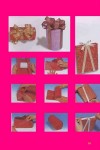
You will have a better view of it later. �� ������ ����� ������ ������������� � ��� ������. Now I wanted to make the front and the back of the card a bit thicker and stronger. ������ � ����� ������� ��� �������� � �������� ������� ����� ������� ����� � �������. So I cut out two rectangles: ��� ��� � ������� ��� ��������������:

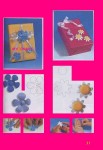
I then inked and decorated them with some gorgeous Maja Design paper. � ������ �������� � ��������� ����������� � ���-�� ������������ ������ Maja �������.
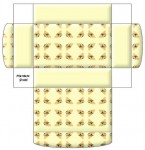
And I also measured up some more patteren paper (30x15 cm) to have inside the card. � � ����� �������� ���-�� ����� patteren ������ (30x15 ��) ��� ��� ������ �����. It is a bit easier than making four parts (something you also can do, of course). ��� ������� �����, ��� ������� ������ ������ (���-�� � �� ������, �������). I folded the pattern paper like the bazzill, and then fasten it with glue to the bazzill. � ������ ������ ������� ��� Bazzill, � ������ ��������� ��� � ������� ���� ��� Bazzill.

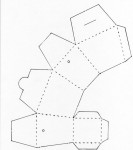
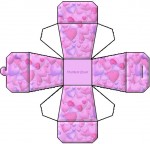
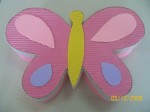
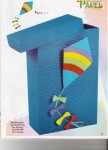
When you fold up the paper it looks like this: ����� �� ������� ������ ��� �������� ��������� �������:

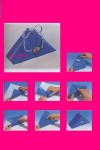
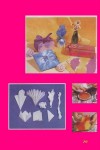
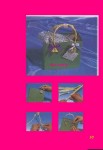
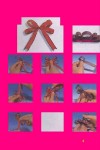
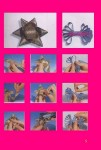
Now I am going to show you how I made the tags to put inside the card. ������ � ��������� �������� ���, ��� � ������ ���� ������� ��� ������ �����.
I used some leftovers and cut them up so they will fit the pockets on the card. � �������� ���-�� ������� � ��������� ����������� �� ������ ����, ����� ��� �������� ������� � �����.

You can cut them at any size you like as long as they fit the pockets. �� ������ ��������� ��, ��� ������ ������� �� ������, ���� ��� �������� �������. This is a great way to use all the leftovers:) ��� �������� ������ ��� ������������ ��� �������:)
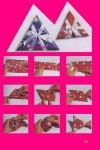
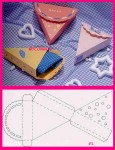
I then cut of a rectangle on one side. � ������ �������� �� �������������� �� ����� �������. I just cut randomly. � ������ ��������� ��������. 

I then use the cut-off rectangle to make the same on the other side. � ������ ������������ ��������� ������������� ��� ������ �� �� ����� �� ������ �������.

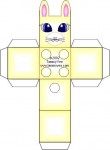
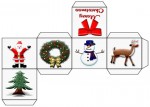
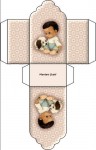
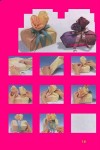
I will decorate these two tags with some cute images:) ������ ���� �������� ��� ��� ����� � ���-�� ����� ������:)

I now use some hours which I don't have pictures off, to decorate both four tags and the card:) ������ � ������������ ���-�� ����, ������� � �� ��� ���������� �, ��� �������� ��������� ������ ����� � �����:)
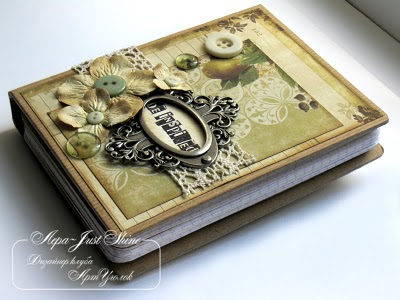
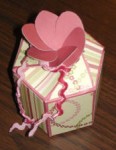
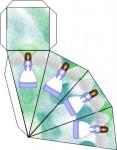
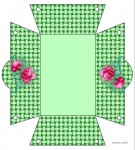
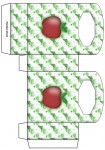
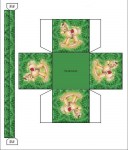
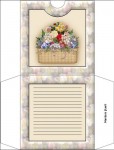
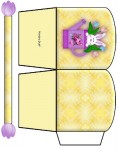
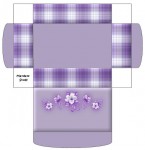
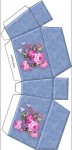
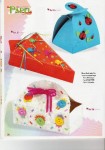
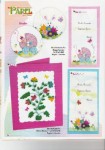
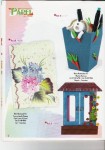
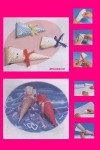
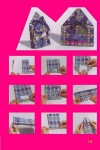
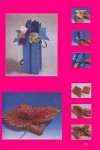
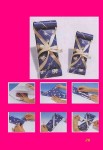
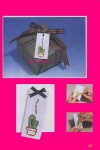
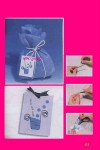
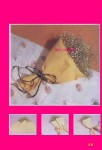
And here is what I came up with: � ��� ��� � ��������:
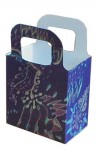
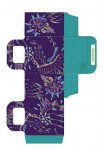
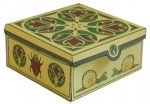
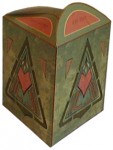
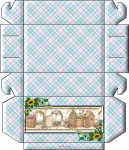
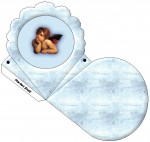
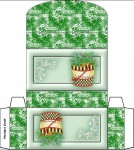
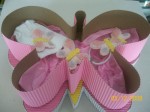
Here is the front. ��� ������.

When it was too late I saw that I should have figured out something more clever with the ribbon to hold the card together. ����� ��� ���� ������� ������, � ������, ��� � ����� ���� �����, ���-�� ������ � ����� ����� ��� ������� ����� ������. But for this one I have just wrapped it around the card. �� ��� ����� � ���� ������ �������������� � ���� �����.
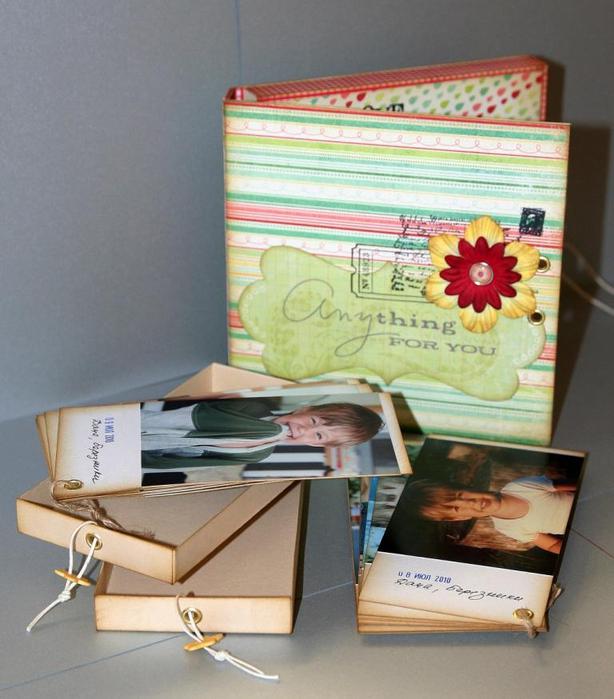
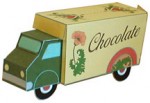
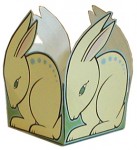
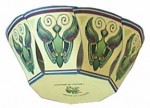
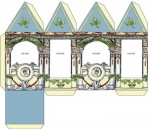
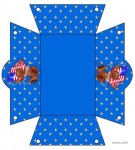
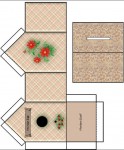
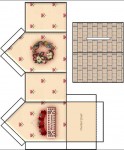
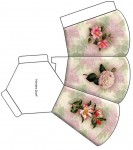
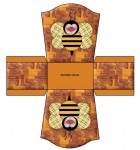
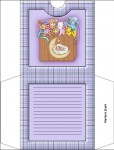
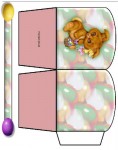
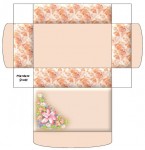
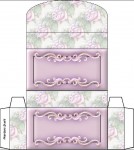
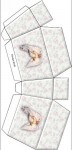
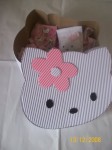
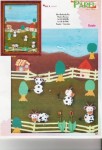
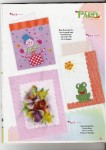
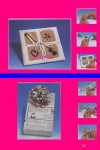
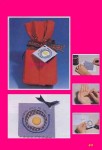
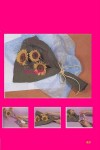
Under you can see the tags inside the card. ��� ������ ���� ������ �����.

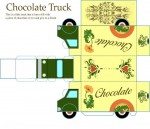
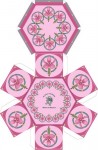
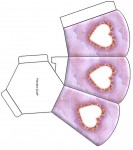
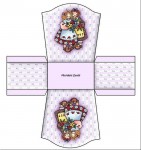
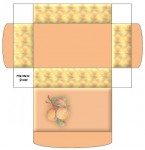
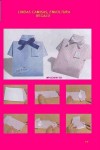
Here is the whole inside with the tags taken out. ��� ��� ������ � ������ ��������.

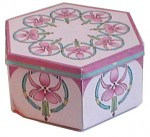
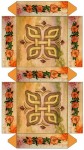
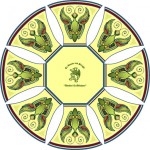
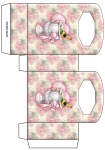
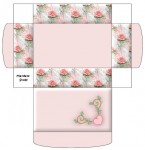
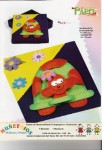
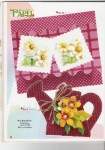
A close up: ������� ������:

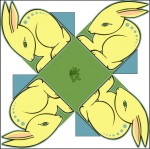
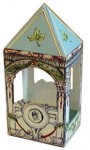
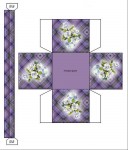
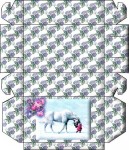
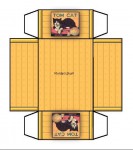
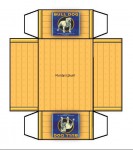
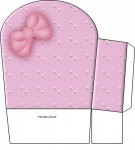
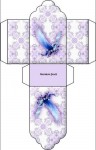
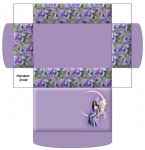
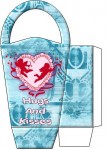
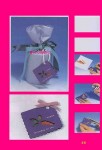
And the last one, the back: � ���������, �������:

I hope this made sense..:) � �������, ��� ��� ����� ����� ..:)