Воскресенье, 15 Июля 2012 г. 16:51
+ в цитатник
Good Morning Everyone!
Jane here today with a tutorial to show you how I decorated my stairstep card which I made using one of the adorable new releases at Whiff of Joy, Maya watching a ladybug, which is available
here from Whiff of Joy.
<<>>
To make the card, you will need:
12x12 pink cardstock
Various patterned papers including a cloud paper and 2 green papers
Paper flowers
Stick on pearls and gems
Grass border punch
Small butterfly punch
Paper trimmer
Scoreboard
Label and circle dies
Step by Step Instructions:
1. Cut a piece of cardstock to 10.5 inches by 5 inches. Score at 1.25, 2.5, 4.25 ,6 and 8.25 inches.
2. Fold into an accordion with hills and valleys, make sure that the first smallest is folded down, as this is the piece which will form the front of your card.
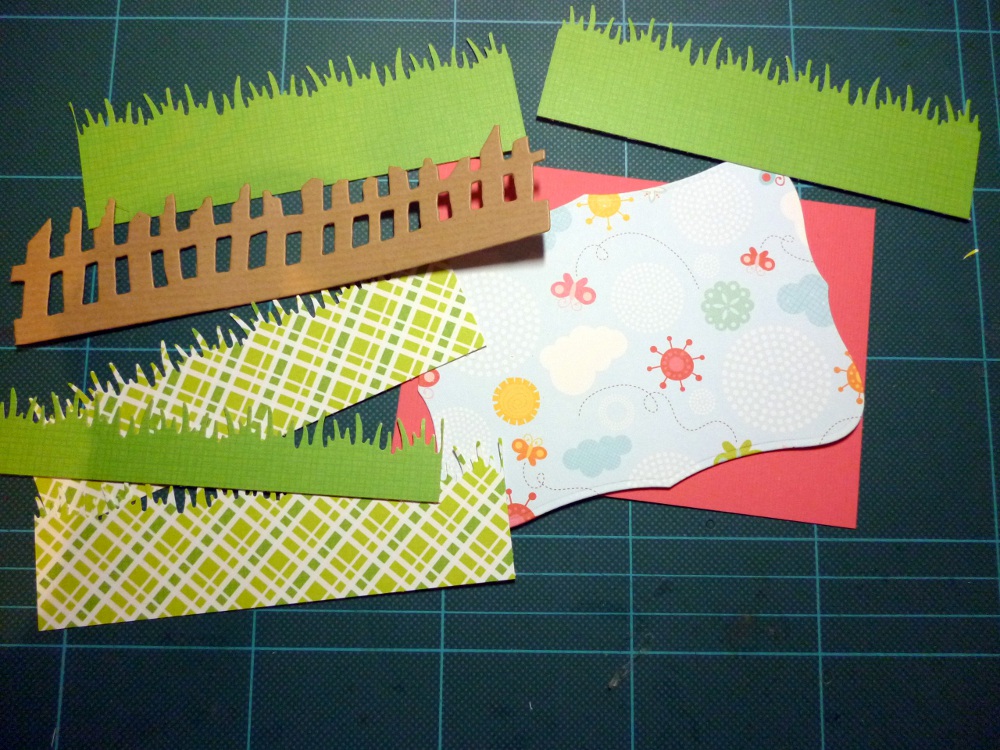
3. Die cut a label shape to form your sky, a fence and cut 2 strips from lighter green patterned paper, both should be 5 inches long and one should be 4 cm wide, the other should be 2.5cm. Punch borders to make grass. Repeat with 2 darker green strips which are 4cm wide and another which is 2cm wide.
Cut a piece of pink card to measure 5 inches by 9cm
4. Add all your pieces to the card. Start on the front tab and add darker green strip so it slightly overlaps the fold. Add lighter green piece in front with foam pads. On the middle section, add the darker green section first to overlap the folded edge, add the lighter green piece towards the bottom. Add the fence which you have trimmed to size with foam pads. Add the sky die cut to the pink paper and add a strip of punched grass to the bottom. Add to last piece.
5. Now is the fun part! You can decorate your card as you wish with flowers, your stamped image and butterflies and the sentiment added to a scalloped circle. Here is a close up of little Maya in her garden looking at the little ladybug! I wish the sun shined like this in my Garden!
I hope you have enjoyed my tutorial. Have a lovely day!
Jane
x
http://whiffofjoy.blogspot.com/2012/06/decorated-stair-step-card-tutorial.html
Процитировано 18 раз
Понравилось: 5 пользователям
-
5
Запись понравилась
-
18
Процитировали
-
0
Сохранили
-