Без заголовка |
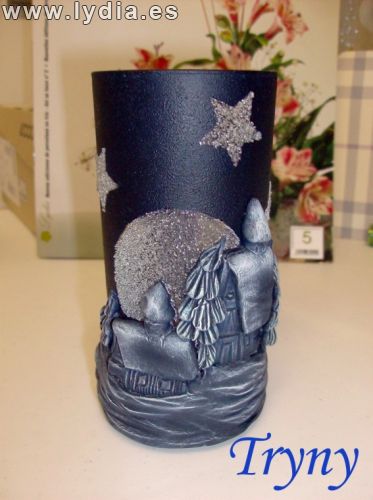
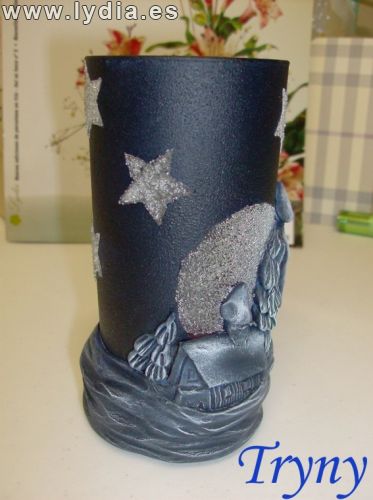
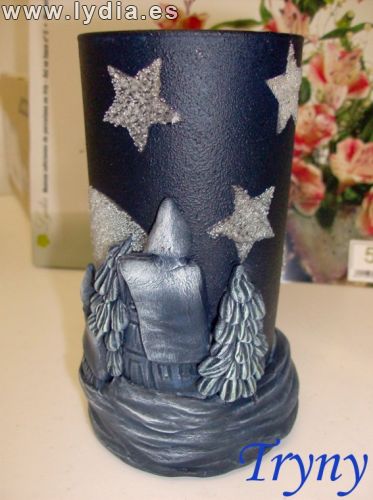
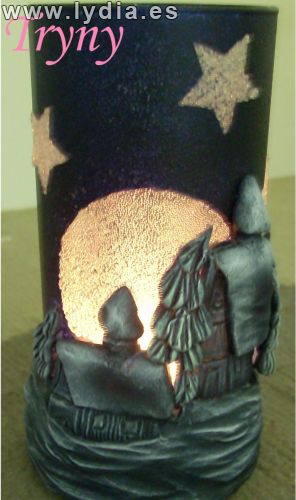
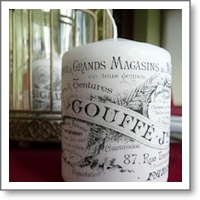
Нашла очень интересный подсвечник . Не смогла пройти мимо. Без перевода. Но по картинкам ясно. Для этой красоты нужна посудинка, малярный скотч ,акриловые краски и холодный фарфор или соленое тесто,клей момент,
Комментарий к картинкам не убирала,он для тех,кто знает язык.
Como os habia prometido, aqui os tengo el paso a paso de este trabajito.
|
Без заголовка |
Опять с заграничного сайта! Ну очень подробно!!!!!!!! Стащила отсюда! Классный сайт по куклам! http://members.home.nl/asrai/cursus-en.htm
|
The hand I made for this lesson is from the palm of the hand to the finger tips about 1.80 inch. It is a bit bigger than I usually make, smaller gave some photographic problems 'cause I don't have a macro lens. |
 |
 |
|
The size of the hands depend on the size of the head. The length of a hand is equal to the length from chin to halfway the forehead. A face is usually about 2 hands wide. This can always vary a bit depending on the kind of doll. You start off by making 2 cylinder shaped rolls of fimo, in this lesson they are about 2.6 inch long and 0.60 inch thick (pict. 1). Sculpt one end in a kind of spoon shape by pressing the clay with your thumb. Sculpt the hand thinner to the "finger tips' by pushing it more flat (pict. 2). |
|
 |
 |
|
For this lesson I'll continue with the making of the right hand. Try to work simultaneously on both hands because it is hard to make an equal looking hand afterwards. To make a wrist, roll the clay between thumb and point finger like pict. 3 You now have a roughly shaped hand with a part arm. Make the arm thinner if necessary. Smooth the hand nice and round. The hollow part is the inside/hand palm of the hand (pict. 4). |
|
 |
 |
|
At pict. 5 you see the back of the hand. You will now make 3 incisions with a knife for separating the fingers. The thumb will be added later. Because this will be a right hand, the incision for the little finger is cut a little further than the other incisions, take your own hand as example. Bend the 2 outer fingers gently side wards so you have more space (pict. 6). Hold the fingers between your point finger and thumb. While warming the clay by the warmth of your hands, very gently roll the fingers slightly back and forth, so the inside of the fingers will also become round. You can use a sculpting tool for the areas that are difficult to reach. |
|
 |
 |
|
When the two outer fingers are smoothed, you start with the middle two. Bend them slightly apart and again roll them gently back and forth to round off the edges on the inside of the fingers (pict. 7). Do this very slowly, it is important that while you are doing this, the clay will be warmed by your fingers so they don't rip at the beginning. Use a sculpting tool to smooth the areas that are hard to reach (pict. 8). |
|
 |
 |
|
Because of the smoothing of the fingers they usually will get a little too long, cut them off at the right size (pict. 9). Round off the finger tops again (pict. 10). |
|
 |
 |
|
The fingers of the hand should now look something like pict. 11 We will now continue with the inside of the hand. Make the dimple of the hand a little more distinct by pressing the palm slightly with your thumb and smudging clay towards the wrist. (pict. 12). |
|
 |
 |
|
Press the clay on the wrist like in pict. 13, so you will clearly see the difference between the wrist and where the handpalm begins (pict. 14). |
|
 |
 |
|
Next step is making a thumb. Sculpt a pear shape piece of fimo, make an incision in the broad part of the thumb' (pict. 15) Pull the parts a bit side-wards and place the thumb on the hand as in pict. 16. |
|
 |
 |
||||||||||||||||||||||||||||||||
|
Push the thumb firmly against the hand, blend the seams on all sides with a sculpting tool and smooth with your fingers (pict. 17-18). When the thumb is too long or thick, cut off a piece and re-shape the thumb. |
|||||||||||||||||||||||||||||||||
 |
 |
||||||||||||||||||||||||||||||||
|
Nails can be made in many ways. You can draw lines with a knife or other sharp tool. You can also slantwise cut off a piece of a lemonade straw and use this to make an indent of a nail. For this lesson I used a little hollow chisel. They are normally used for chiseling wood but they are also very handy (when you turn them around) for making nail prints on clay fingers (pict. 19). Use a sharp tool to correct the lines if necessary (pict. 20). |
|||||||||||||||||||||||||||||||||
 |
 |
||||||||||||||||||||||||||||||||
|
Don't forget to attach the lines at the fingertips, so the nails will look like they lay on the finger (pict. 21). This is very precise work. We will now continue with the palm of the hand. You can make it as detailed as you like, it also depends on the pose of the doll and if the palms of the hands are visible or not. If they are not visible you can keep it more simple. Place a C-shaped slice of fimo on the palm and an extra slice at the beginning of the thumb (not too thick) as in pict. 22. |
|||||||||||||||||||||||||||||||||
 |
 |
||||||||||||||||||||||||||||||||
|
Press the slices and the seams firmly, gently blend the seams using a sculpting tool (pict. 23) make sure the palm looks natural. When all the seams are blended (pict. 24), moisten your finger and smooth the hand palm by rubbing it with your finger. |
|||||||||||||||||||||||||||||||||
 |
 |
||||||||||||||||||||||||||||||||
|
Now it is time to add some lines to the hand palm, you can use a thin sculpting tool for this (pict. 25). Look at your own hands where the lines should be. Add some lines at the beginning of the fingers using a mini tool or a toothpick (pict. 26). |
|||||||||||||||||||||||||||||||||
 |
 |
||||||||||||||||||||||||||||||||
|
Also draw lines on the inside of the fingers, again watch your own hand closely to see how this looks. (pict. 27). The inside of the hand is finished now, we turn the hand around and continue with the back. It depends on the kind of hands you want, how you will proceed. If you want real smooth elegant hands, you better not add big knuckles. Just a few 'knuckle lines' at the place of the knuckles will look nice too. If you want more detailed hands you proceed like this. Place thin slices of fimo in the middle of each finger and slices just under the fingernail. You also add slices fimo on the knuckles of the hand (pict. 28). |
|||||||||||||||||||||||||||||||||
 |
 |
||||||||||||||||||||||||||||||||
|
Carefully blend the seams with your sculpting tool until the seams are smoothened. (pict. 29-30), don't forget the sides of the fingers. Try to hold on to the shape of the knuckle, don't blend too wide, or it might end up looking more like a tumor than a knuckle... ;-). This is very precise work that will take some time. |
|||||||||||||||||||||||||||||||||
 |
 |
||||||||||||||||||||||||||||||||
|
It still looks a bit rough at this point. Moisten your finger and 'polish' the fingers to make them smooth, without fading out the knuckles (pict. 31). Between the knuckles on the hand, you draw some lines with your sculpting tool towards the arm, to accentuate some of the muscles (pict. 32). Rub the lines with a finger to blur and make it look more natural.
|
|||||||||||||||||||||||||||||||||
|
Без заголовка |
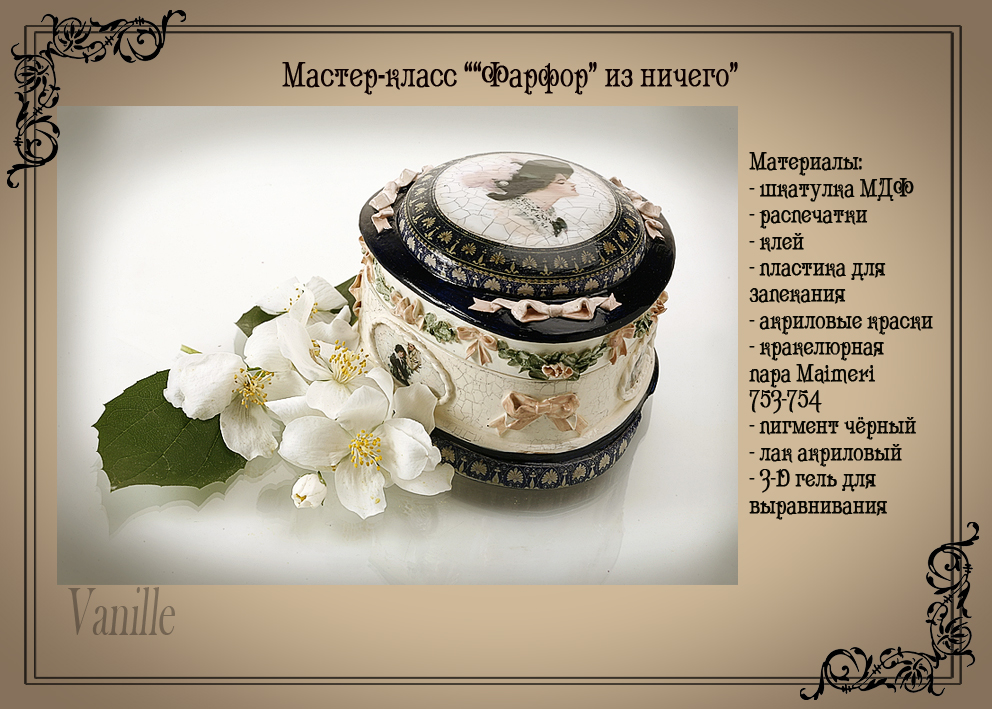
Добрый день, милые декупажницы, мастера
и просто любознательные читатели!!!
Тот, кто занимается объёмным декором ,тот знает. как ускоренно улетучиваются структурные художественные пасты и сколько они стоят в художественных магазинах, а для некоторых вообще они недосягаемы, так как живут в глубинках. Поэтому я хочу поделиться с Вами своими новаторствами :)
Однажды ,я решила навести ревизию в своих закромах художественных мазюк и выложить образцы на картон,чтобы иметь перед глазами всё своё добро :) и видеть возможности тех или иных паст.
И тут Остапа понесло.... :) Я наэкспериментировала составы паст,которые не хуже, а некоторые даже лучше!!!,


|
Без заголовка |


|
Без заголовка |
мастер-класс в рамках выставки "Формула Рукоделия 2011"
http://marunich.ru/sections/ob_tsv
|
Без заголовка |
мастер-класс в рамках международной выставки "Скрепка 2011"
http://marunich.ru/sections/fl_v
|
Без заголовка |
|
Работа с пластикой всегда требует тщательной подготовки и знаний сочетаемости материалов! Будьте внимательны к этому!
|
|
Без заголовка |


|
Без заголовка |

Эта схема не смогла оставить равнодушной многих любительниц бисероплетения. Причем некоторые из них внесли в схему из журнала свои изменения: изменяли количество и длину лепестков, эксперементировали с материалами. Свою Далию я сплела под впечатлением от работы Дарьи Синяговской (Monkey):

Согласитесь, трудно остаться равнодушной)))
А это мой вариант цветка:
Именно о том, как сплести такой цветок я и хочу рассказать
|
Без заголовка |
Всем известны многорядные бусы на вощеном шнуре. Они получаются объемными и воздушными, особенно если использовать легкие материалы (дерево,акрил, пластика).
Несмотря на то, что в сети есть уроки, как аккуратно завершить все это многорядное богатство, довольно часто аккуратно связанный пучок нитей вызывает вопросительно-удивительное изумление:) Предлагаю вам еще один пошаговый фото-урок в моем исполнении.
 |
Вы собрали красивые бусы, у вас в руке порядка 6-12 шнуров и все это счастье надо собрать в кучку. Для меньшего количества шнуров этот метод тоже подойдет, но иногда проще использовать обычные зажимы - выбор за вами:)
|
Без заголовка |
|
Без заголовка |
Часть 2.
Часть 3.
|
Без заголовка |

Уважаемая и обожаемая Мариночка! Вы Удивительный человек!
Благодаря Вам, мир становится краше и богаче!
Сердечное СПСИБО Вам, за вашу душевную щедрость!
Материалы, которыми Вы делитесь с нами, просто БЕСЦЕННЫ!
Из них мы узнаём столько интересного и полезного! Можем прикоснутся к этому волшебству!
Нижайший Вам поклон!
|
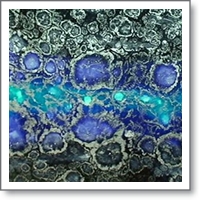
Итальянский мрамор.
|
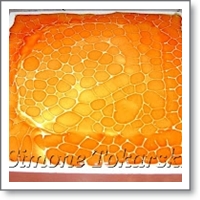
Эффект полосок.
|
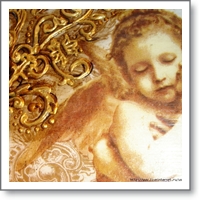
Патинирование и роспись.
|
|
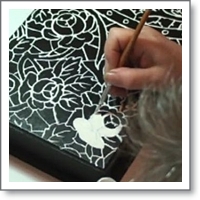
Имитация кружева.
|
Ложная мозаика.
|
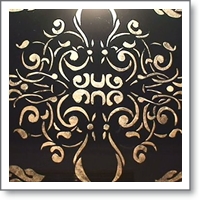
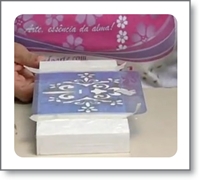
Трафаретная техника.
|
|
Структ. паста, патинирование.
|
Подсвечник. Декупаж.
|
Структ. паста, золочение.
|
|
Перенос изображения.
|
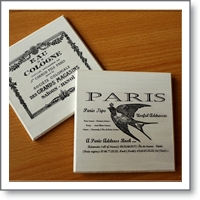
Состаривание уксусом.
|
Перенос из-ния. Свеча.
|
|
Без заголовка |

Автор: Евгения Хлуденцова
Бусина делается чрезвычайно быстро, а простор для фантазии огромный: можно до бесконечности экспериментировать с фактурами бусин. Соединить, например, прозрачные гранёные с деревянными или жемчугом. У меня здесь попроще, одной фактуры, чтобы в глазах не рябило
|
Без заголовка |
|
Без заголовка |

|
Без заголовка |
|
Без заголовка |
Будем плести вот эту бусину:

Для работы нам понадобится примерно 7 г черного матового Тохо трэжес и 2-3 г блестящего гальванизированного (в моем случае № 604), нить Нимо (или любая другая прочная и не рыхлая).
Читать далее
|
Без заголовка |

Представляю вашему вниманию попытку мастер-класса по кельту
|
Без заголовка |
|


![c-mk[1] (448x270, 20Kb)](http://img0.liveinternet.ru/images/attach/c/2/73/453/73453064_cmk1.jpg)
![c-mk-1[1] (448x336, 22Kb)](http://img1.liveinternet.ru/images/attach/c/2/73/453/73453103_cmk11.jpg)
