-Рубрики
- ВЫШИВКА (1795)
- схемы, образцы (1731)
- Уроки вышивки (390)
- Разные виды вышивок (283)
- Машинная вышивка (252)
- Символизм в вышивке (186)
- Аппликации (176)
- Крестик (130)
- Книги и журналы (125)
- Народная вышивка: одежда (116)
- Детские вышивки (116)
- Вышивка гладью (103)
- Для кухни:салфетки, занавеси и подушки (102)
- Животные (91)
- Народная вышивка: рушники (72)
- Растения (62)
- Орнаменты и вышивки в круге (56)
- Мережки и строчевые швы, сетки (55)
- Художественная гладь (47)
- Ришелье (42)
- Алфавит (33)
- Вышивка шерстью (25)
- Белая гладь (18)
- Игрушки (11)
- ШИТЬЕ (812)
- шитье для детей (490)
- шитье для взрослых (323)
- идеи мастерства, технология (289)
- технология кроя и выкройки (247)
- рубашки, кофточки, топы, жилеты (150)
- платья, юбки (84)
- брюки, шорты (81)
- идеи гостинной, шторы, подушки (78)
- праздничная одежда, костюмы (65)
- комбинезон, куртка, плащ (55)
- шапочка- панамка, варежки (44)
- переделка (43)
- халаты, белье (35)
- тапочки, носки,пинетки (35)
- детская (34)
- зимняя куртка, пальто, шуба (28)
- сумочки (18)
- видео (3)
- ВЯЗАНИЕ (584)
- Вязание для детей (419)
- Вязание для малышей (188)
- свитера, полуверы, кофточки (184)
- вязание для женщин (164)
- головные уборы, варежки, шарфы (127)
- технология, мастерство (117)
- обувь, носки (64)
- шорты, брюки (40)
- вязание для мужчин (11)
- платья (8)
- сумки, рюкзачки (5)
- юбки (4)
- ПСИХОЛОГИЯ СЧАСТЛИВОЙ ЖИЗНИ (158)
- Работа с энергетикой (95)
- Здоровье (92)
- Энциклопедия развития ребенка (12)
- Вышивка на одежде (1)
- Это интересно (114)
- Кулинария (17)
- Хлебопечка (11)
- Новая (10)
-Я - фотограф
-Поиск по дневнику
-Подписка по e-mail
-Статистика
Без заголовка |
Цитата сообщения cravennat
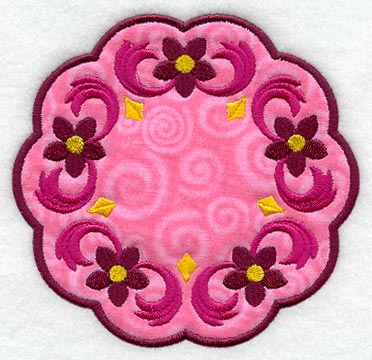
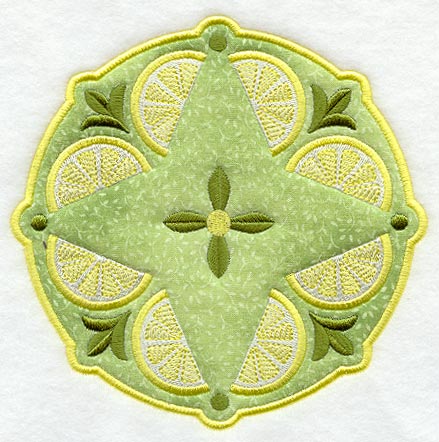
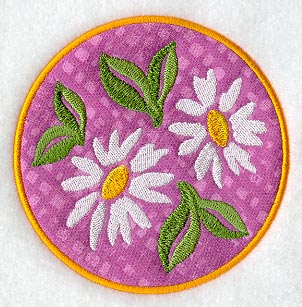
подложки фруктовые/машинная вышивка-мастер класс
1.

2.

3.

1.

2.

3.

| Рубрики: | ВЫШИВКА/схемы, образцы ВЫШИВКА/Для кухни:салфетки, занавеси и подушки ВЫШИВКА/Аппликации ВЫШИВКА/Машинная вышивка ВЫШИВКА/Уроки вышивки |
| Комментировать | « Пред. запись — К дневнику — След. запись » | Страницы: [1] [Новые] |


