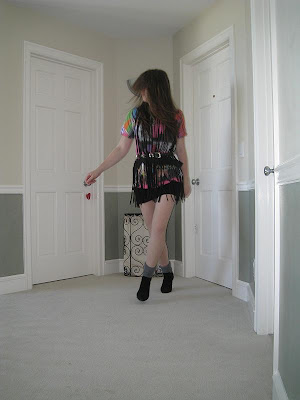
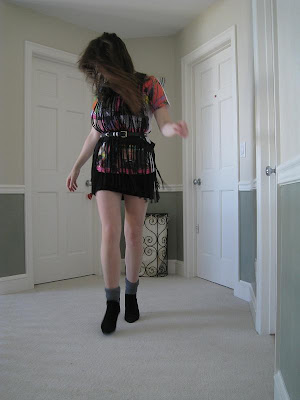
Yeah, more DIY! I made this fringe shirt/dress thing last week with just an old shirt and some scissors. I really like how it turned out, and I've worn it out twice already...with no stares! I thought everyone would give me a lot of greif for this one, but nobody really seems to care.
It was inspired by several things, but mostly by an amazing shot found on
Hel Looks. Other things floating around in my head at the time included Maison Martin Margiela and Pocahontas.
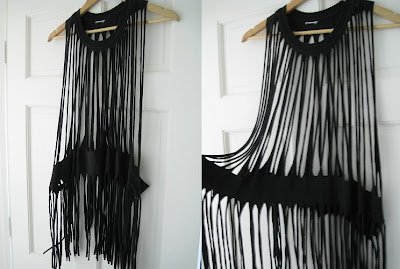
Like I said, all you need is a big t-shirt and some (sharp) scissors to make this. All you do is cut, no sewing required. Here's what to do:
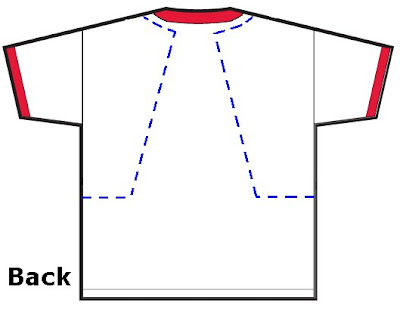
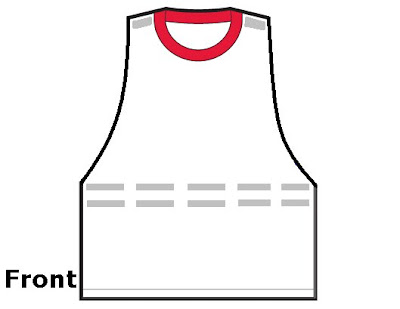
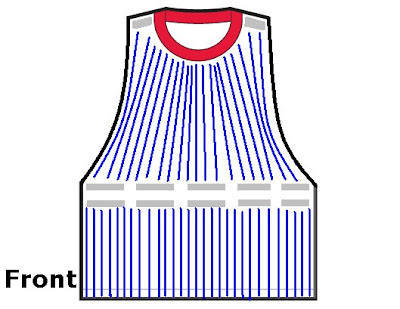
1) cut the front of your t-shirt like this (blue lines=cut, just incase you didn't guess!). ONLY the front, don't go all the way round to the back just yet.
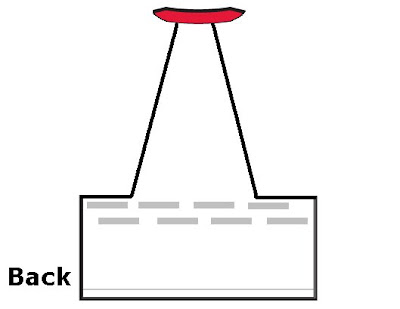
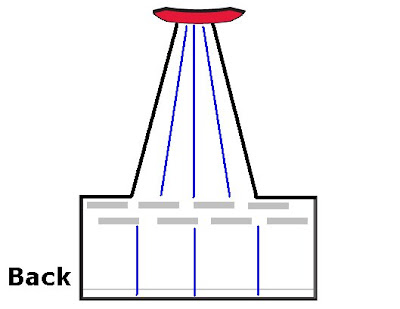
2) Cut the back like this, in a halter shape. Remember to make the bottom cuts match up on the back and front.
3) This step is kinda optional, but it's easier if you do it. Use tape to mark out where a waist band will go, and also put tape on the top shoulder area.
4) Tape a waistband area on the back as well.
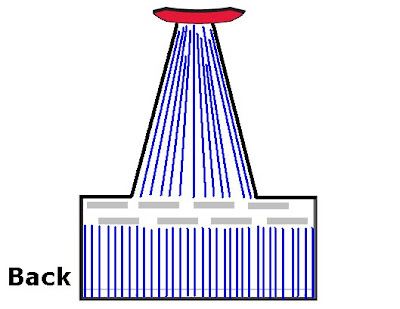
5) Now that you've got the basic shape cut out and the tape markers, all you gotta do is cut, cut, cut! Cut in sections so that you get each fringe/strip evenly shaped. Don't cut over the tape, it's there for a reason!
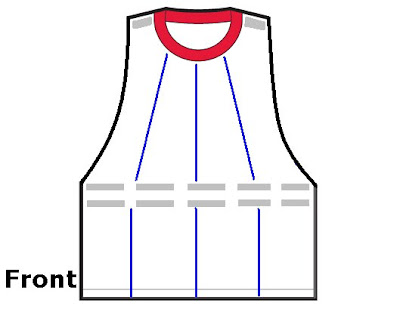
6) Here's how to do sections on the back.
7) Now cut even lines all over. Those first cuts should help to keep them straight and parralel.
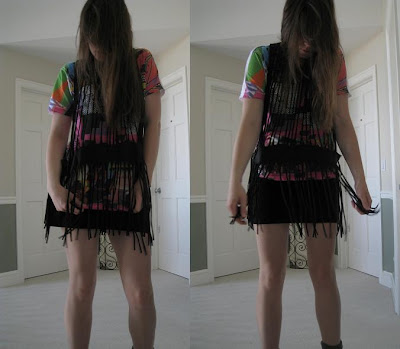
Done!
Enjoy the fringe-y goodness. Belted or un-belted, any way rocks.