Christian Heilmann: Keeping it simple: coding a carousel |
One of the things that drives me crazy in our “modern development” world is our fetish of over-complicating things. We build solutions, and then we add layers and layers of complexity for the sake of “making them easier to maintain”. In many cases, this is a fool’s errand as the layers of complexity and with them the necessary documentation make people not use our solutions. Instead, in many cases, people build their own, simpler, versions of the same thing and call it superior. Until this solution gets disputed and the whole dance happens once again.
In this article I want to approach the creation of a carousel differently: by keeping it as simple as possible whilst not breaking backwards compatibility or have any dependencies. Things break on the web. JavaScript might not be loaded, CSS capabilities vary from browser to browser. It is not up to us to tell the visitor what browser to use. And as good developers we shouldn’t create interfaces that look interactive but do nothing when you click them.
So, let’s have a go at building a very simple carousel that works across browsers without going overboard. You can see the result and get the code on GitHub.
The HTML structure of a carousel
Let’s start very simple: a carousel in essence is an ordered list in HTML. Thus, the basic HTML is something like this:
span> class="carouselbox"> span> class="content"> >1> >2> >3> >4> > > |
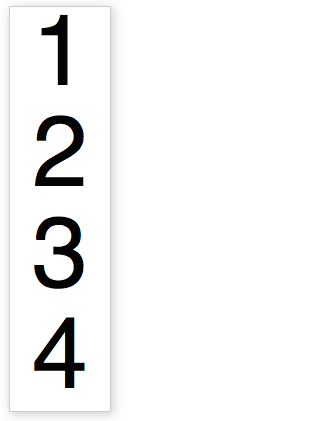
Using this, and a bit of CSS we have something that works and looks good. This is the base we are starting from.
The basic CSS
The CSS used here is simple, but hints at some of the functionality we rely on later:
.carouselbox { font-family: helvetica,sans-serif; font-size: 14px; width: 100px; position: relative; margin: 1em; border: 1px solid #ccc; box-shadow: 2px 2px 10px #ccc; overflow: hidden; } .content { margin: 0; padding: 0; } .content li { font-size: 100px; margin: 0; padding: 0; width: 100%; list-style: none; text-align: center; } |
The main thing here is to position the carousel box relatively, allowing us to position the list items absolutely inside it. This is how we’ll achieve the effect. The hidden overflow ensures that later on only the current item of the carousel will be shown. As there is no height set on the carousel and the items aren’t positioned yet, we now see all the items.

The carousel visuals in CSS
A lot of carousel scripts you can find will loop through all the items, or expect classes on each of them. They then hide all and show the current one on every interaction. This seems overkill, if you think about it. All we need is two classes:
- We need a class on the container element that triggers the functional display of our carousel. This one gets applied with JavaScript as this means the look and feel only changes when the browser is capable of showing the effect.
- We need a class on the currently visible carousel element. This is the odd one out. All the others don’t need any classes.
We can hard-code these for now:
|
All we need to show and hide the different carousel items is to change the height of the carousel container and position all but the current one outside this height:
.active { height: 130px; } .active li { position: absolute; top: 200px; } .active li.current { top: 30px; } |
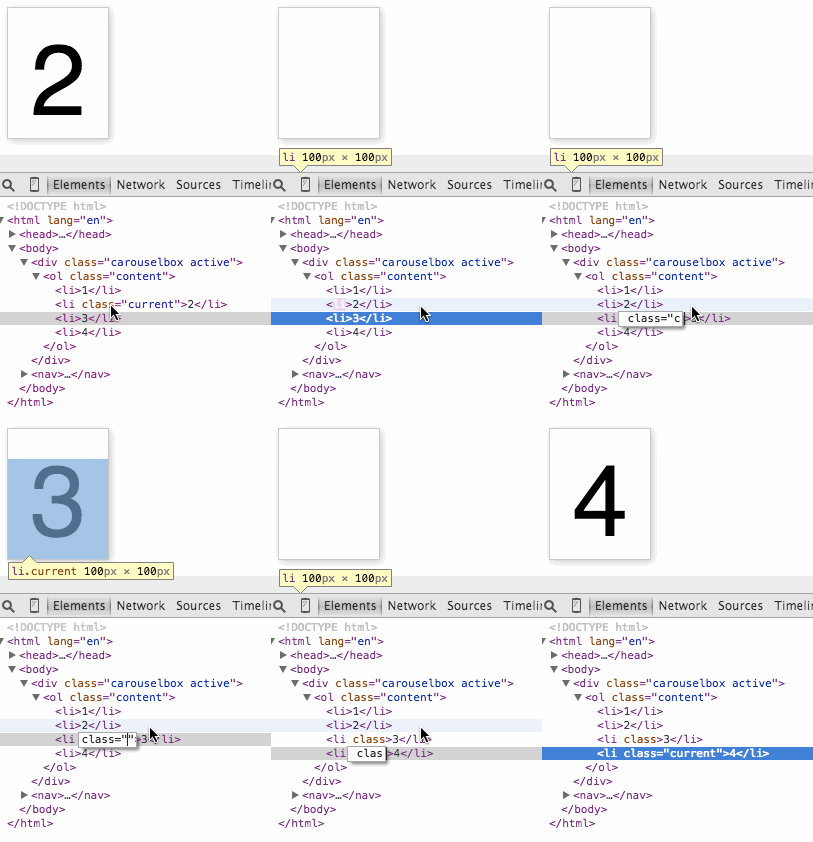
You can see this in action here. Use your browser developer tools to move the “current” class from item to item to show a different one.

Interaction with JavaScript
To make the carousel work, we need controls. And we also need some JavaScript. Whenever you need a control that triggers functionality that only works when JavaScript is executed, a button is the thing to use. These magical things were meant for exactly this use case and they are keyboard, mouse, touch and pen accessible. Everybody wins.
In this case, I added the following controls in our HTML:
span> class="carouselbox">
  span> class="buttons">
    span> class="prev">
|
http://christianheilmann.com/2015/04/08/keeping-it-simple-coding-a-carousel/
| Комментировать | « Пред. запись — К дневнику — След. запись » | Страницы: [1] [Новые] |


