20 Gifts You Can Give Your Boss if They Love ΣΕΡΒΙΣ ΨΥΓΕΙΑ |
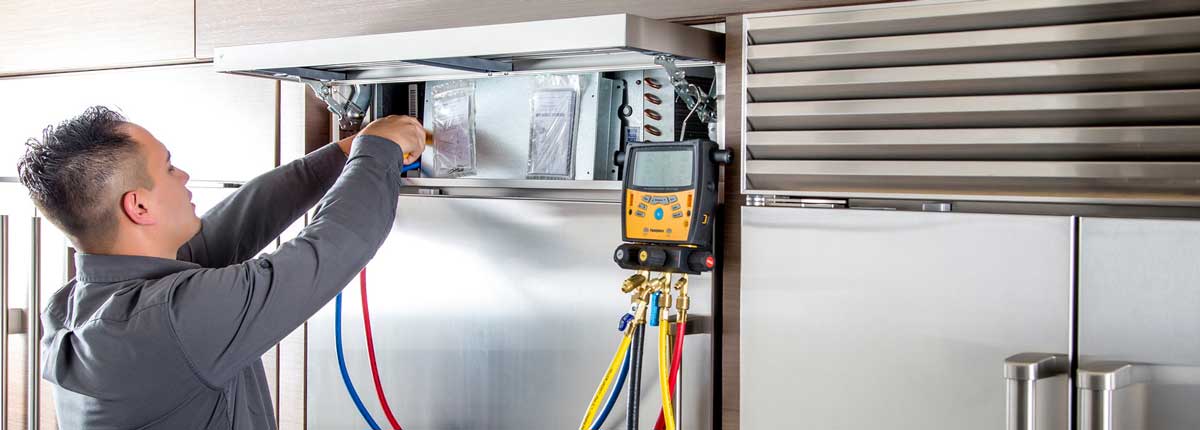
Your fridge is the workhorse of the house, diligently keeping food cool or frozen all the time, all night. So it's no surprise that troubles might take place from time to time. You may be pleased to learn that fridge repair is not exclusively delegated the professional service technicians. Owners can fix typical fridge issues by utilizing basic tools (like a manual screwdriver and cordless drill) and with parts that are easy and affordable to acquire.
01 of 04
Leaking Fridge
Water on the kitchen floor? What about swimming pools developing on the inside floor of the refrigerator? This common problem is usually simple to fix, as there are only a few possible perpetrators: your door gaskets, defrost drain and drain pan.
02 of 04
Refrigerator Is Too Loud
Does your fridge make noise? Yes, refrigerators do make noises. Anticipated and SERVICE ΨΥΓΕΙΩΝ ΑΘΗΝΑ regular are noises of ice clattering into the storage bin and refrigerant hissing through lines. But buzzing, humming, whirring and vibrating noises are not typical, so try these repairs:
Level the Fridge: Your fridge has leveling legs that likely were embeded in place years earlier. As your home and cooking area flooring age, the fridge needs to sometimes be leveled once again. Use a wrench to turn the legs. It is advised that doors be able to shut by themselves when opened halfway (45 degrees). So, adjust the legs with the door midway open and keep changing up until the door swings shut.
Place Refrigerator on Soundproofing Mat: Special dense foam mats can be purchased online which go under the fridge, minimizing vibration that goes through the legs onto the flooring. This repair is particularly valuable if individuals living below you complain about fridge noise.
Adjust Icemaker: If your refrigerator discharges a buzzing noise every 10 to 15 minutes, with each buzz lasting only about five seconds, the icemaker might be trying to make ice however can not because the water is shut off. Stop the buzz by turning the icemaker off (with the on-off switch) or raising the ice sensor arm. Check that the supply worth is switched on (normally found under the sink). Likewise, inspect behind the refrigerator to see if the line is still connected to the refrigerator and is not leaking.
Replace Evaporator Fan Grommets: You can access the evaporator fan inside your freezer compartment. Disconnect the system, then remove all products and racks from the freezer. With a screwdriver, open the access door at the very back of the freezer and get rid of. The fan is responsible for dispersing air from the coils to maintain an even temperature level. This fan might be rattling due to worn or damaged rubber grommets. Affordable grommets are readily available online.
03 of 04
Refrigerator or Freezer Are Not Cold Enough
Is the milk ruining faster than it should? When you put your hand on the cake rack, does it not feel as cold as it should?
Change Temperature Settings: While this fix may appear obvious, keep in mind that it might have mistakenly been gotten used to a higher temperature level. You will discover this thermostat inside the fridge.
Examine Door Gaskets: Door seals require to form a perfect seal in order to keep in all of the cold. Initially attempt cleaning the seals with warm water, then using a thin layer of petroleum jelly. If this does not work, change the seals.
Look for Blockage: High products might have been placed in the refrigerator or freezer, blocking the circulation of cold air. Move all tall products away from the back.
Clean Condenser Coils: Filthy condenser coils will decrease your system's cooling abilities. For homes that have pets or a considerable quantity of traffic, it is suggested that you clean the coils every two to three months.
Move the fridge away from the wall and unplug it. Remove the grille at the bottom, typically by pulling straight back. http://query.nytimes.com/search/sitesearch/?action...ΚΕΥΗ ΨΥΓΕΙΩΝ It needs to unsnap. Use a family or shop vacuum with a long attachment thin enough to reach beneath. Thoroughly vacuum around the coils, enjoying your progress with a flashlight. If you press too strongly, you risk snapping a coil-- an expensive repair needing a specialist.
Add More Items: Freezers and fridges that are short on food products (especially large containers of liquids) do not stay cool in addition to those loaded with more products, which retain and keep the cold.
04 of 04.
Refrigerator Is Too Cold or Freezes Over.
Yes, you want your fridge and freezer to be cold. However is it getting to be too much of a good thing? After you have actually tried readjusting the thermostat, here are some other repairs:.
Check the Damper: Cold air may be constantly hurrying into the compartment, unchecked by a damper stuck in an open position. The damper lies between the cooling and freezing compartments and is controlled by the thermostat.
Replace the Thermostat: Refrigerator thermostats are quickly accessible online for your specific design number.
Disconnect the fridge first, then open the cooling compartment.
Utilizing a Phillips head screwdriver, get rid of the cover situated at the top of the cooling compartment (inside the box). Generally, there disappear than a number of screws holding this in.
Using the exact same screwdriver, get rid of the plastic control assembly cover.
Raise the cover down carefully, as it is attached to the refrigerator with wires. The thermostat will be a bronze-colored metal device connected to copper wires and a plastic capillary tube.
At this moment, you might find it practical to take a photo of the wire arrangement so that you can duplicate it with the new thermostat. Pull the wires right out by hand and remove television.
The new thermostat installation is a one-for-one replacement: two black wires that are doubled up and attached to one terminal; one orange wire; and one green ground wire.
Attach the capillary tube.
Change the assembly covers with their matching screws.
| Комментировать | « Пред. запись — К дневнику — След. запись » | Страницы: [1] [Новые] |


