Как сделать текстильную розу - МК |

Step 1 – Cut fabric into strips
I fold the fabric by matching the selvedge edges, then folding again into quarters. This gives me a long skinny strip that is easy to cut with rotary cutter, clear ruler and cutting mat. If you do this with scissors, that works too. It just takes longer. My fabric is 45″ wide so after folding it is around 11″ wide – an easy size to manage with my cutting tools.
For this sample I cut the fabric into 3″ strips. I think 2.5″ is my personal preference. Try your own sizes to see what you prefer. After cutting you’ll have a 3″ by 45″ strip. Cut off the selvedge ends.

Step 2 – Shape the strips into petals
Fold the strips into 4ths, then 3rds again so they are around 4″ wide, then cut the corners off 2 top edges to shape like a wide rose petal. This will give a more realistic look to your rose. I also like to cut the first 3 petals off the end which will be the inside of the rose. This keeps the flower center from protruding up too much on the finished rose. You can also shorten the first few petals near the center if you like.


Step 3 – Melt the edges
Here is the secret step. Melting the edges of polyester seals it from fraying, and also creates a little curl and darkening on the edge of the rose petal for a realistic look.
Just hold the fabric strip near the candle flame and melt all edges of the strip – including the bottom and sides. I could wax poetic for an hour about all I’ve learned about this step. But it’s easier if you experiment a little bit yourself and see what works best for you. Here are a few tips from my experience – use them or create your own preference:


Step 4 – Gathering the strip
After the strip is cut and melted, you just gather the bottom edge, that’s the side that doesn’t have the bumpy petal shapes.
I’ve done this 3 ways. All of them work. Choose the one you prefer

A note on gathering and bloom size
Gather that 45″ strip down to anywhere between 10″ and 20″. The more you gather, the more open your rose would be. Below are photos of the same 45″ strip next to a ruler. One is gathered around 10″ and the other is more like 20″. After rolling them up, the 10″ gathered strip makes the open bloom on the right. The 20″ gathered strip makes a more closed bloom on the left. Play around with different gathered sizes to see what you like best. I have found that leaving the center side of the strip loosely gathered gives me a nice “bud” for the rose center so it looks more like a real rose. As with the other steps – experiment to find what you like best.


Step 5 – Roll and sew
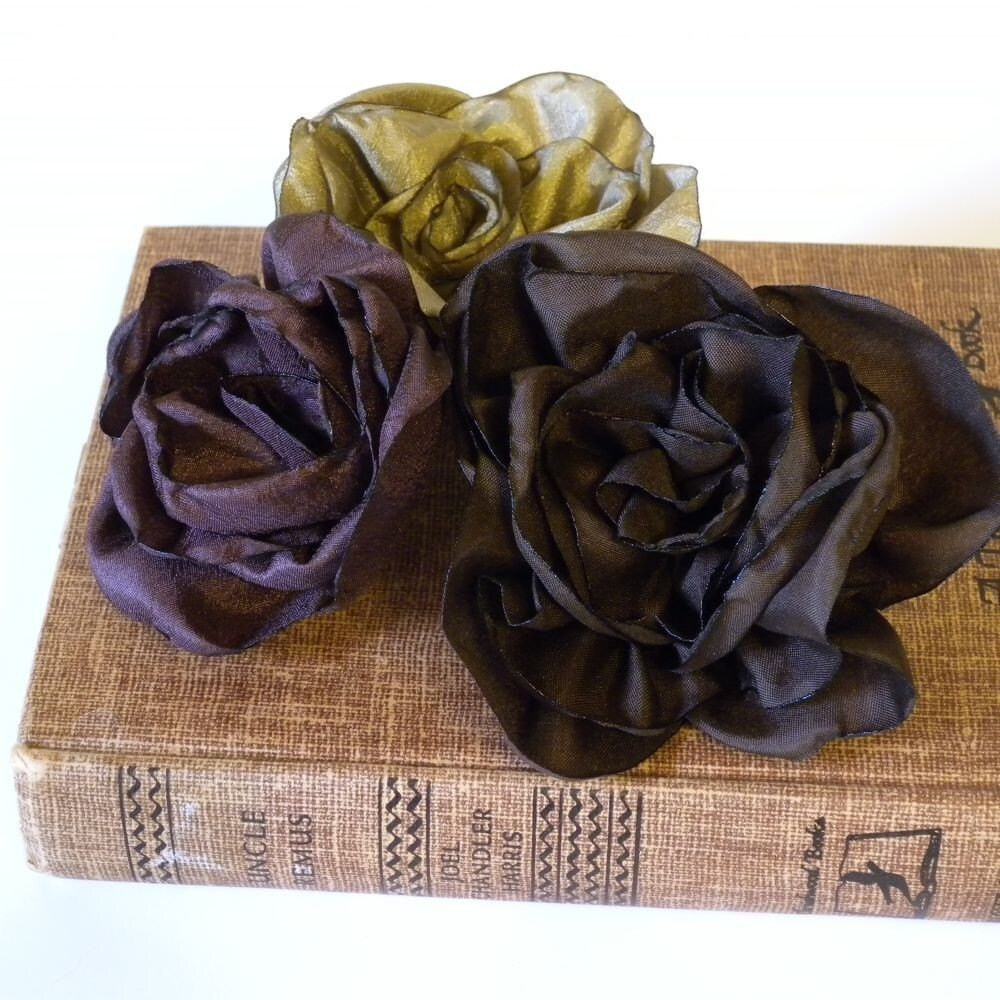
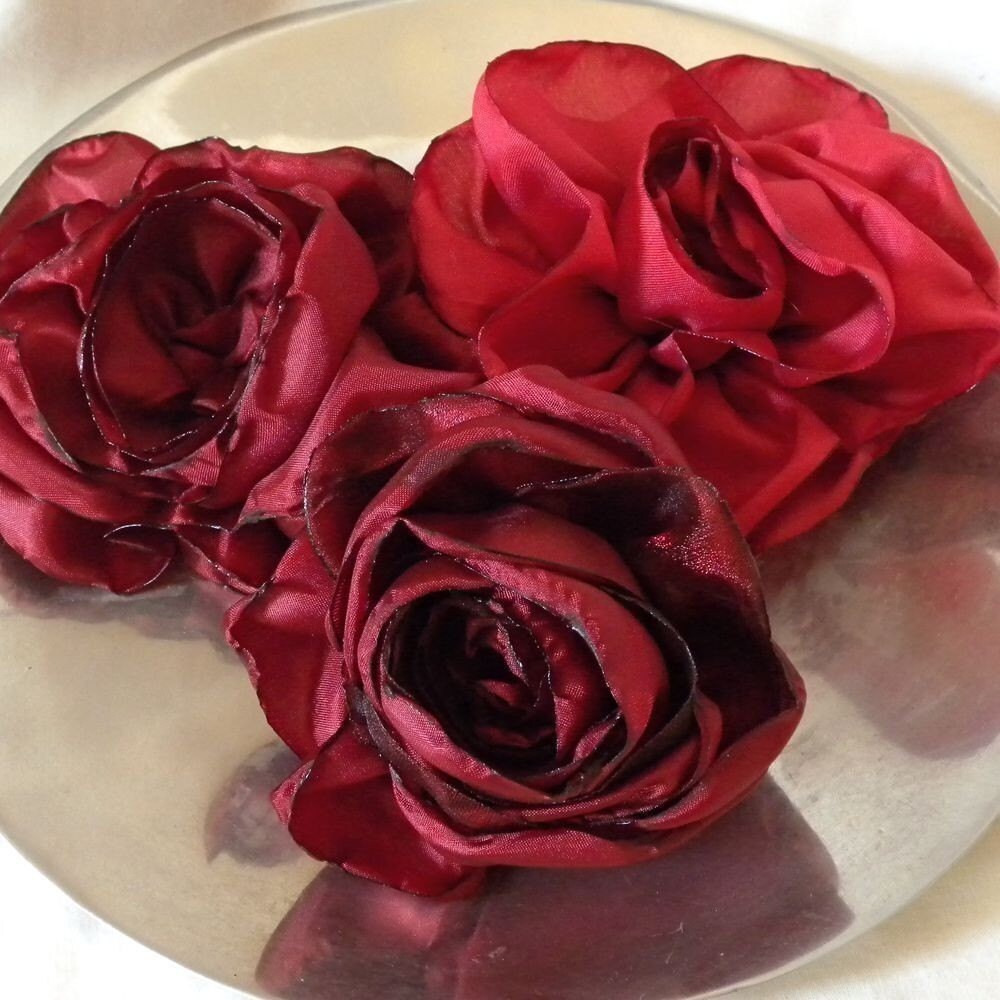
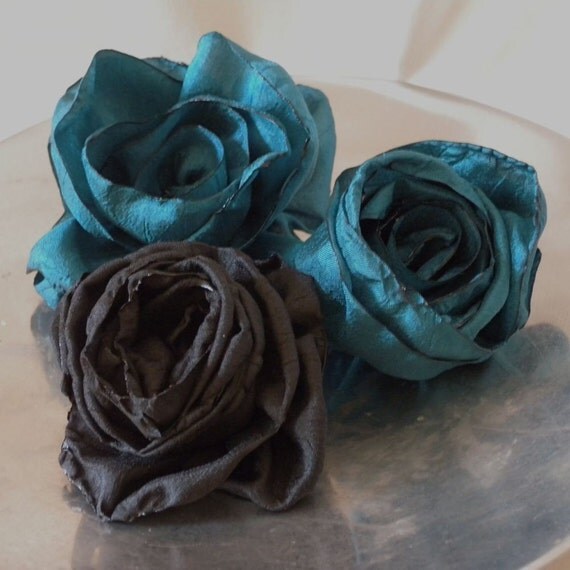
Now you just roll up the gathered strip and hand sew it together at the base. I usually roll the strip around my finger and just keep the basted edge lined up as I roll it. Be sure the fabric doesn’t slip around and make the center part too high. Use a strong thread to tack several stitches at the base which will hold the rose together. To make the rose more realistic – look at how the petal edges curl, then roll the rose so the petals curl towards the outside. You can always do some touch up melting if you find any fraying edges, or if you want to curl some petals. You can also use your needle and thread to “soft sculpt” the rose and position centers if you are feeling ambitious.

Источник: http://duhbe.com/blog/2009/07/how-to-make-duhbe-fabric-roses/
Серия сообщений "Цветы из лент":
Часть 1 - Розы из атласных лент
Часть 2 - Роза из шелковой ленты - Видео МК
...
Часть 14 - Цветы из лент
Часть 15 - Венок из роз
Часть 16 - Как сделать текстильную розу - МК
Часть 17 - Складываем розу - МК
Часть 18 - Бутоны и листочки из лент
...
Часть 33 - Розочки
Часть 34 - АНЮТИНЫ ГЛАЗКИ: ЦВЕТЫ ИЗ ЛЕНТЫ СВОИМИ РУКАМИ
Часть 35 - ВЫШИВКА ЛЕНТАМИ
| « Пред. запись — К дневнику — След. запись » | Страницы: [1] [Новые] |


