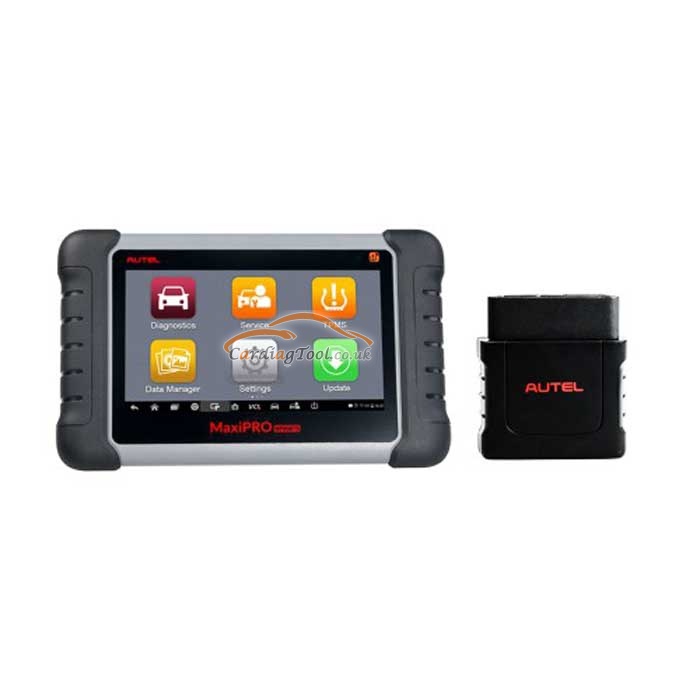
Обзор диагностического инструмента Autel MaxiPRO MP808TS: полностью оправдывает свою цену |
|
Метки: MaxiPRO MP808TS Scanner |
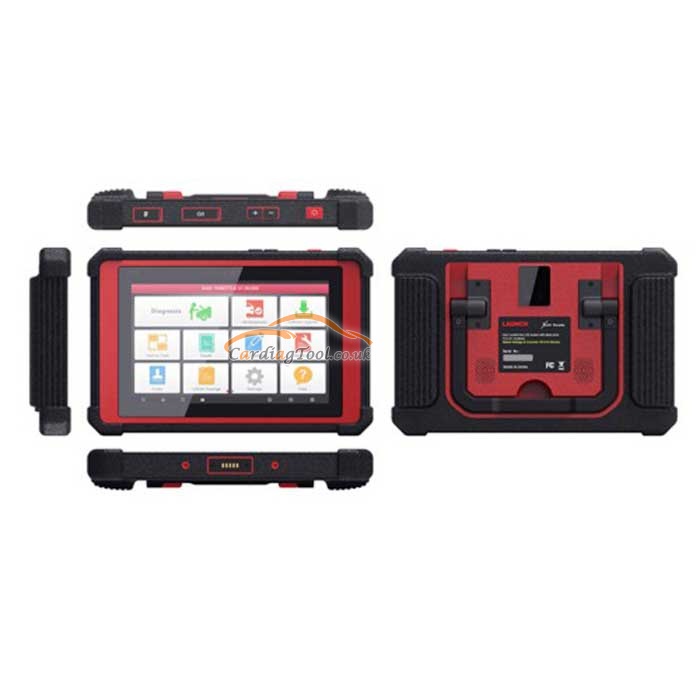
Launch X431 PAD V All Maintenance Reset Special Functions Instruction |
|
Метки: X431 PAD V |
Autel MK808 лучше, чем Autel MX808 для клиентов? |
Source:http://blog.cardiagtool.co.uk/is-autel-mk808-better-than-autel-mx808-for-customers/
|
Метки: Autel MK808 |
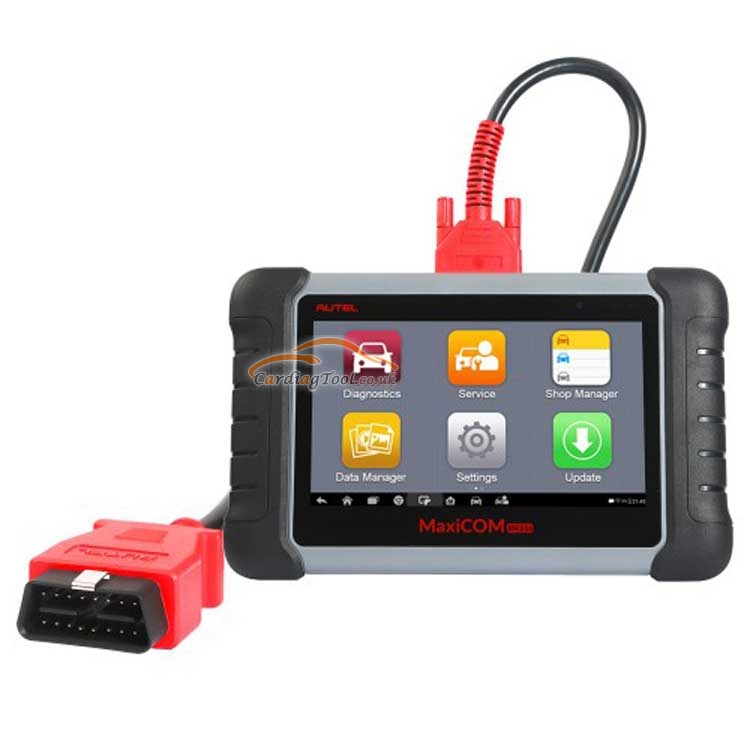
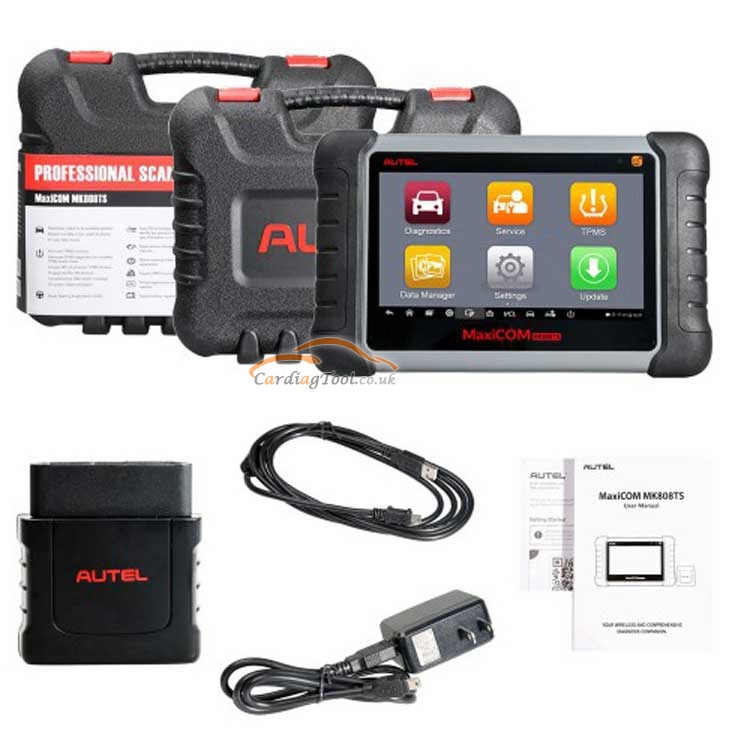
Обзор Autel Maxicom MK808TS: полный инструмент программирования TPMS и датчиков |
|
Метки: Autel Maxicom MK808TS |
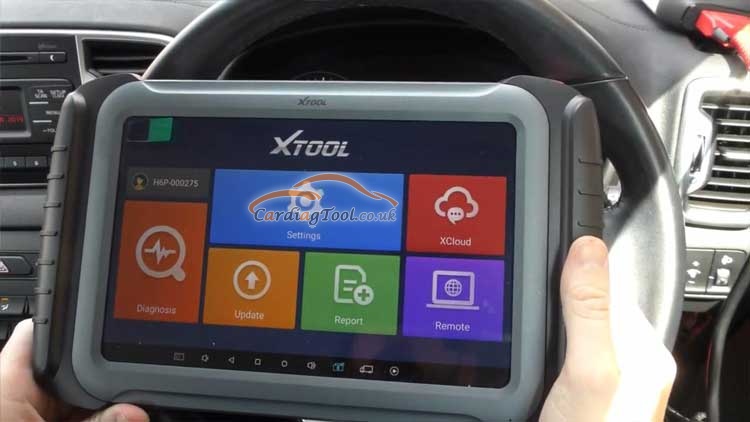
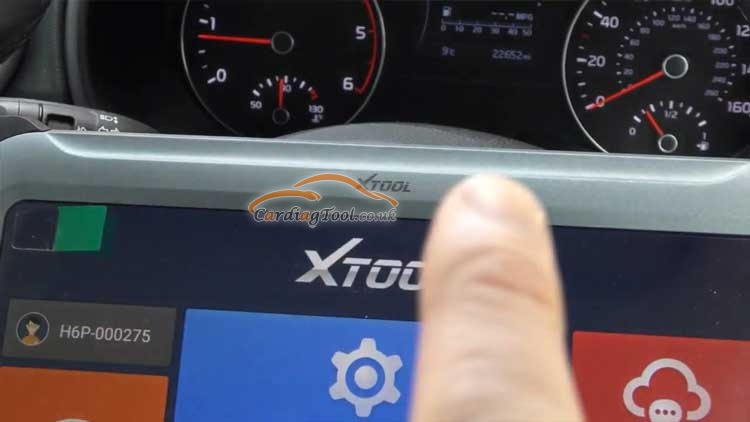
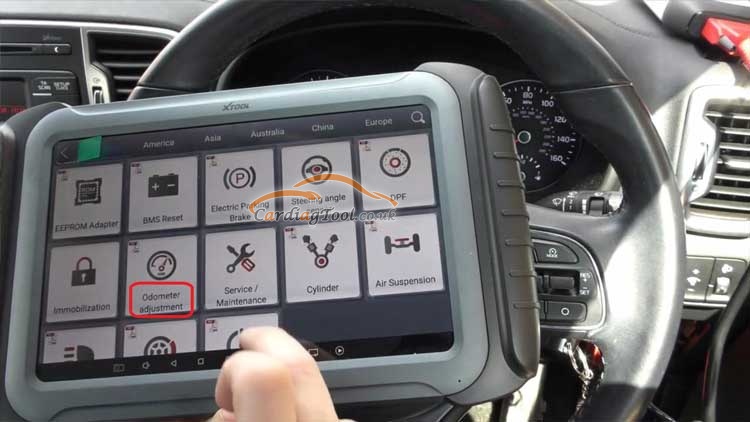
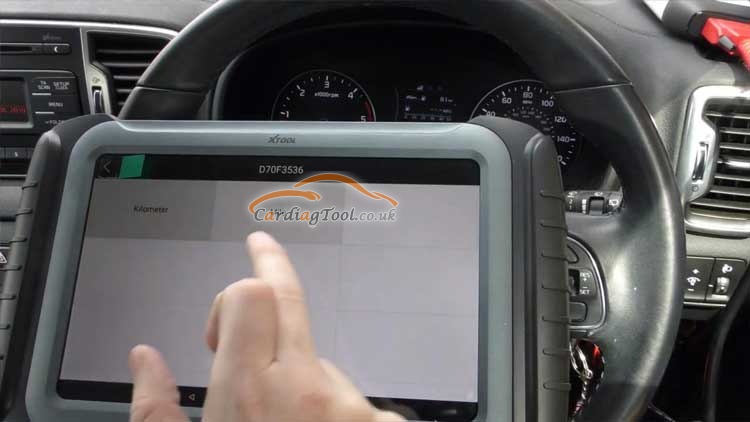
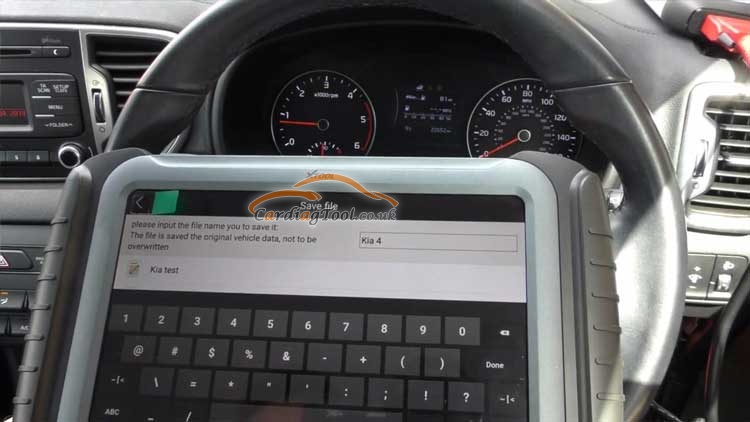
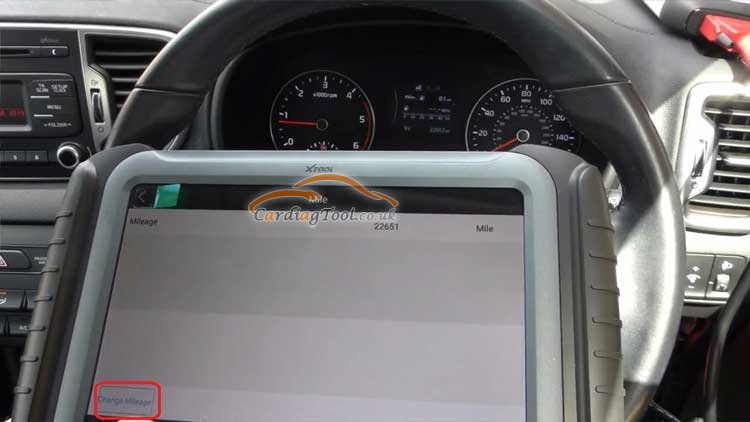
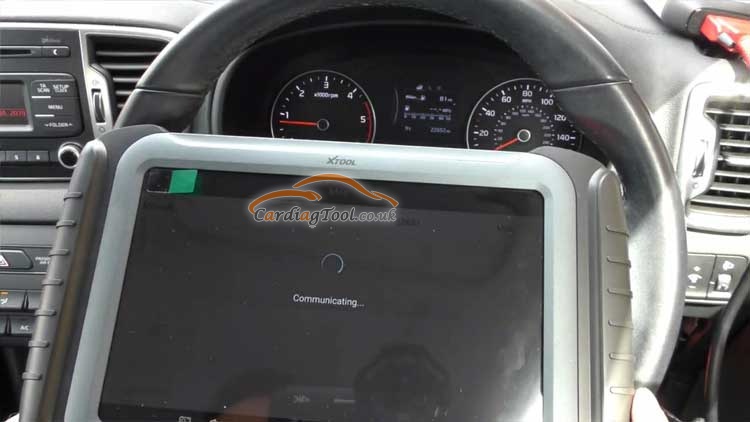
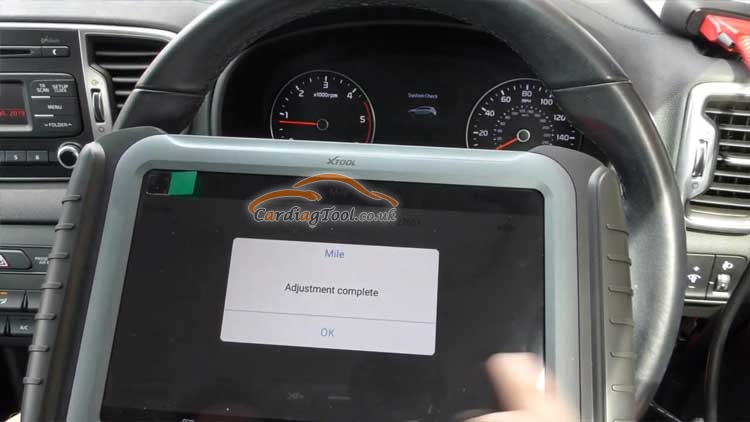
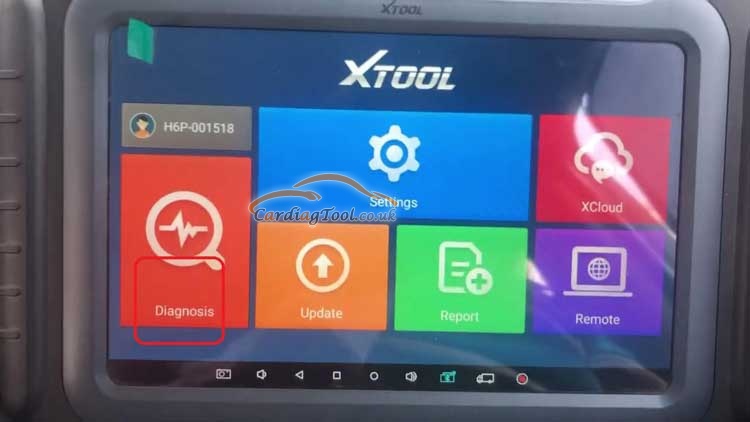
Xtool A80 Pro Kia Sportage Учебное пособие по коррекции одометра |
|
Метки: Xtool A80 Pro |
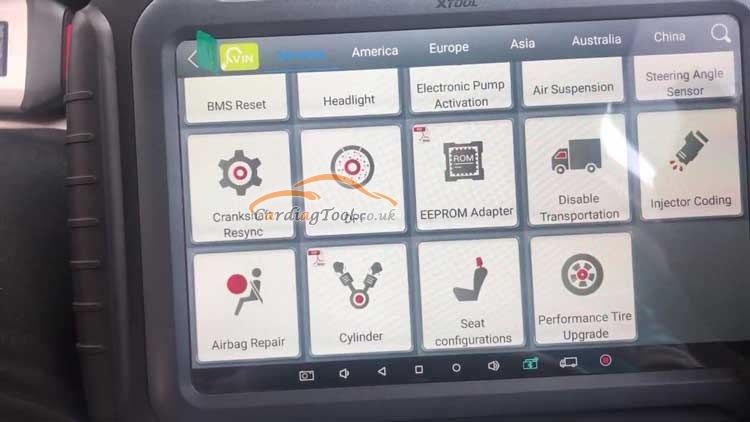
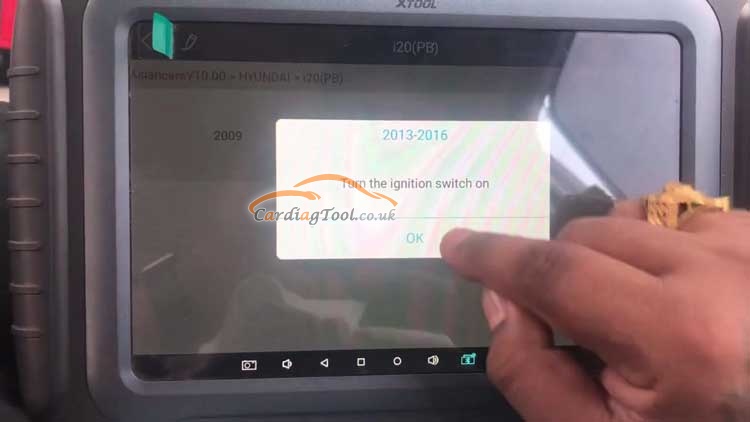
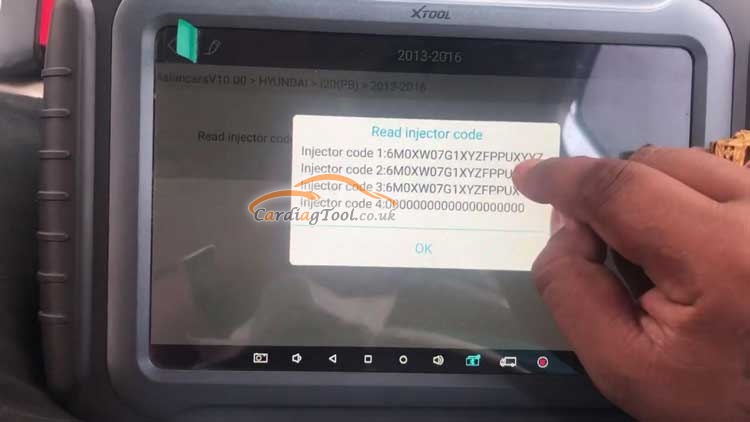
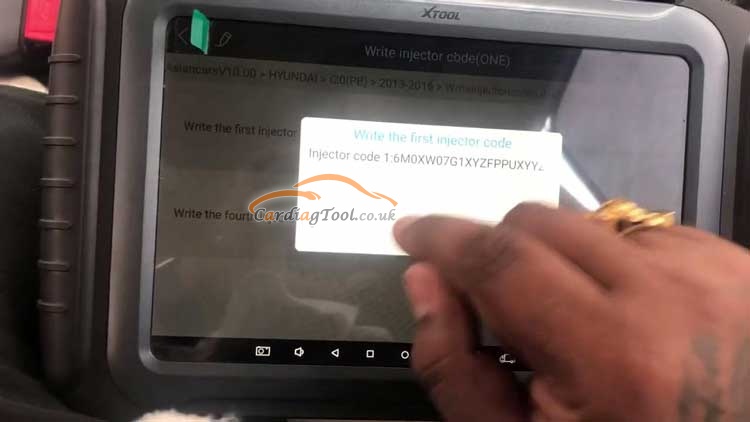
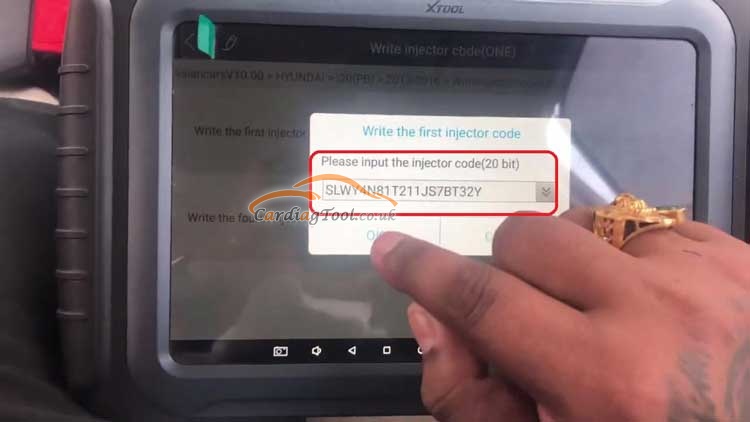
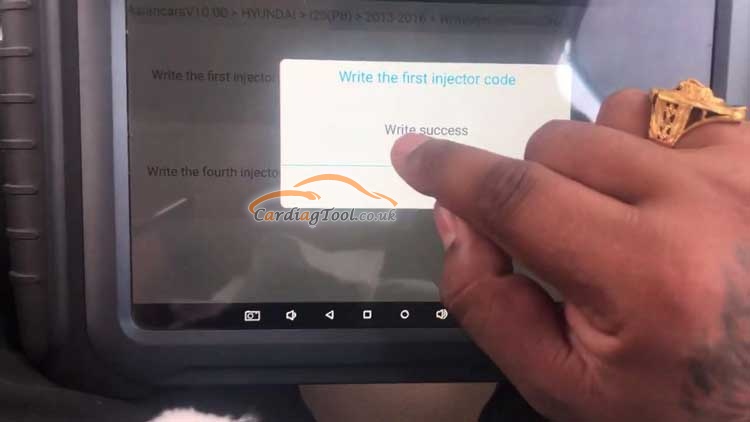
Как использовать Xtool A80 Pro для кодирования форсунок для Hyundai Xcent? |

|
Метки: Xtool A80 Pro |
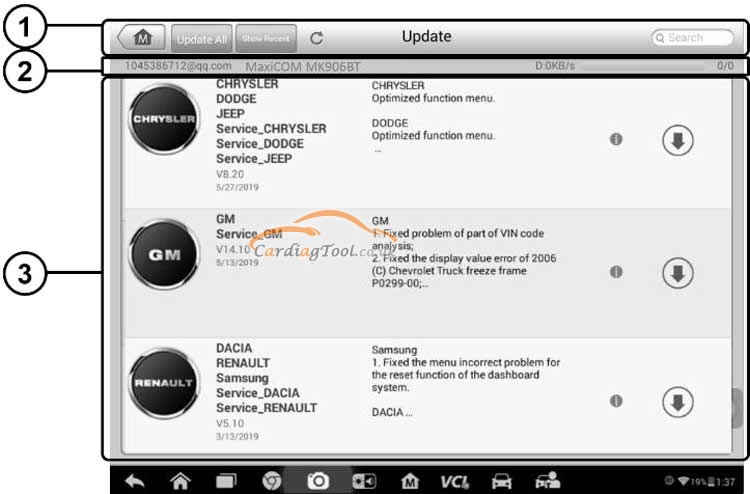
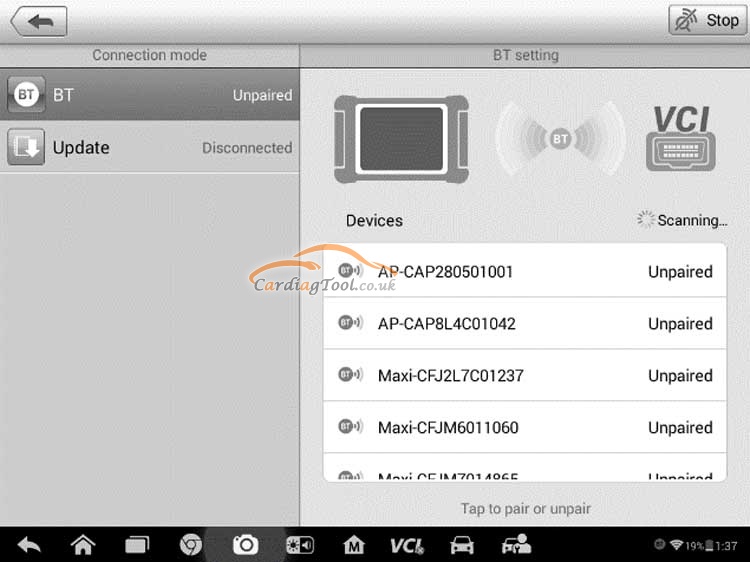
Руководство по обновлению программного обеспечения и управлению VCI Manager для Autel MaxiCOM MK906BT |
|
Метки: Autel MaxiCOM MK906BT |
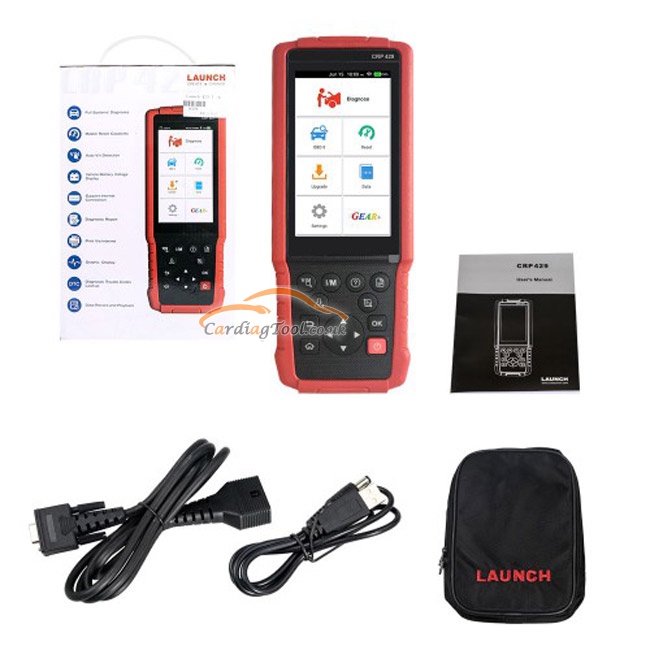
Запустить обзор читателя кода CRP429: стоит ваших денег или нет? |
|
Метки: CRP429 |
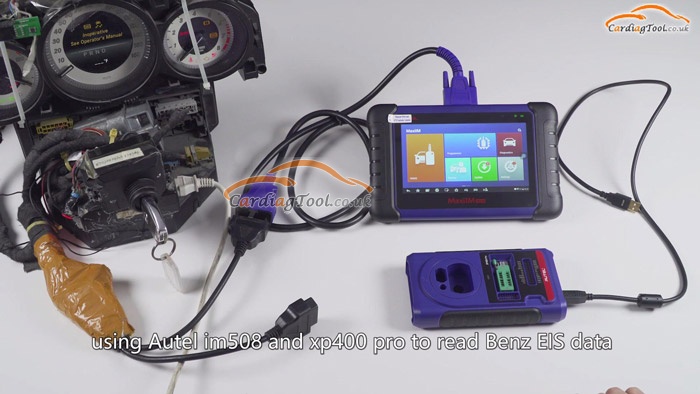
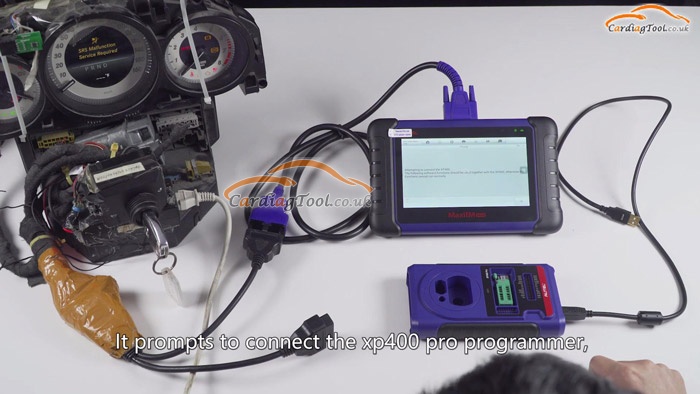
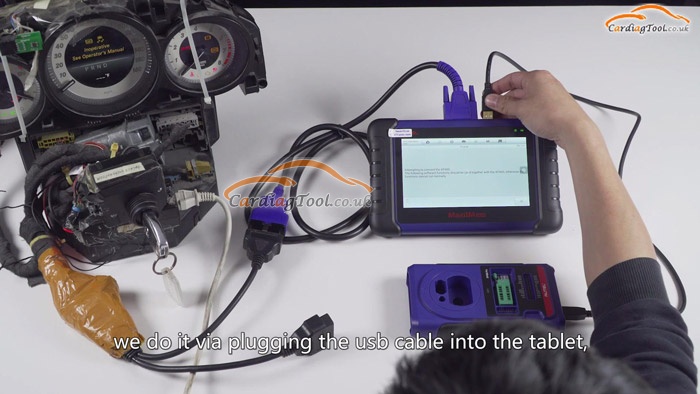
Как использовать Autel IM508 и XP400 PRO для чтения данных Mercedes Benz EIS? |
|
Метки: Autel IM508 |
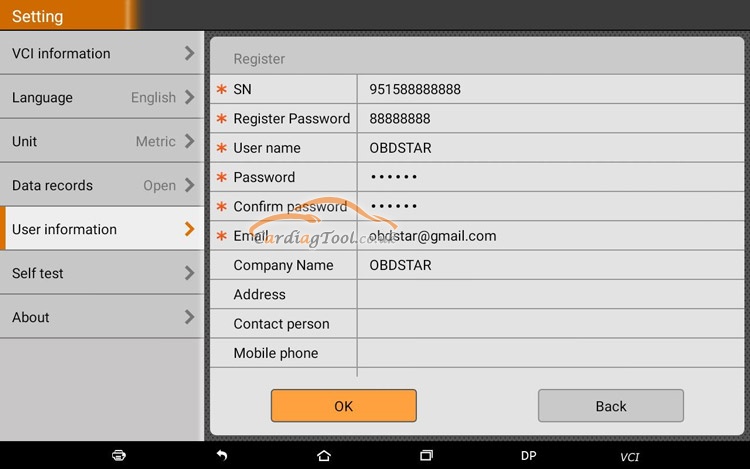
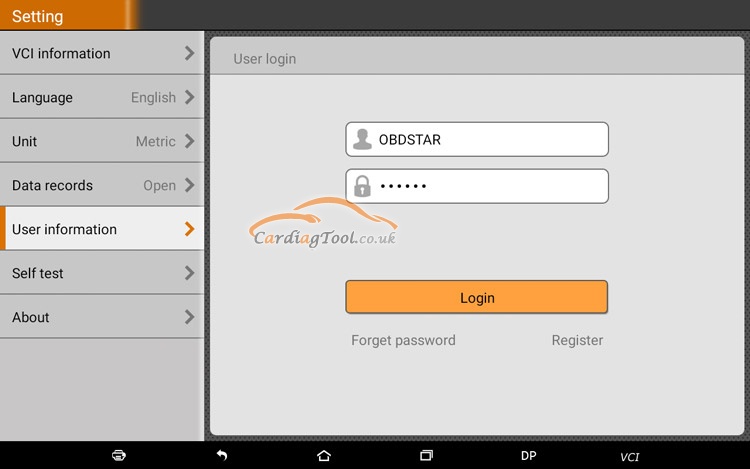
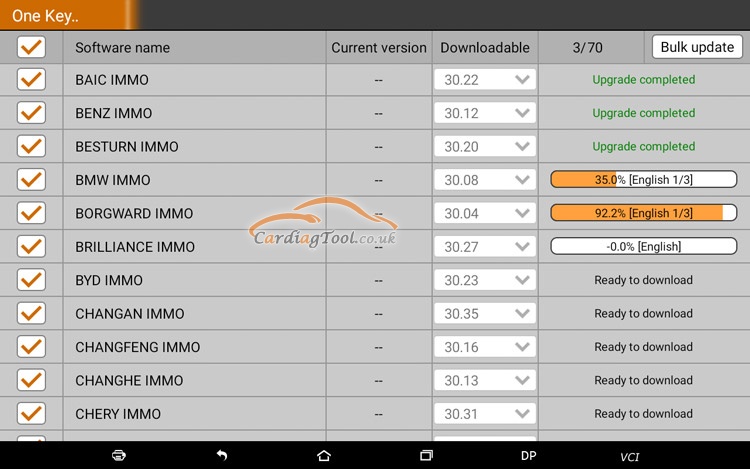
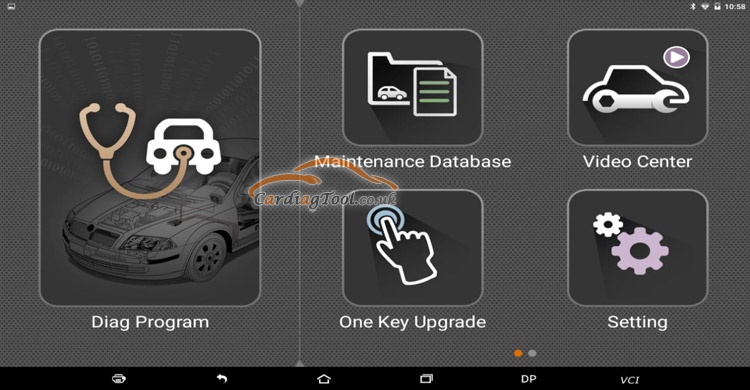
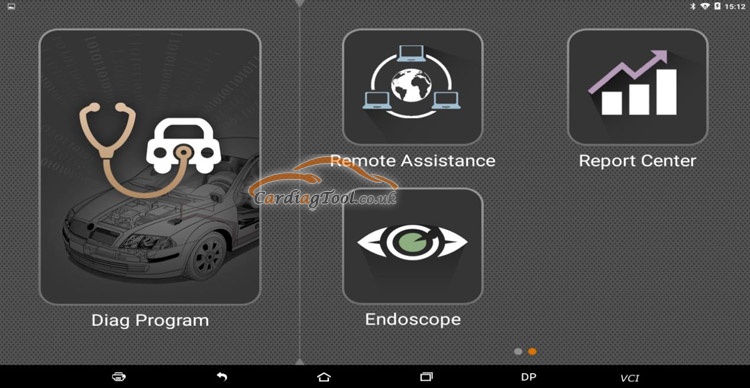
Как зарегистрировать и загрузить диагностическое программное обеспечение для OBDSTAR X300 DP PLUS |

|
Метки: OBDSTAR X300 DP PLUS |
Как устранить ошибку отображения значков приложений на планшете XTOOL PS90 Pro |
|
Метки: XTOOL PS90 Pro |
(Решение достигнуто!) Планшет Autel MK908P «Нет сообщения связи» |
|
Метки: Autel MK908P |
Знакомство со всеми функциями и особенностями нового инструмента Xhorse Key Tool Plus |
|
Метки: KEY TOOL PLUS |
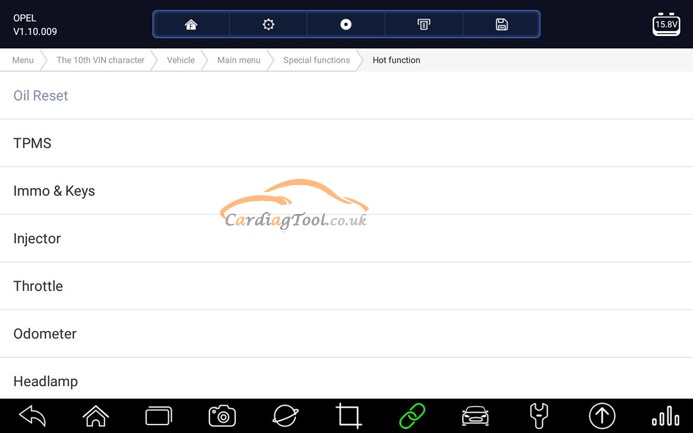
Как выполнять кодирование, программирование и горячие функции с Foxwell GT60 Plus |


|
Метки: Foxwell GT60 Plus |
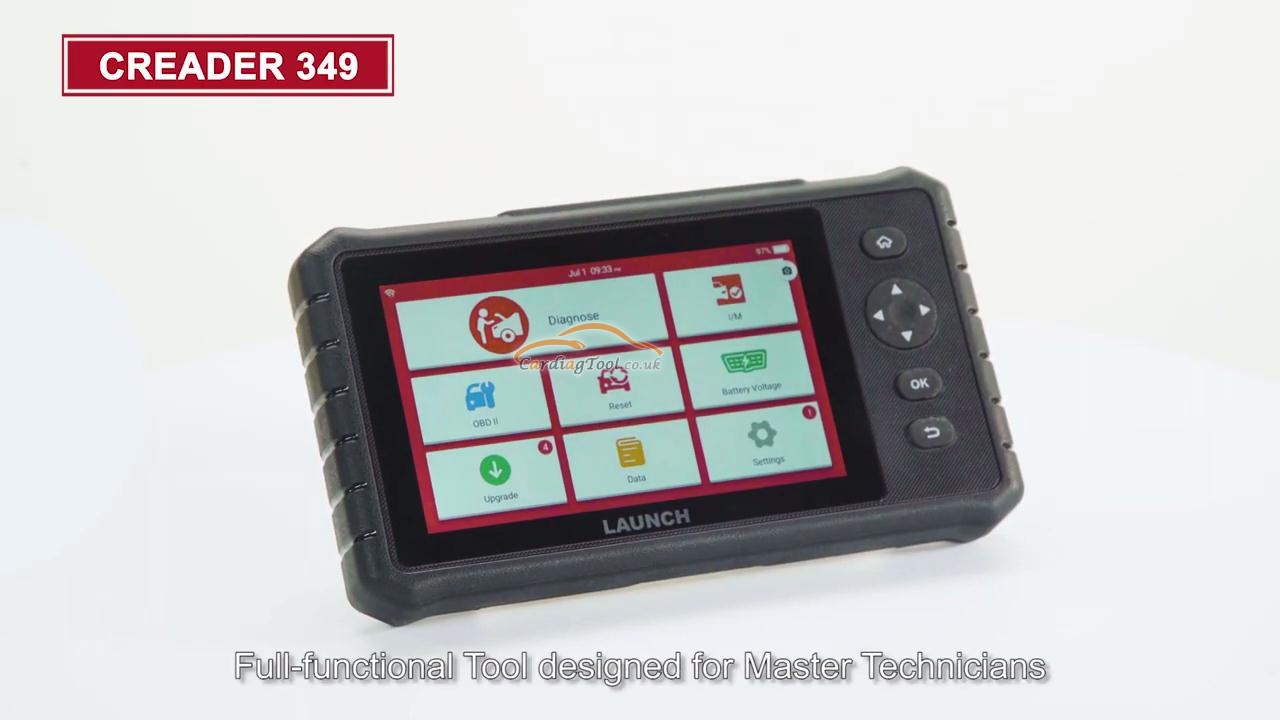
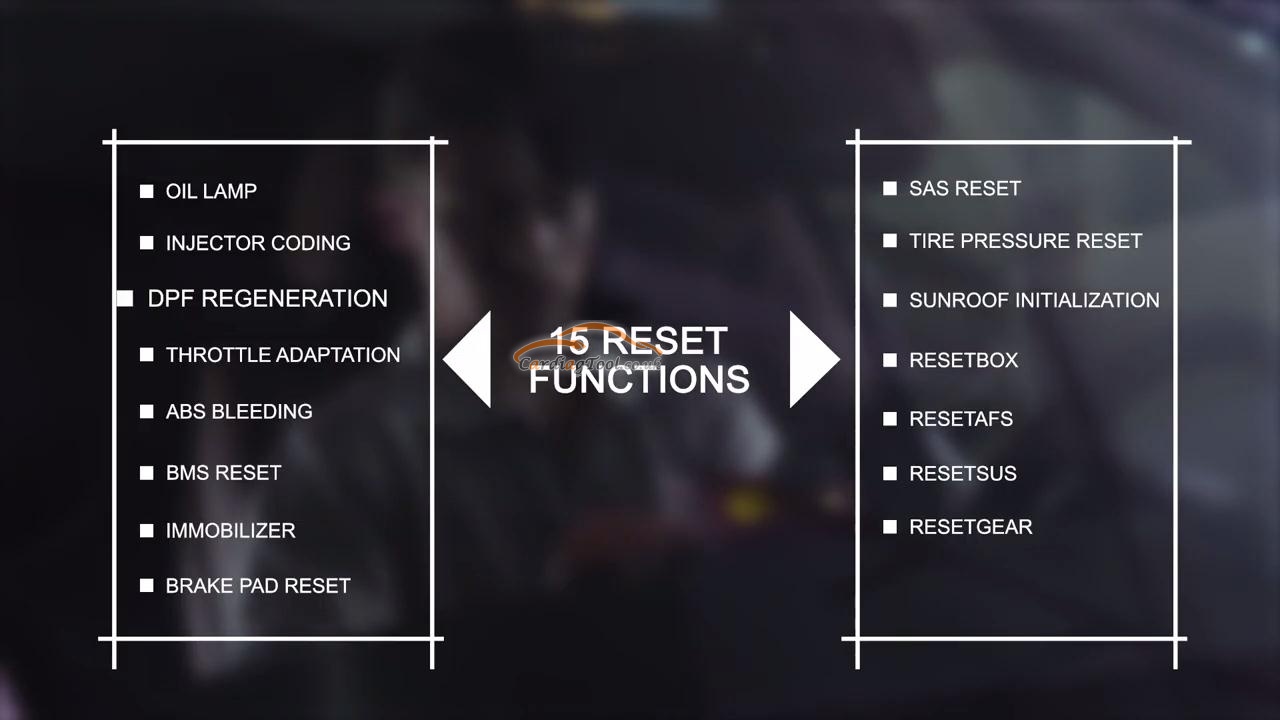
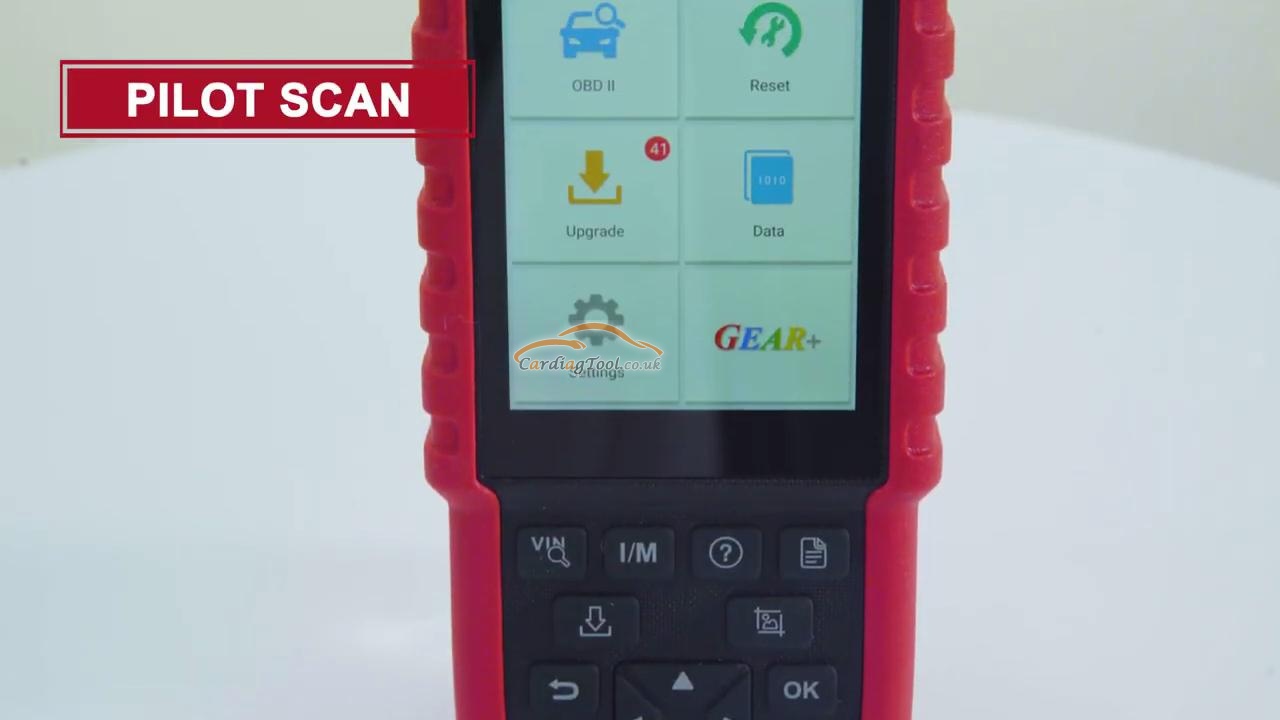
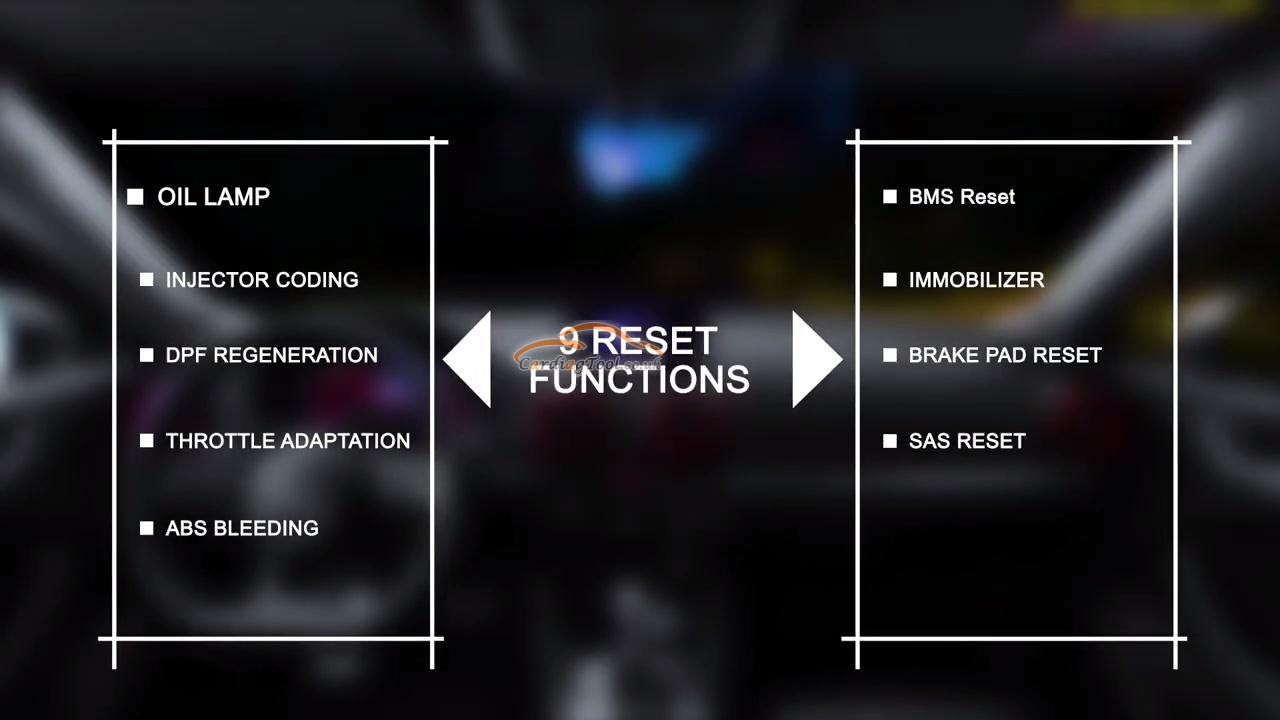
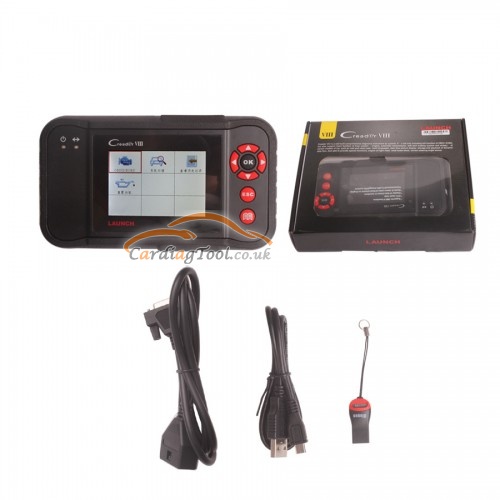
Всесторонний обзор профессиональных сканеров OBD2 от LAUNCH 2021 |
 c
c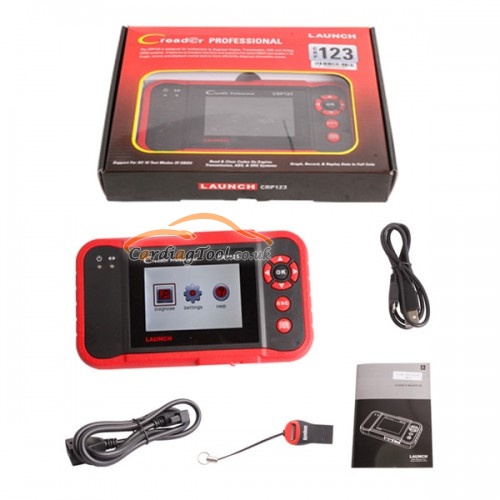
|
Метки: LAUNCH CODE READERS |
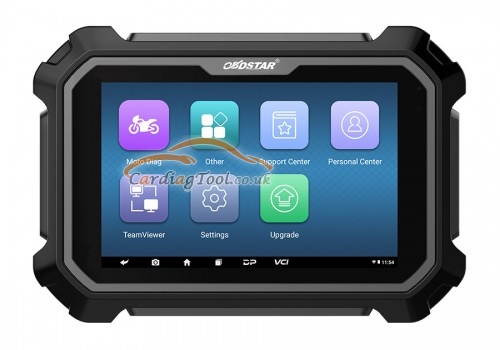
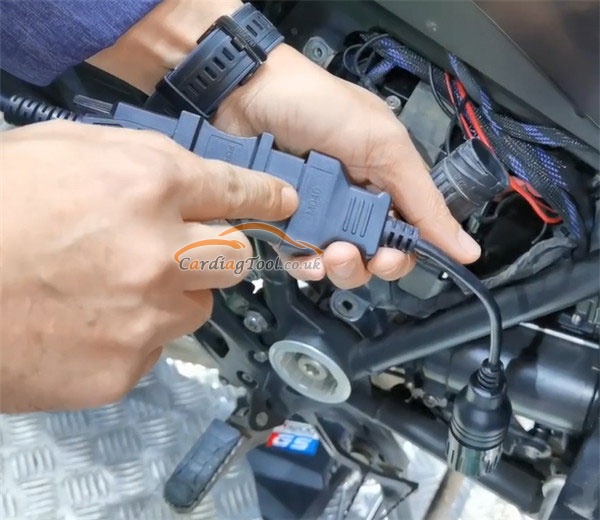
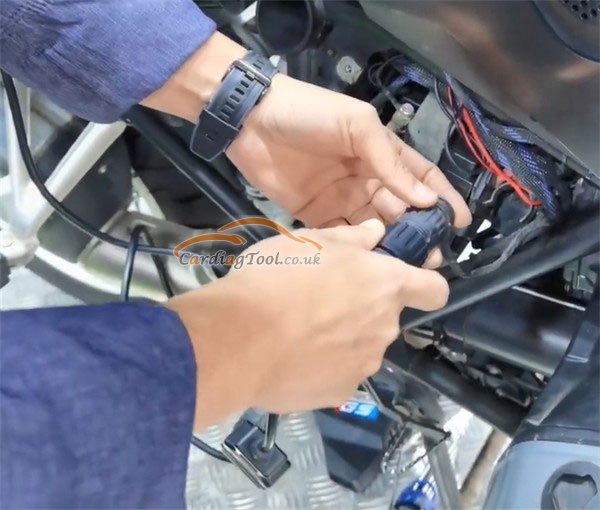
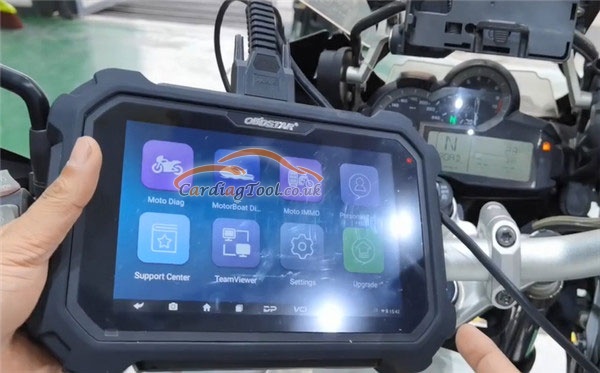
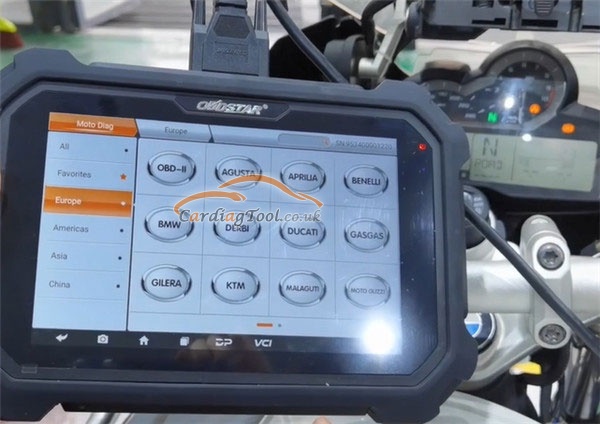
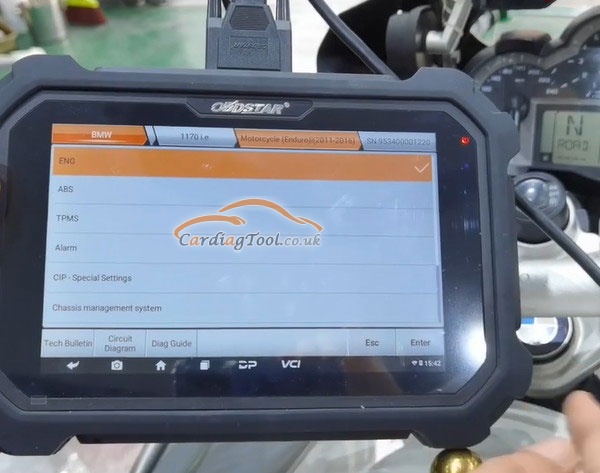
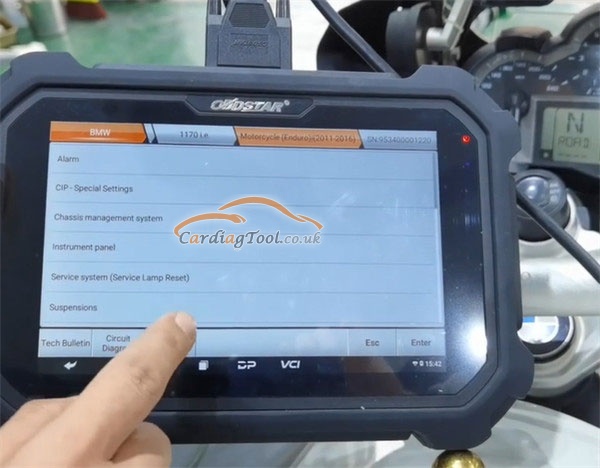
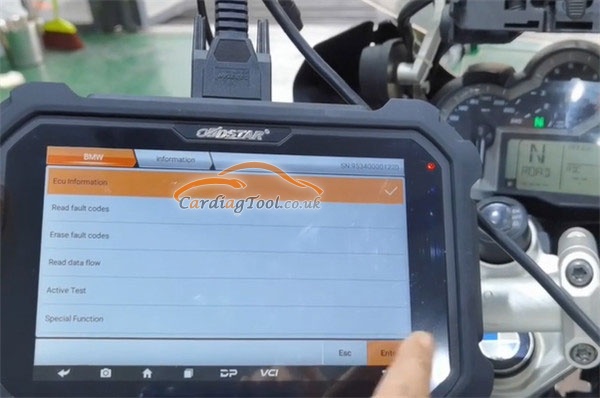
OBDSTAR MS80 Мотоциклетный сканер Подробное описание и руководство по эксплуатации |
|
Метки: OBDSTAR MS80 |
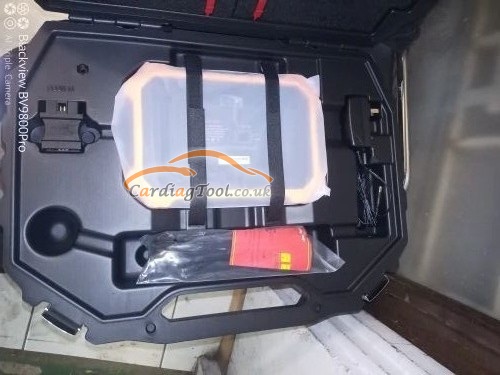
OBDSTAR X300 DP Plus с SIM-картой ключа Все ключи потеряны для TOYOTA / LEXUS |
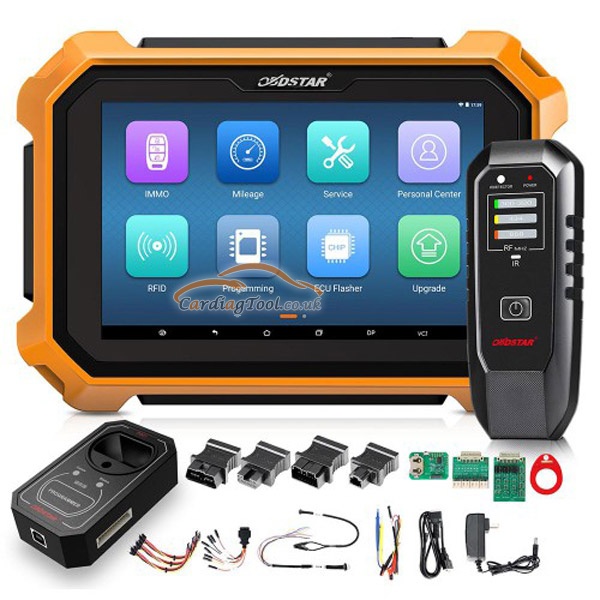
OBDSTAR X300 DP Plus, as the upgrade version different from X300 DP PAD, has Built-in VCI Box which can help make communication more stable, totally no worry to lose VCI on your cars ever.
Powerful enough as it is to work with OBDSTAR Key SIM 5 In 1 Key Simulator, it can generate simulate card and add smart keys whenever you want, especially in the all keys lost situation. You will find it worthwhile to put your money on these tools.
Next, let’s come to check more details of X300 DP PLUS.
Software advantages in IMMO: 1. EEPROM 2. Renew Key 3. Key programming 4. Remote programming
With special features like Switch Activation Function, ECU Clone(Now only for Volvo/GM/Peugeot/Citroen and we are adding more car models.
With special functions like TPS/ABS/EPB/DPF/TPMS/SRS Reset, Fuel Injector, Gear Learning, Battery Matching, ECU Programming, Throttle Matching, Oil/service reset, Steering Angle Reset/Remote Manual Setting, Electronic Steering Reset, CVT Learning/value Reset.
All those stuff concerning with this tool deserves your attention!
All right. Let’s get right to the focus of this tech article.
How to use OBDSTAR X300 DP PLUS to generate simulated card?
Please refer to test report about OBDSTAR X300 DP Plus makes simulator key for Toyota A8 type all keys lost via Key SIM.
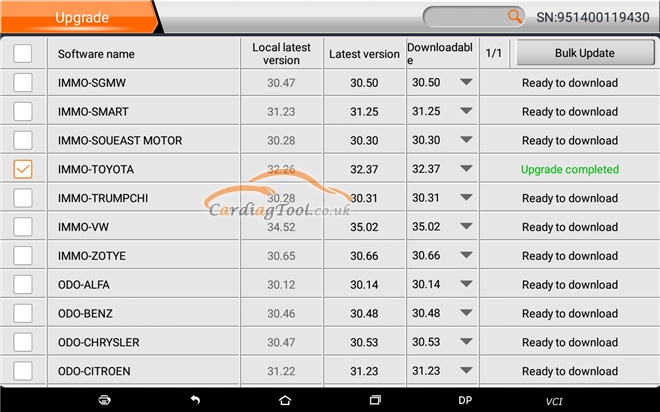
Before operation, update OBDSTAR X300 DP/ X300 DP Plus / X300 Pro4 TOYOTA to the newest version.
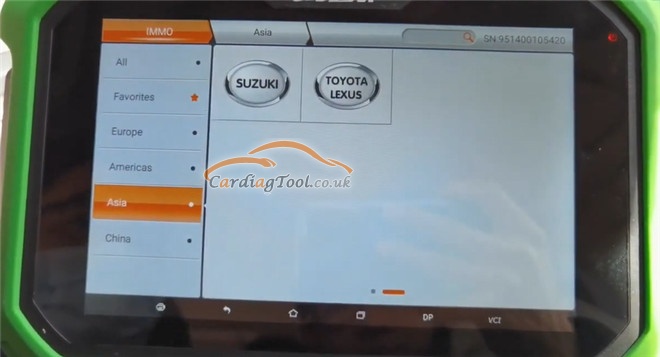
Connect X300 DP Plus with the Toyota vehicle
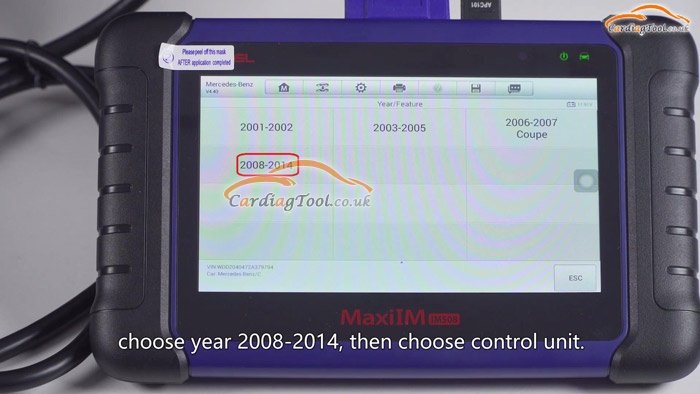
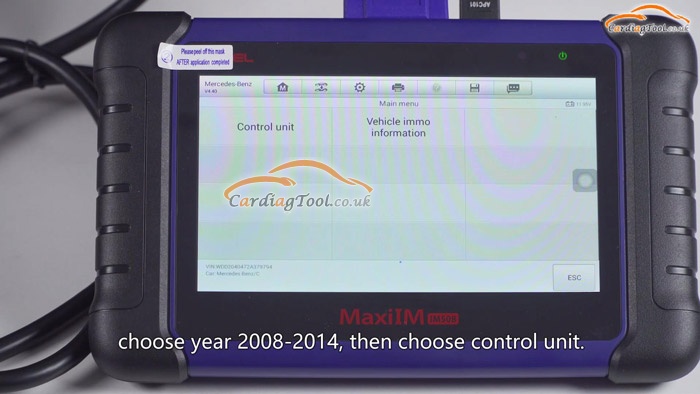
Select IMMO-> Asia TOYOTA LEXUS-> TOYOTA/LEXUS V32.36-> Manual Select system-> PROXIMITY-> TYPE 5 (ALL Smart KEYS LOST)
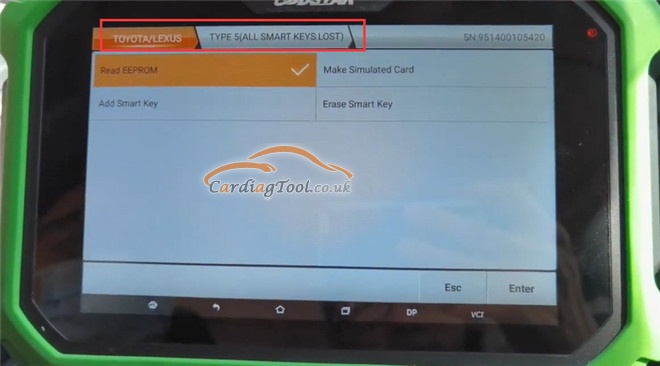
Step 1: Read EEPROM
Read the on-screen instruction -> read out the original EEPROM data and backup
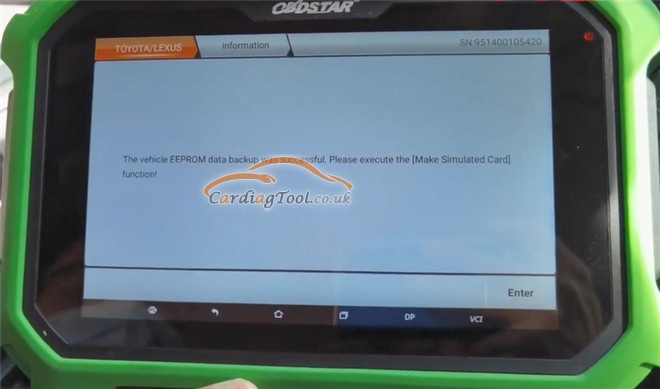
Step 2: Make simulated card
Select “Make Simulated Card” and ensure the internet connection is normal.
Read the function instruction carefully can make sure the simulated card is fully charged.

Select the vehicle EEPROM data has been saved in step 1 and press “Enter” to continue
Confirm you have a Key SIM simulated card in hand and connect it to X300 DP Plus
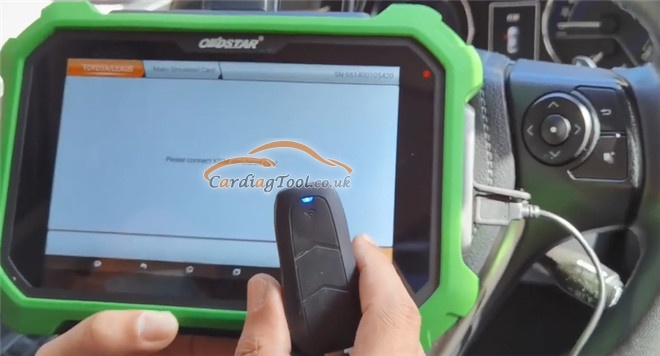
It will generate the A8-type simulated card in 1 or 2 minutes.
Generate the simulated card successfully
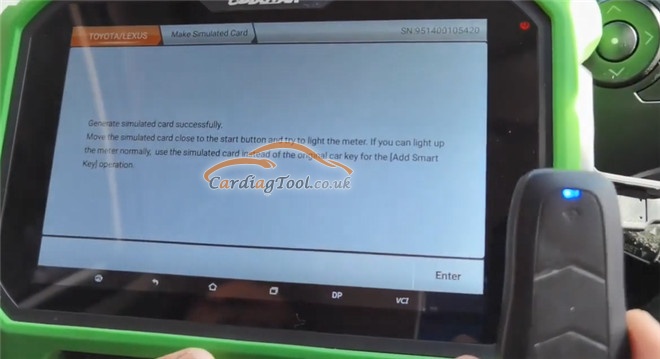
Then put the OBDSTRA Key SIM close to the start button of the car and try to light the meter.
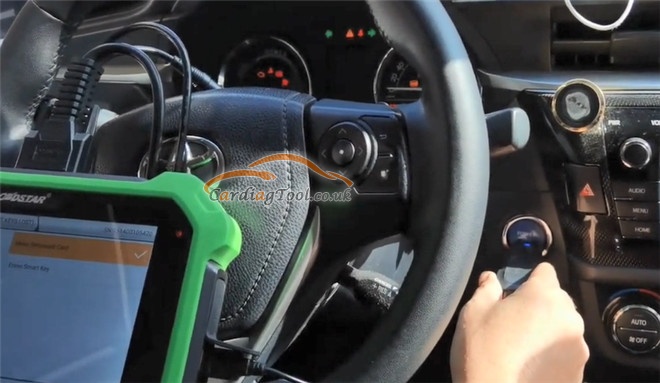
When starting the car, ensure to stamp down on the brake pedal, and at the same time, press the ignition switch of the car. Very important stuff!
If the dashboard displays successfully like the below picture, that declares the victory of this operation. Congratulations!
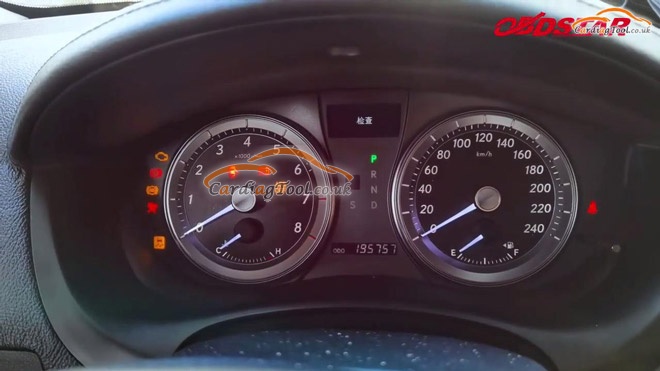
Note: If you can light up the meter normally, use the simulated card instead of the original car key for the [Add Smart Key] operation
Two purchase link I would recommend in Cardiagtool UK ESHOP:
https://www.cardiagtool.co.uk/obdstar-x300-dp-plus-full-version.html
https://www.cardiagtool.co.uk/obdstar-key-sim-5-in-1-key-simulator.html
Thanks for sharing your time with us.
|
Метки: OBDSTAR X300 DP Plus |
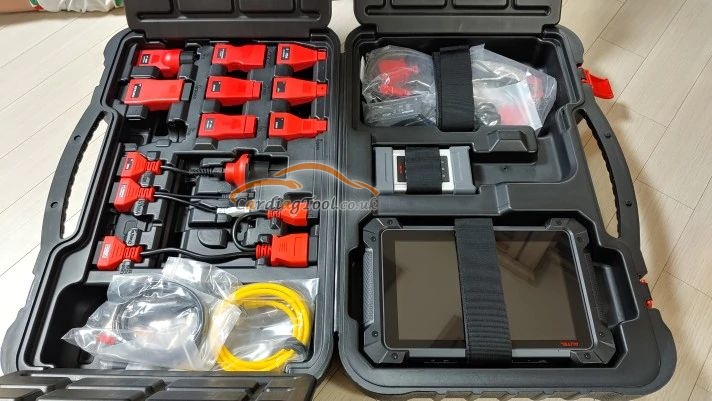
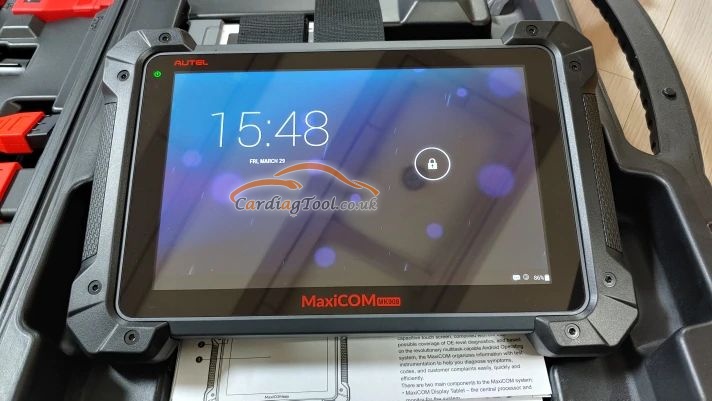
Планшет Autel MaxiSys серии «SD-карта заполнена» Решение для восстановления заводских настроек |
Many customers prefers to buy the Autel MaxiSys Tablet Series like the Autel MaxiSys MS906BT, Autel MaxiSys Elite and Autel MaxiSys MS908S Pro because of their powerful diagnostic functions, reliable user experience, advanced hardware and stable software usage.
But many customer would face such a situation where the unit screen prompts “Insufficient space on SD card. Please clear the SD card space” when trying to download the new car model and software.
So this article will guide you guys how to tackle this issue with one of the most useful ways. Using this method means to completely wipe out of tool. It’s going to delete everything off of the tool including any photos, any customer information, any of your history records that you have on the tool. That means you have to do the backup of the data that you wish to restore.
The method of this article recommended is to reset your tablet back to factory spec and this can be used for many different times in many different ways.
Specific Operation Procedures:
Click on the “Home” button<< “Maxi Tools”
On “Maxi Tools”, you’re going to see a button that says GC.
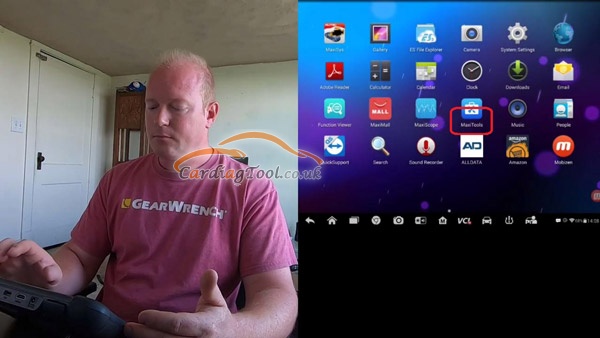
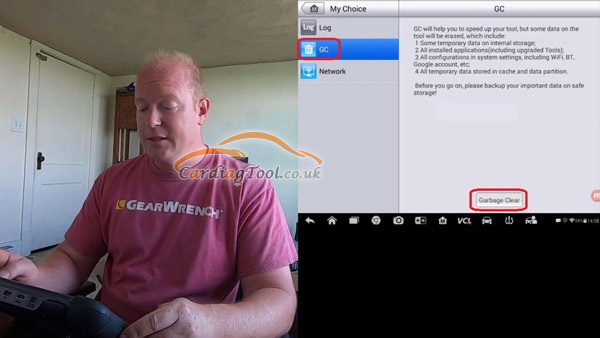
THIS IS going through the process of just wiping out some of the temporary folders, trying to freshen stuff up and clean some stuff up.
This will delete the vehicles but it won’t delete them all the way. This is more for cleaning the extra stuff of the temporary files from your internet, the pictures, the videos, that kind of thing.
But that’s not the exact solution that we are going to teach you guys in this article.
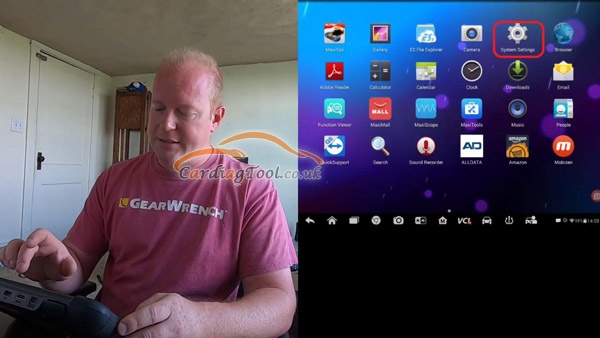
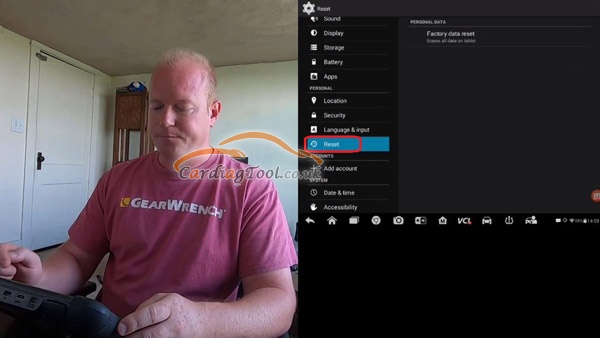
Move back to “Home” screen>> Select “System Settings”>> Scroll down the left sidebar and click “Reset” button
You are gonna see the “Factory data reset” on the top. Click on it and enter into an interface that gives you the explanation of what kind of internal files (or data) will be deleted.
We want to erase the SD card because that is the internal memory on the tool.
So select “Erase SD card”>> “Reset Tablet”
You’re gonna get a warning on your tablet that this move will erase everything on your tablet, including all cars, all manufacturers, everything, just like this came out of the box from the factory.

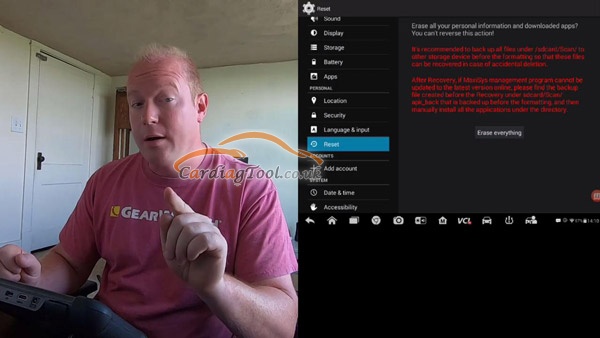
Please do keep this in your mind:
If you are not under update contract, you will not be able to recover this information, leading to information forever deletion.
So make sure you’re under update contract before doing this process.
Let’s go ahead to click “Erase everything” to completely wipe out the tool.
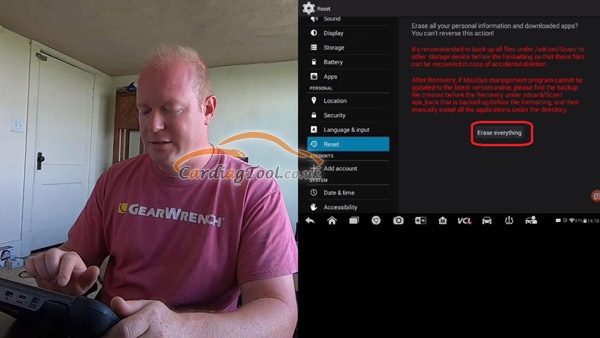
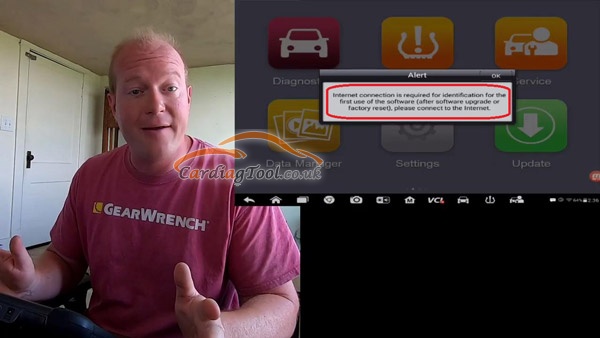
Now we’ve done the complete reset on the tool. Whenever we go back into the Mac Cesis application you’re going to that it says an Internet connection is required because we have completely deleted everything out of the tool.
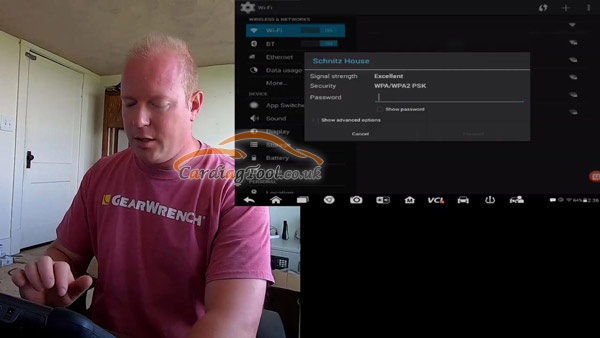
So let’s go ahead and set up or Internet connection by holding down on the Wi-Fi.
Enter the Wifi password to finish the connection.
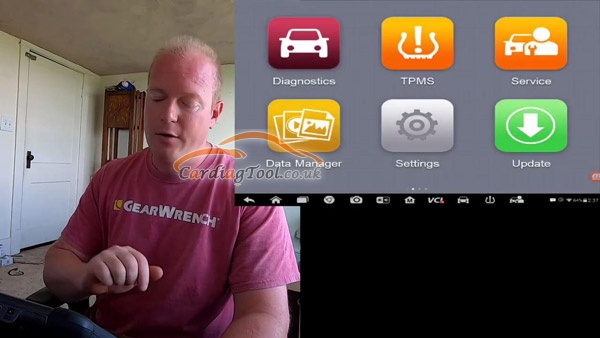
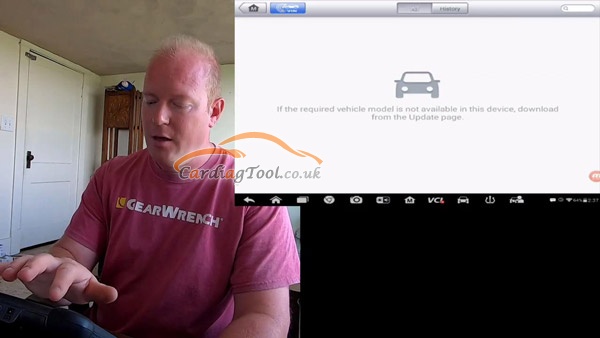
Go back over to the “Home” screen again<< Click on “Diagnostics”
You will see that all the vehicles and their history downloaded record are gone.
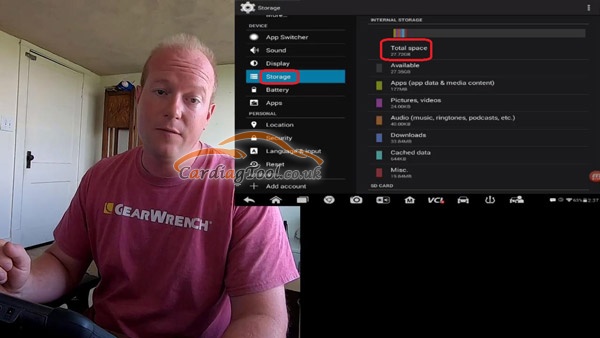
All right. That’s click on “Settings” menu and scroll down to choose the “Storage” option.
The storage level becomes 27.7 G available out of the 32G.
Feel so happy to have lots of room to start over.
Now you can start to download the software of diagnostic or TPMS that you wish to update into the tool, not selecting all of them, just based on your personal needs.
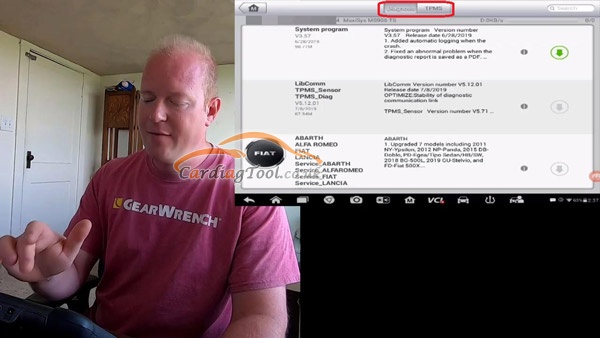
Good luck to you guys!
|
|
How to Perform Oil Reset for Audi A6 2011 with Foxwell NT680 Pro |
As one of the powerful Auto Code Reader members, Foxwell NT80 Pro always keeps its style of providing workshops, technicians and enthusiasts affordable diagnostic solutions. This kind of doing has earned Foxwell series products a lot more reputation in this online shop!
This article will do a demonstration on how to use Foxwell NT680 Pro to perform the Oil Reset Function for Audi A6 2011, which is a frequently-met issue that bothers the customers a lot.
Before performing the exact operation steps, let’s come and see the oil change and inspection information on my car computer.

The car dashboard will pop up a little symbol up here. Every time you turn on or turn off the car, the on-board computer will expect you shouldn’t do.

OK, Let’s get started on it.
Precise Operation Procedures:
First, you gotta to connect this NT680 Pro unit with your vehicle using OBDII cable.
The car dashboard may display the message of “Brake pedal must be applied to shift from P”.
Actually, it doesn’t matter. But you have to make sure the ignition is turned on before this test.

Come to the Main Menu>> Choose “Maintenance” to enter<< Choose “OIL RESET”


Then, it will come to the steps of selecting the car area, model and year stuff.
Here, we will choose “Europe<< Audi” to continue.


Choose “Auto Rest” in the Oil Rest menu and the screen will pop up a “Note” message. No questions, press OK to move on.
Next is the step to confirm your vehicle fitting for the Old Mode or New Mode.
If you can not confirm at this point, doesn’t matter. You can come back to choose another mode to make it work.


Depending on your personal needs,two options of Small maintenance and High maintenance for you to choose.
If you choose “High maintenance”, the operation interface will show like this:
You can also use the “Manual set” function if the automatic oil reset doesn’t work.
Here, I will choose to do the “Small Maintenance”.


Very well! We just finished it.
So we can do the oil reset easily with this NT680 Pro service tool, quite useful!
Any product questions and suggestions, please leave a message at https://www.cardiagtool.co.uk/
|
Метки: Foxwell NY680 Pro |
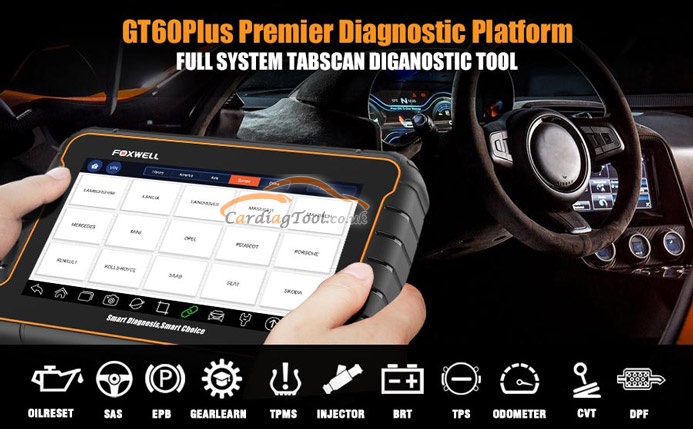
Where Can Users Get Foxwell GT60 Most Detailed “Settings” Application? |
Yes! Here it is the most detailed Foxwell GT60 “Settings” Application.
This tech article aims to illustrate how to perform “Settings” of Foxwell GT60 Diagnostic Platform to meet customers’ specific needs. When Settings application is selected, a menu with available service options displays. Menu options Mainly include:
<5> Uninstall Vehicle Software
Let’s move on to learn the specific settings of each part.
Selecting Unit opens a dialog box that allows you to choose between
Imperial customary or metric units of measure.
To change the unit setup:
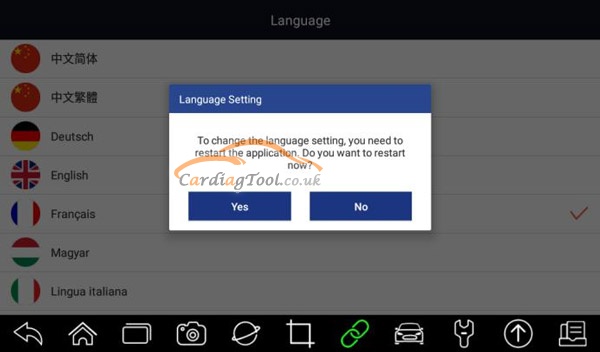
How to select proper language?
Select Language opens a screen that allows you to choose system
language.
Got the steps to configure system language:
select Language. Then all available language options display.
This option allows you to enable/disable Push Message function. Software
updates and technical information will be delivered to you automatically. It is
highly recommended to enable it all the time, so you won’t miss out any new
updates from Foxwell.
Got the Steps to enable/disable Push Message:
function is enabled. If turned to grey, the function is disabled.

How to enable/disable automatic update notice?
This option allows you to enable/disable automatic update notice. If it is
enabled, an orange update mark will show on the upper right of the diagnostic
software icon whenever there is a new version available.

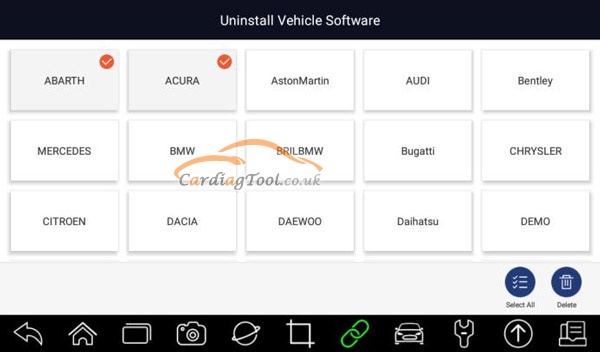
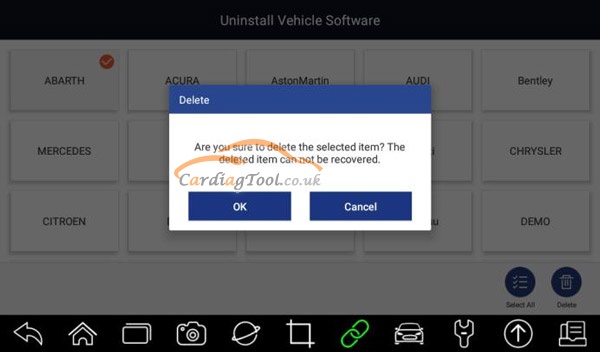
How to Uninstall Vehicle Software?
This option allows you to uninstall the vehicle software installed in the
scanner.
Got the steps to uninstall a vehicle software:
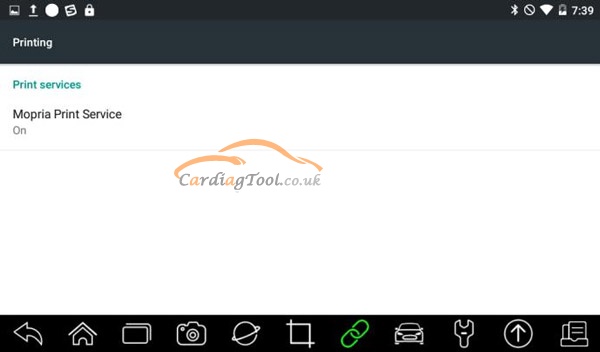
How to start good Print Settings?
This option allows you to print any data or information anywhere and anytime
either via PC network or Wi-Fi.
Got the steps to setup the printer connection:

GT60 will search for available printers automatically.


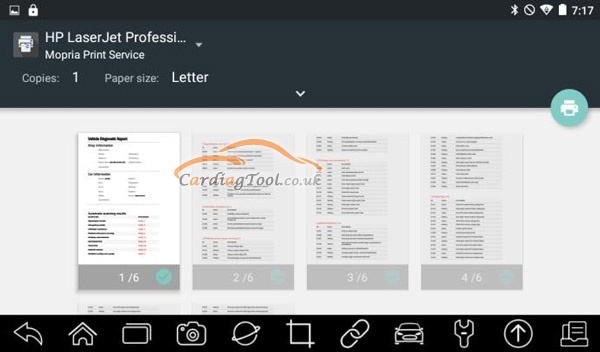
All right, last but not least, let’s see two important messages:
when printing.
download the driver to work for your printer on Print Service Manager.
Thanks for reading, so much for today!
Any questions, please don't hesitate to contact us:
Email: sales@CarDiagTool.co.uk
Skype: cardiag.co.uk
Whatsapp: +86 15002705698
|
Метки: Foxwell GT60 |


