Выкройки женской блузки - рубашки со смещенными боковыми швами: Силуэт модели свободный. ...
КОСТЮМ ДЛЯ ПОДВИЖНЫХ ИГР || БЕСПЛАТНЫЙ ШАБЛОН В ФОРМАТЕ PDF. - (0)КОСТЮМ ДЛЯ ПОДВИЖНЫХ ИГР || БЕСПЛАТНЫЙ ШАБЛОН В ФОРМАТЕ PDF. Костюм для подвижных и...
Теплый шарф детям - (0)Теплый шарф детям. Теплый шарф для шеи, сзади с застежкой на липучке Так он выгляди...
Детские брюки.Выкройки. - (0)Детские брюки.Выкройки. 3.Вельветовые брюки БРЮКИ ...
СХЕМЫ МОДЕЛИРОВАНИЯ ДЕТСКИХ СПОРТИВНЫХ БРЮК - (0)СХЕМЫ МОДЕЛИРОВАНИЯ ДЕТСКИХ СПОРТИВНЫХ БРЮК. &n...

Сшить органайзер для сумки проще простого! |

|
Шьем органайзер для сумки. Видео.3 мк фото, |

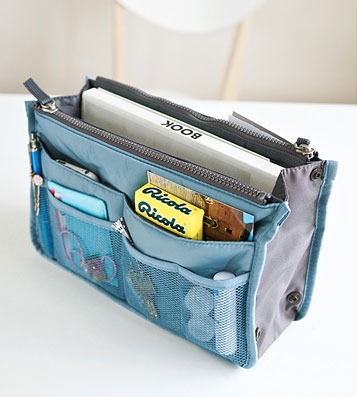
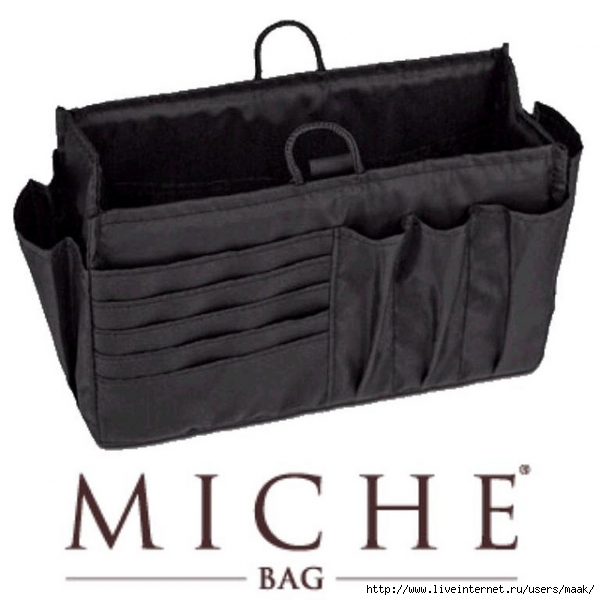
Что такое органайзер для сумки и для чего он нужен? Органайзер для сумки - это вставка в сумку со множеством карманов. Если в сумке только одно отделение, то велика вероятность того, что все содержимое будет находиться в беспорядке и вы будете иметь сложности с поиском нужной вещи. Также, если у вас несколько сумок и вы часто меняете сумку в зависимости от погоды, наряда или по-настроению, то процесс перемещения всего содержимого из одной сумки в другую значительно упроститься благодаря органайзеру для сумки - всего два движения - достали органайзер со всем содержимым из одной сумки и переложили в другую.
|
Шьем тинтамар - органайзер в женскую сумочку.. |
Сегодня дочь собирается на работу, в последний момент меняет наряд и на бегу размышляет вслух: "Может, сумку быстро перекинуть?" (сумка,с которой ходит последнее время,не очень вписывается в надетый наряд...).. Я смеюсь:"Быстренько - и твоя сумка - это несовместимые понятия!" Она соглашается, убегает с той сумкой, какая есть, только уже "под сумку" набрасывает куртку легкую... Уходит не совсем довольная собой, а я,закрывая дверь, думаю: "Надо бы сделать ей органайзер для сумки, тогда можно будет быстро и легко менять сумки.."
Полезла же в свои закрома рукодельные, а там..... вариантов миллион...)))) Вот пока что выбралось не по степени лучшести или еще как,а просто подряд все из почтовой папки с сумками (заодно почту почищу), так что будет проще,когда соберусь шить ей такую штуку, выбрать подходящий вариант..))
Итак, тинтамары - органайзеры для женской сумки...)))
1. http://www.liveinternet.ru/users/madam_marina/post317031621 здесь три мастер-класса по пошиву вот этих тинтамаров...)))


|
Заглянем в женские сумочки |
Дорогие девочки, мы все разные и содержимое в наших сумках тоже разное, сумки наши тоже.
Для тех, кто любит идеальный порядок в своих сумочках, есть такая штука как органайзер для женской сумки купить его можно на сайте zyli.ru. В нем есть такие важные отделения как для мобилки, для водички,для зонтика, для косметики, для ключей и разных мелочей. Это и полезная вещица и отличный подарок подругам


Но есть творческие личности, для которых хаос и художественный беспорядок, это его личные взаимоотношения с его сумочкой.
|
Органайзер в сумочку |

The insert can be taken out, in case you want your regular old purse back. But mine is staying put.

Now I don’t have to worry about my poor camera/lenses getting thrown around.

And what’s cool, is that there are little velcro inserts that divide your camera and supplies. And are adjustable so that you can create the right sized compartments for all of your stuff. (This concept is not my own. Many camera bags are made this way.)

And I can move the insert out of the way and still have access to all of the regular pockets for my keys/phone/etc.

Oh, and maybe you’d like to have a camera bag/diaper bag/purse combo?? This bag works for that too. You can change up your dividers and put all of your regular purse items in one section……but then leave enough room for a padded camera section. Just change it up how you need it.

Yeah, sometimes I can’t stomach a hefty price-tag.

So I love when it’s something that I can figure out and make work for me.

Do you have a purse you’d like to turn into a camera bag?
SUPPLIES:
**The quantity of your supplies will vary, depending on the size of purse you’re converting.
First, you’ll need a purse. Use one of your old ones or buy a new one. You’ll need one that has one large compartment and is a larger in size, if you want to be able to section it off with the dividers. Or you could use a smaller purse if you just want to add padding to it and forget the dividers. It’s up to you.
To begin, you need a piece of foam for the bottom of your purse. Turn your purse over and check out the shape of the bottom of the purse. Then cut out a piece of 1/4 inch foam (I found mine at Hancock Fabric for about $8 for enough for about 3 purses) that is the same size as the very bottom of your purse.

Then place your foam down inside to make sure it fits. Adjust if necessary. Then measure from where the foam is at the bottom of the purse, up to how high you’d like the foam sides to be. If your purse is nice and tall (like mine is), you may not need the whole height of the purse. You may just be wasting foam. All you need is for it to be high enough to protect your camera and lenses.
I decided I wanted my foam to be about 8 inches tall.

So I cut a strip of foam that was 8 inches tall and was long enough to go around the piece that fits in the bottom of the purse. Measure around the top of the piece of foam…….not around the sides of it.

Then you’ll have a nice strip of foam that will make the walls of the foam insert. However, cut about an inch off of one end because after you add the fabric, you’ll be sewing those two ends together with their extra fabric ends. And you don’t want to have to sew through foam. (This will make more sense in later steps.)

Next, time to cut the fabric.
**You will need to add extra fabric along all the edges to account for the thickness of the foam……so be sure to add a little extra to your seam allowances.
For the bottom piece of foam, you will need 2 layers of fabric that are a 1/2 inch wider than the foam piece, around all edges. (A 1/4 inch is for the seam allowance and another 1/4 inch is for the foam thickness.) Just lay the foam down and cut around it. For the long strip of foam, you can either cut 2 pieces of fabric and sew them together into a strip (but then you’ll have 2 seams) or you can cut one strip of fabric and fold it over into a tube of fabric and sew it, resulting in only one seam. I only wanted one seam, so since my foam is 8 inches tall and is 1/2 inch thick, I needed my fabric to be 18 inches tall to wrap around the foam. (8 inches tall on the front + 8 inches tall on the back + 1/2 inch foam thickness at the top + 1/2 inch foam thickness at the bottom + 1/2 inch seam allowance + 1/2 inch seam allowance). My foam strip was about 37 inches long but I added another 2 inches at each end, so that I could later tuck the ends in and sew the foam into a tube. So cut my large fabric strip 41 inches wide by 18 inches tall. (Below it is folded in half under the foam.)

Next, place the two bottom pieces together (with right sides together) and sew all the way around with your 1/2 inch seam allowance, leaving a few inch opening on one side.

Turn it right side out and put your foam inside. You’ll have to fold it in half to wriggle it in there…..but it will get in there eventually. Promise. :)

Then tuck the raw edges inside and hand-stitch the opening closed. (Need help with hand-stitching? Click here.)

Next, open up your strip of fabric and sew some strips of velcro to one half of the strip. Be sure that you aren’t going down too far to be caught in the seam allowances…….and leave 2 inches free on each end to stay out of the way of each end seam too. I used 1 1/2 wide industrial strength velcro (I found it at Hancock Fabric) which worked great for this. I only needed 2 strips to cover a good majority of this half of the fabric. (If you can’t locate any really wide fabric, sew several narrow strips of velcro to this section of the fabric.) You just want enough velcro here to keep your dividers nice and secure. **Make sure and use the SOFT side of the veclro here so that the velcro not in use will not scratch your camera.

Then fold this fabric in half length-wise (with right sides together) and sew into a tube (using your 1/2 inch seam allowance). Then turn it right side out and maneuver your foam inside. Like I mentioned before, folding the foam in half and then sliding it in there works best. But then wriggle it around in there until it’s nice and flat and the side seam is along the bottom of the foam.

Then, tuck each end under about a 1/2 inch and then sew each end closed, then sew another seam, nice and close to your foam, creating a little flap on the end. Do the same thing to the other end.

Next, fold your fabric covered foam strip into a circle, overlap the ends, then sew them together.

Then, place the bottom together with the circle and pin them in place. Then hand stitch the bottom right to the sides……to keep the pieces together. (Need help with hand-stitching? Click here.)


Next, you need little inserts. I didn’t want mine quite as tall as the foam sides…..only 7 inches instead of 8. And as far as how wide…….you may want them wider than the base of your purse like I did. Once you put your foam base down into your purse, the sides kind of open up with the shape of the purse. If I wanted my foam walls to be rigid and just go straight up, I probably would have only cut my little inserts 5.5 inches wide. But I wanted this foam section to open up a bit, giving me more room inside of it, so I cut them 7.5 inches wide. So each of my little inserts were 7 x 7.5 inches.
I cut 2 pieces of fabric for each insert that were 1/2 inch taller on the top and the bottom and 2 inches wider at each side. So I cut 2 pieces of fabric for each of my 2 inserts that were 8 inches tall and 12.5 inches wide. I sewed 2 of the fabric pieces together, with right sides together, along the top and the bottom. Then I turned it right side out and placed my foam inside.

Next, I turned the ends in a 1/2 inch and sewed them closed with 2 seams, just like I did above with the bigger foam strip. Then I cut some of the other half of the 1.5 inch wide velcro strips, into more narrow strips to fit the flaps on each end (about 3/4 inch for me). Then I sewed the velcro right onto each end flap of the foam insert. Both on the same side of the insert. Do the same thing with your other foam insert (or more if you decide you want more inserts).

And that, my friends, is all you need to do.
Just place your foam inserts into your purse and load it up with all your gear. And you’re all set!
|
Укрощение хаоса, или шьём органайзер в дамскую сумку |
http://helga-cat.blogspot.com/2011/08/blog-post_7375.html#more


|
Рукодельная козина с выкройкой. Тинтамар — органайзер для сумки. Видео |
Источник: женский блог "У мадам" - http://ymadam.ru/tintamar.html


В мужском исполнении:


|
РОМАНТИЧЕСКАЯ СУМОЧКА. |
|
Укрощение хаоса, или шьём органайзер в дамскую сумку |
|
Клатч с вышивкой своими руками |
|
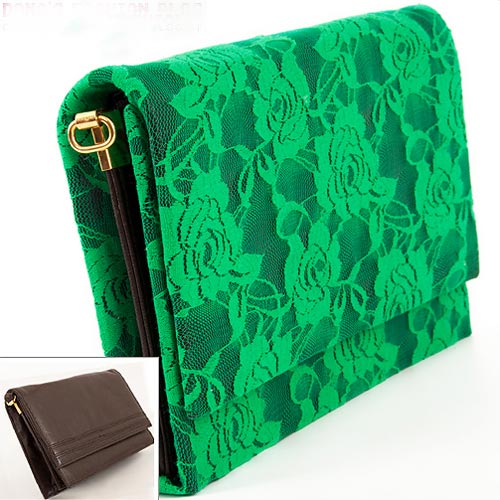
Чудесное преображение старого кошелька или клатча в роскошный винтажный шедевр |
|
Одеяло для пикника - сумка |
 Вот и наступил май – пора пикников на природе, открытие весенне-летнего сезона.
|
Маленькая сумочка. |

|
Две сумочки- один мастер класс. |
|
Сумка из зонта: вторая жизнь старых вещей |
|
Сумка - трансформер |

Сумка-трансформер - очень актуальный тренд этого сезона, во всяком случае для тех, кто часто покупает продукты в супермаркетах "Перекрёсток". Не знаю у кого как, но в нашем магазине перестали давать бесплатные пакеты для упаковки товаров, а покупать их каждый раз по 5 рублей не хочется из принципа :-))). Но.... мы не привыкли отступать.... С нашими золотыми ручками , да не сшить пакет для продуктов?????? Раз чихнуть!!!!
|
Шаблоны для витражей |
|
Мешочки из органзы. МК Ольги Зайцевой |
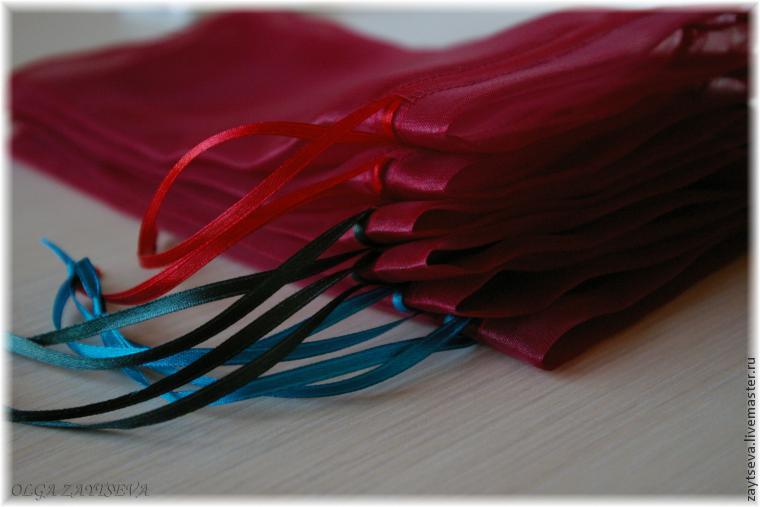
Все свои украшения я упаковываю в мешочки из органзы ручной работы. В этом мастер-классе хочу рассказать, как я оптимизировала процесс их пошива. Обычно я шью по 12 мешочков разного цвета, размером 110*200 мм.
|
Чехол на стул. МК Ирины |
Доброго дня!
В данной публикации я покажу поэтапно как я шью чехол на стул.

Данный чехол пошит на заказ, размеры стула заказчицы и на моем подопытном стуле смотрится не совсем фотогенично :)) верхушка у моего стула явно маловата и поэтому спинка висит. В оригинале все должно быть ок!
Итак, по задумке на стуле должна быть подушечка, ее я сшила ранее, мы решили, что подушечка будет крепится к сидению на липучке. Материал используемый - лен, наполнитель подушечки синтепон.
Если вы решили пошить чехол самостоятельно то в вашем распоряжении должны быть навыки пошива, понятия припусков для швов, обработки швов и прочих тонкостей которые я опускаю, акцентируя внимания на некоторых нюансах которые считаю более важными.
Первое - это размеры, от того как они будут сняты зависит результат, нюанс данного стула состоит в том, что спинка расширяется к низу и в обхвате в нижней части на 2см больше чем в верхней. Второе - конечно это раскрой, тут уж точно 7 раз отмерь!
|
Как сшить кошелёк купюрницу. МК Лены Белоусовой |
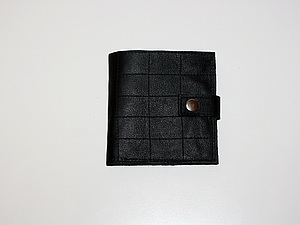
Вот такой кошелек с отделением для купюр и кармашками для пластиковых карт предлагаю вам сшить вместе со мной)
Итак, приступим)
|