<<>>
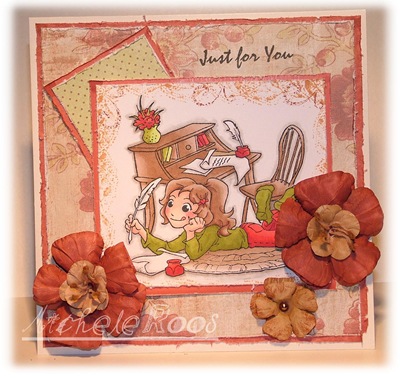
Hi there, my name is Michele Roos and I'm GD for Whiff of Joy. Today I'd like to show you how to make the flowers on the above card.
Hi there, my name is Michele Roos and I'm GD for Whiff of Joy. Today I'd like to show you how to make the flowers on the above card.

Here is a list of supplies to make the above flowers:-
4 x 5 petal flower shapes
Piece of string
Crushed Velvet Flocking (or anything similar)
Embossing Tool
Clothes peg
Marker pen
Piercing tool
Scissors
Tweezers
PVA glue+
On each flower, cut down the petals to open them up more. In the picture I've tried to show you roughly where to cut.
Turn the flowers onto the wrong side. On each petal, emboss just the outside petals in small circular motions. Then with the embossing tool again, gently go down each petal to create a line.
Now turn the flowers onto the right sides and emboss the centre of each flower until they resemble the flowers on the left hand side.

In the centre of each flower, pop a small blob of pva glue and start layering them up. On the last flower also pop a small amount of glue. At this point get your piercing tool to make a hole all the way through. Make sure it's quite a large hole as the string has to go though this.
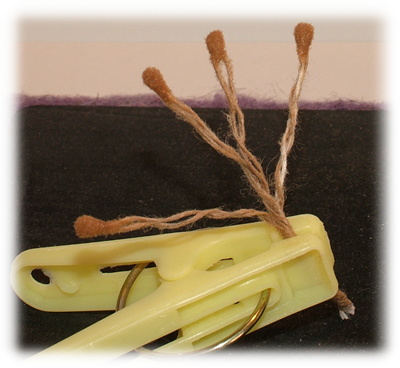
Now get your piece of string and this is where the marker pen comes in. Colour the string whatever colour you want just by dabbing the pen onto the string. This way it won't ruin the nib of your pen. Wait a few minutes for the ink to dry and then start twisting the string until it starts to unravel. Separate the string until it resembles the above picture.
Now attach the string to the clothes peg and carefully dip the ends into some glue. Make sure you get a nice bit on the ends.
Next step is to sprinkle the flocking, glitter, flower soft etc.... onto each section. Make sure that it is fully coated. Then carefully feed the string through the top hole of the flower all the way through to the last flower layer. I find this is where the clothes peg comes in handy again as this will keep the string in place as it dries.
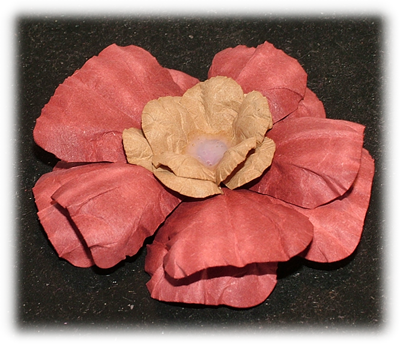
And here's a close up of what the flower will look like

http://whiffofjoy.blogspot.com/2010/01/handmade-paper-flowers-with-stamen.html


